
Knowing how long does it take wood glue to dry is absolutely crucial if you want your woodworking projects to turn out right. Whether you’re gluing up a cutting board, repairing a broken chair leg, or assembling a complex furniture piece, understanding drying times can mean the difference between a rock-solid joint and a disappointing failure. In this guide, we’ll walk through everything you need to know about wood glue drying times, factors that affect them, and pro tips to speed things up or work smarter.
Table of Contents
Standard Drying Times
Most woodworkers use polyvinyl acetate (PVA) wood glue—the stuff in yellow bottles that’s been a workshop staple for decades. With standard PVA glue, you’re typically looking at 24 hours for a full cure, though the glue will be dry to the touch in about 30 minutes to an hour. This is where people get confused. Just because the surface feels dry doesn’t mean the joint is ready for stress. The internal bond is still developing, and premature removal of clamps or putting load on the joint can result in a weak connection that fails down the road.
For general woodworking projects, plan on keeping clamps on for at least 30 minutes to an hour minimum, but overnight clamping (8-12 hours) is the professional standard. If you’re working on something that’ll take serious stress—like a table leg joint or a load-bearing repair—give it the full 24 hours before removing clamps and another 24 hours before putting any significant load on it.
Factors Affecting Drying
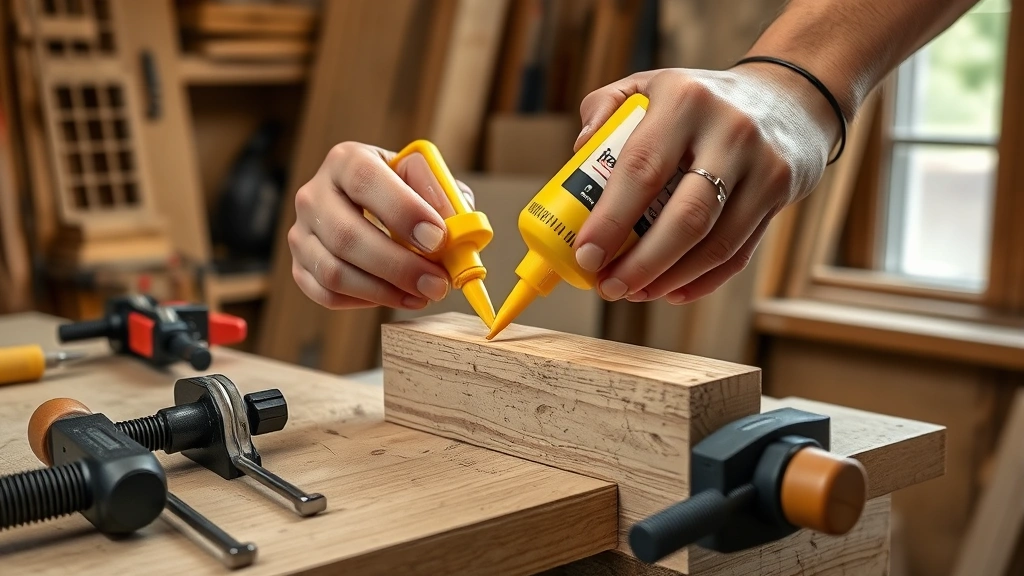
The drying time isn’t just a fixed number you can count on. Several variables will speed up or slow down how your wood glue cures. The biggest culprits are temperature, humidity, wood type, joint design, and glue application amount. Too much glue actually slows drying because there’s more liquid to evaporate. Too little glue creates a starved joint with weak strength. You want just enough to create a thin, consistent line when you clamp it up—excess should squeeze out slightly.
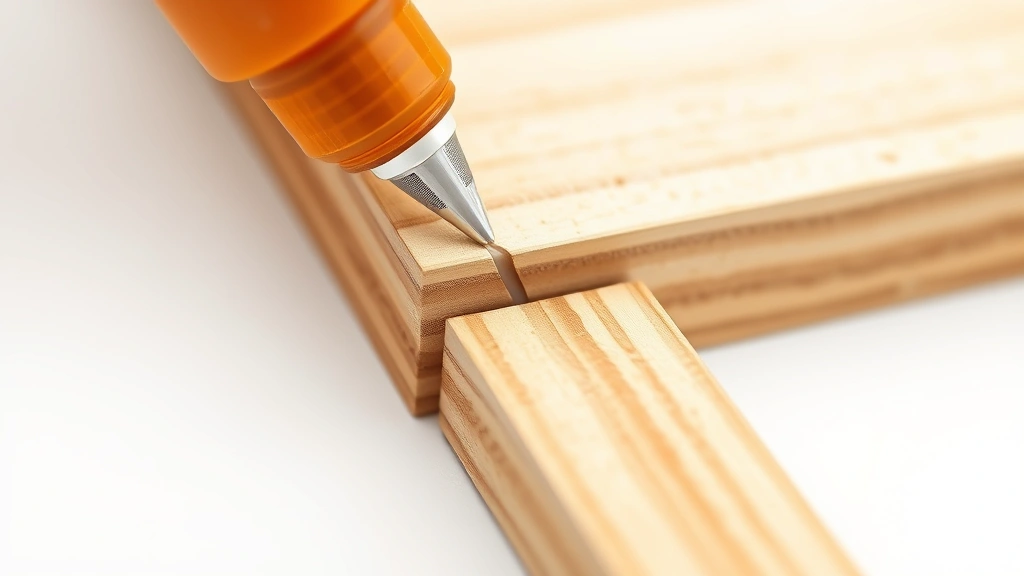
The porosity of your wood matters too. Softwoods like pine or fir absorb glue faster, which can actually speed up the drying process. Dense hardwoods like oak or maple absorb moisture more slowly, extending drying times. End grain is super absorbent and will pull moisture from the glue rapidly, sometimes creating a too-dry joint. If you’re gluing end grain, you might want to pre-seal it lightly with a thin glue coat first, let it dry, then apply your full glue line.
Temperature & Humidity Impact
Temperature is the heavyweight champion of drying variables. Wood glue cures through moisture evaporation, and warm air holds more moisture and evaporates faster. At 70°F (21°C), your standard PVA glue will cure in about 24 hours. Drop the temperature to 50°F (10°C), and you’re looking at 48+ hours. Go below 40°F, and the glue essentially stops curing. This is why winter woodworking in unheated shops is frustrating—your projects take forever.
Humidity works opposite to temperature. High humidity (above 80%) slows evaporation dramatically because the air is already saturated with moisture. Your glue joint might take 36-48 hours in humid conditions. Low humidity (below 30%) speeds things up, sometimes to 12-16 hours. The sweet spot for wood glue drying is 65-75°F with 30-50% humidity. If you’re working in a basement shop in summer or a garage in winter, you’re fighting against nature. Consider running a dehumidifier in humid seasons or a space heater in cold months to optimize your workspace.
Types of Wood Glue
Not all wood glues are created equal, and drying times vary significantly by type. Yellow PVA glue (like Titebond Original) is the standard, with 24-hour full cure. Titebond II is water-resistant and has the same 24-hour cure time. Titebond III is waterproof and also cures in 24 hours, but it’s more expensive and better for outdoor projects or items that might get wet.
Then there’s epoxy, which is a completely different beast. Two-part epoxy can range from 5-minute quick-set to 24-hour slow-cure formulations. Quick-set epoxy is convenient but creates brittle joints that aren’t ideal for fine woodworking. Slow-cure epoxy creates stronger, more flexible bonds. Hide glue, beloved by instrument makers and furniture restorers, sets fast (15-30 minutes) but requires heating and careful technique. Polyurethane glue (Gorilla Glue) expands as it cures, requires moisture to work, and takes 24 hours to fully cure—but it’s excellent for challenging joints and gap-filling.
For most home woodworkers, yellow PVA is your workhorse. It’s affordable, reliable, and works great for indoor furniture and general repairs. Save the specialty glues for specific situations where their properties give you a real advantage.
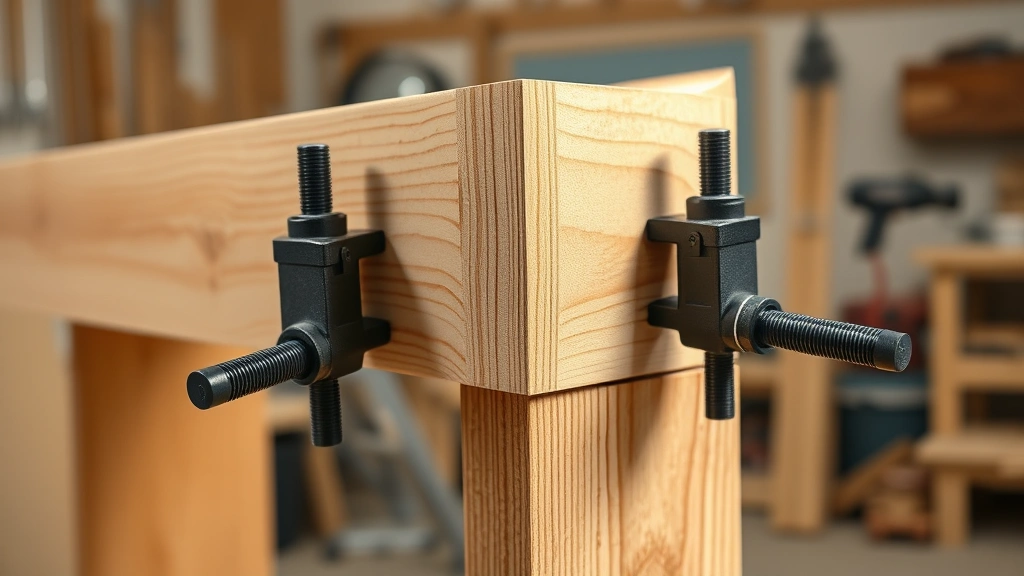
Clamping Timeline
Here’s a practical timeline for a typical glue-up. You apply glue, assemble your pieces, and clamp everything up. For the first 30 minutes, the glue is still setting—this is when you can make small adjustments if needed. After 30 minutes, the glue has firmed up enough that you shouldn’t move things around. This is a good time to remove excess glue squeeze-out with a damp cloth before it hardens completely.
At the 1-hour mark, the glue is dry to the touch, and you could theoretically remove clamps, but don’t. The joint is still weak internally. For furniture and structural pieces, keep clamps on for at least 4-6 hours, preferably overnight. The longer you clamp, the better. There’s no downside to leaving clamps on for 24 hours—your glue won’t over-cure or fail from too much clamping. After 24 hours, remove clamps and let the piece sit for another 24 hours before sanding, finishing, or putting it into service.
Speeding Up Drying Process
If you’re working on a tight deadline, there are legitimate ways to speed up drying without compromising joint strength. The most effective method is controlling your environment. Warm up your workshop to 75-80°F and reduce humidity to 40-50%. A space heater and a dehumidifier can cut drying time from 24 hours to 16-18 hours. Make sure your glue bottle is also room temperature—cold glue cures slower.
Apply the right amount of glue. Too much extends drying time because there’s more liquid to evaporate. Too little creates weak joints. You want a thin, consistent squeeze-out line around your joint—that’s the sweet spot. Use cauls (straight boards) to distribute clamping pressure evenly, which helps the glue cure more uniformly. Uneven pressure creates areas where glue pockets remain thick and cure slower.
Some woodworkers use accelerators or heat lamps, but honestly, these are risky. Rapid drying can create internal stress and weaken the joint. The safest approach is just planning ahead and letting glue do its thing on its natural timeline. Remember, you’re not actually speeding up the chemical cure—you’re just optimizing conditions for faster evaporation.
Common Drying Mistakes
The number one mistake is removing clamps too early. People see that the glue feels dry and assume it’s cured. Nope. That’s just the surface. Remove clamps at 1 hour for quick projects, but keep them on overnight for anything that matters. A second common error is applying too much glue, which creates a thick glue line that takes forever to cure and weakens the joint. You want a thin glue line—that’s actually stronger than a thick one.
Working in cold conditions and expecting normal drying times is another killer. If your shop is 50°F, accept that you need 48 hours, not 24. Trying to rush it by removing clamps early will result in failed joints. Some folks also make the mistake of finishing or sanding too soon. Even if the glue feels dry, internal moisture is still evaporating. Sand or finish before 48 hours and you might trap moisture in the joint, which can cause problems later.
Don’t clamp so hard that you starve the joint of glue. Excessive clamping pressure can squeeze out all the glue, leaving a dry joint with poor strength. Clamp firmly until you see a thin squeeze-out line, then stop tightening. Your clamps should be snug, not crushing.
Testing Joint Strength
After your glue has cured, how do you know if the joint is actually strong? For critical pieces, do a simple stress test before putting them into service. Try to flex or twist the joint by hand—it should be rock solid with no movement or creaking. If it flexes, the glue didn’t cure properly, and you should re-glue it.
For furniture pieces, wait at least 48 hours after removing clamps before using them. This gives the glue maximum strength development. If you’re concerned about a joint, you can do a destructive test on a scrap piece glued up the same way at the same time. After 24 hours, try to break it apart—a properly glued joint should fail in the wood before the glue line. If the glue separates cleanly, something went wrong with your glue-up.
The gold standard is waiting a full week before putting a piece into heavy use. This gives the glue maximum strength and lets any internal moisture fully evaporate. For heirloom pieces or anything load-bearing, this patience pays dividends in longevity.
Frequently Asked Questions
Can I speed up wood glue drying with heat?
Heat accelerates evaporation, but too much heat too fast can create internal stress and weaken the joint. If you use heat, keep it gentle—aim for 75-80°F maximum, not blast-furnace temperatures. A space heater maintaining steady warmth is fine; a heat gun or direct heat source is risky.
Is wood glue fully cured after 24 hours?
For most PVA wood glues, 24 hours is when the glue reaches full strength for normal use. However, internal moisture continues evaporating for several days. For maximum strength on critical pieces, wait a week before heavy use. For typical furniture, 24 hours is sufficient.
Does wood glue strength increase after 24 hours?
Yes, but with diminishing returns. Most strength development happens in the first 24 hours. After that, you get maybe 5-10% additional strength gain over the next week. The practical difference is minimal for most projects, but for load-bearing applications, waiting longer is safer.
Can I use a hair dryer to dry wood glue?
Not recommended. Hair dryers create uneven heat and fast surface drying that can trap moisture inside the joint. Stick with environmental control—warmer room temperature and lower humidity. If you must use active heat, use it on low setting and keep it moving to avoid hot spots.
What happens if you clamp wood glue too long?
Nothing bad. You can leave clamps on for days without harming the joint. The only downside is that your clamps are tied up. There’s no such thing as over-clamping with wood glue—it won’t over-cure or fail from extended clamping pressure.
Does wood type affect glue drying time?
Yes, absolutely. Softwoods with open grain (pine, fir) absorb glue quickly and may cure slightly faster. Dense hardwoods (oak, maple, walnut) absorb more slowly and may take slightly longer. The difference is usually just a few hours, not dramatic, but it’s real.
Final Thoughts
Understanding how long does it take wood glue to dry is fundamental to successful woodworking. Your standard timeline is 24 hours for full cure with PVA glue under normal conditions, but plan on overnight clamping (8-12 hours minimum) and waiting 48 hours before heavy use. Temperature and humidity matter more than anything else—optimize your workshop environment if you can, and always plan for longer drying times in cold or humid conditions.
The key is patience. Rushing glue-ups is where most woodworking fails happen. Set your clamps, walk away, and come back the next day. Your joints will be stronger, your projects will last longer, and you’ll have fewer frustrations. For more on timing in woodworking, check out our guide on how long things take, and if you’re working on home projects, our piece on how high to hang pictures covers another common timing question. For those interested in healing timelines, we’ve also covered how long does a bone bruise take to heal for context on patience in processes.
Happy gluing, and remember: slow and steady wins the woodworking race.


