
So you’re wondering how long does chicken take to boil? The answer depends on a few factors, but generally, you’re looking at 12-15 minutes for boneless, skinless breasts and 15-20 minutes for bone-in thighs or drumsticks. But there’s more to it than just throwing chicken in hot water and hoping for the best. Let me walk you through the exact timing, techniques, and tricks I’ve picked up over years of cooking.
Table of Contents
Boiling Times Breakdown
The most common question I get is about exact timing. Here’s the straight scoop: boneless, skinless chicken breasts take 12-15 minutes at a rolling boil. Bone-in thighs and drumsticks need 15-20 minutes. A whole chicken? You’re looking at 1.5 hours, give or take depending on size. These aren’t random numbers—they’re based on how heat penetrates different cuts and thicknesses.
The key variable is thickness. A thin, pounded-out breast cooks faster than a thick one. I always aim for the middle of these ranges and then check for doneness rather than relying solely on time. It’s like following a recipe—the timing is a guideline, not gospel.
Prep Work Matters
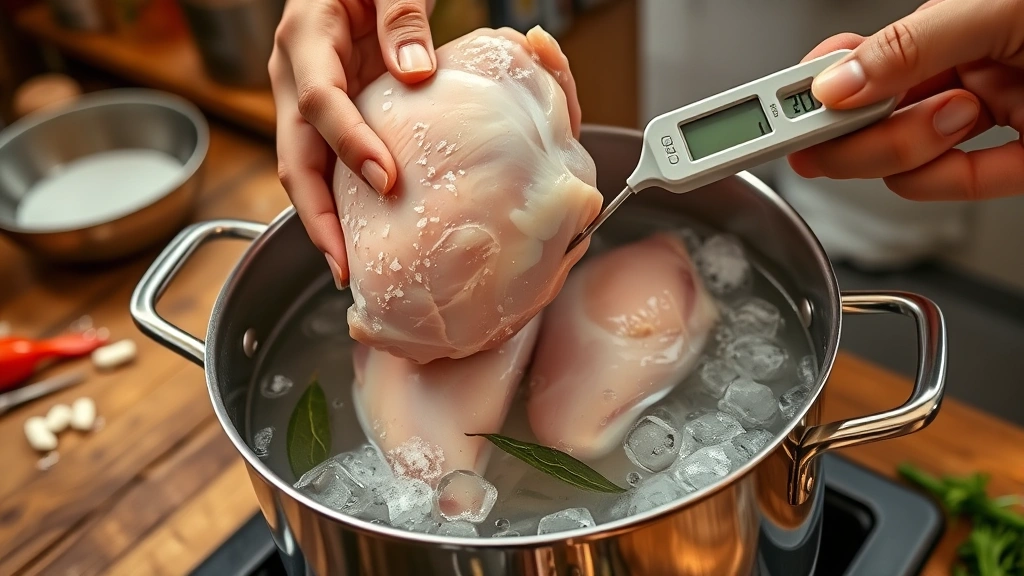
Before you even think about boiling, prep is crucial. Pat your chicken dry with paper towels—moisture on the surface doesn’t hurt boiling, but it does matter for seasoning. Add salt to your water. I use about 1 tablespoon per quart of water. This seasons the chicken from the inside out and raises the water’s boiling point slightly, which actually helps cook the chicken more evenly.
Remove the chicken from the fridge 15-20 minutes before boiling. Room-temperature chicken cooks more uniformly than cold chicken straight from the fridge. This small step makes a real difference in avoiding dry edges and undercooked centers. It’s the kind of detail that separates decent boiled chicken from really good boiled chicken.
Water Temperature Rules
Start with enough water to cover the chicken by about 2 inches. Bring it to a full, rolling boil before adding the chicken. This is non-negotiable. If you add chicken to lukewarm water, the cooking time becomes unpredictable, and you risk uneven cooking. A rolling boil seals the outside quickly and helps lock in moisture.
Keep the boil at a gentle rolling boil, not a violent one. A hard boil can actually make the chicken tougher and cause it to fall apart. I lower the heat slightly once the chicken is in and maintain a steady, moderate boil. This gives you better texture and more control over the final result.
How to Check Doneness
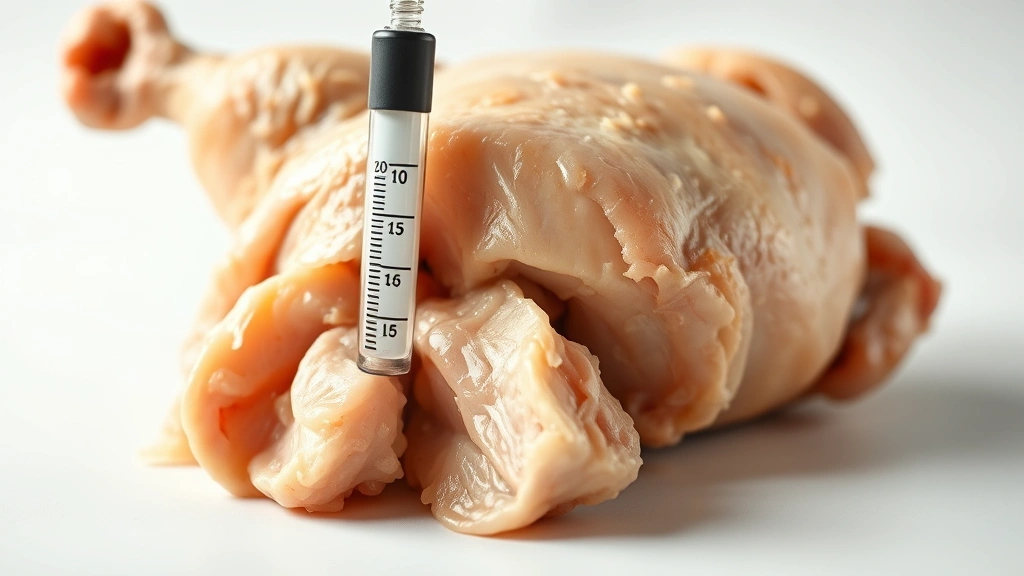
Here’s where most people mess up. Don’t just trust the timer. The internal temperature must reach 165°F (74°C) at the thickest part of the meat. Use an instant-read thermometer—it’s the most reliable method. Insert it into the thickest part without touching bone.
If you don’t have a thermometer, cut into the thickest part and check that there’s no pink and the juices run clear. The meat should be opaque throughout. With bone-in pieces, the meat should easily pull away from the bone. These visual checks work, but they’re less precise than a thermometer, so I always recommend getting one. They’re cheap and eliminate guesswork.
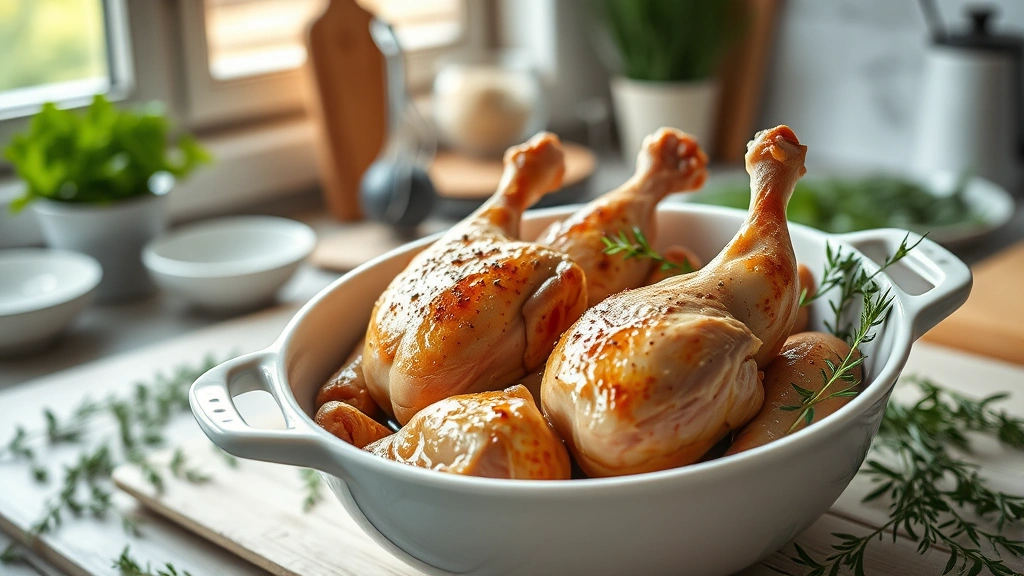
Bone-In vs Boneless
Bone-in chicken takes longer to cook because heat penetrates more slowly through the bone. However, bones add flavor and help keep the meat juicier. Boneless, skinless breasts cook faster but dry out more easily if you’re not careful.
Here’s my strategy: if I’m making healthy Instant Pot recipes, I go boneless for speed. If I have time and want maximum flavor, bone-in thighs are my go-to. For a Cajun boil recipe, bone-in pieces add character. The choice depends on your end goal and how much time you have.
Instant Pot Method
Pressure cooking changes everything. In an Instant Pot on high pressure, boneless breasts take just 5-8 minutes, while bone-in thighs take 8-12 minutes. Add 1 cup of water and use the natural release method for best results. This method produces incredibly tender, juicy chicken in a fraction of the time.
The trade-off is that you lose some of the broth flavor compared to traditional boiling. But if you’re pressed for time and making gluten-free lunch recipes or quick weeknight meals, the Instant Pot is unbeatable. The chicken turns out perfectly cooked every single time.
Common Mistakes
Overcooking is the biggest mistake. Boiled chicken dries out fast once it passes that 165°F mark. People often leave it in too long, thinking more time means more tender. Wrong. Overcooked chicken becomes rubbery and loses moisture. Start checking at the lower end of your time range.
Another mistake is adding cold chicken to boiling water and not adjusting the heat. The water temperature drops, and you end up simmering instead of boiling. This extends the cooking time unpredictably. I always bring the water back to a boil within 2-3 minutes of adding the chicken.
Not seasoning the water is a third big one. Plain boiled chicken tastes, well, plain. Salt, bay leaves, peppercorns, and aromatics in the water make a huge difference. You’re basically making a light broth that flavors the chicken from the inside.
Storage Tips
Boiled chicken keeps for 3-4 days in the fridge in an airtight container. Store it in some of the cooking broth to keep it moist. You can also freeze it for up to 3 months. I portion mine into meal-prep containers right after it cools. This makes it perfect for Grandma’s cheap recipes or quick lunches throughout the week.
Save that cooking broth. It’s liquid gold for soups, buffalo sauce recipes, and grain cooking. Strain it, cool it, and freeze it in ice cube trays. You’ll have homemade chicken stock on hand whenever you need it.
Frequently Asked Questions
Can I boil frozen chicken?
Yes, but it takes longer—add about 50% more time. I recommend thawing first for more even cooking. If you’re in a rush, frozen boneless breasts will take about 18-22 minutes instead of 12-15 minutes. Always check the internal temperature to be sure.
Why is my boiled chicken tough?
Overcooking is the culprit 90% of the time. Once chicken hits 165°F, remove it immediately. High boiling temperatures can also make it tough. Keep it at a gentle, rolling boil, not a vigorous one. Thinner pieces also cook faster and can dry out quickly.
Do I need to add seasoning to the water?
Absolutely. At minimum, add salt. I also throw in bay leaves, peppercorns, garlic, and onion for extra flavor. This isn’t optional if you want chicken that actually tastes good. The seasoning infuses the meat as it cooks.
What’s the difference between boiling and poaching?
Technically, boiling is a rolling boil, while poaching is a gentle simmer around 160-180°F. Poaching produces more tender, delicate chicken, but it takes longer. For quick cooking, boiling is faster. For maximum tenderness and moisture retention, poaching is better.
Can I reuse the cooking water?
Yes, strain it and use it as broth. It’s full of flavor and nutrients. Store it in the fridge for 3-4 days or freeze it. This is one of my favorite kitchen hacks—free, homemade broth from your boiled chicken.
How do I know when it’s done without a thermometer?
Cut into the thickest part and look for no pink meat. The juices should run clear, not pink. The meat should be completely opaque. With bone-in pieces, the meat should pull easily from the bone. These methods work, but a thermometer is more reliable.
Final Thoughts
Boiling chicken isn’t complicated, but getting it right takes attention to detail. Remember: how long does chicken take to boil depends on the cut and thickness, but 12-15 minutes for boneless breasts and 15-20 minutes for bone-in pieces is your baseline. Start checking early, use a thermometer, season your water, and don’t overcook. These simple rules will give you tender, juicy boiled chicken every time.
The beauty of boiled chicken is its versatility. Use it in salads, soups, filet mignon recipes as a side, or meal prep containers. It’s one of the most practical cooking techniques in your arsenal. Master it, and you’ll have a reliable foundation for countless meals.
For more detailed cooking techniques and recipes, check out resources like Family Handyman for kitchen tips, This Old House for home cooking guides, and Bob Vila for equipment recommendations. These sites have solid foundational information on kitchen techniques and tools.


