
So you’re wondering how long does air dry clay take to dry—and honestly, it’s one of the first questions every crafter asks when they crack open their first pack. The short answer? It depends on a bunch of factors, but typically you’re looking at anywhere from 24 hours to a full week. But stick with me, because there’s way more to know if you want your projects to turn out perfect instead of cracked and warped.
Table of Contents
Drying Time Basics
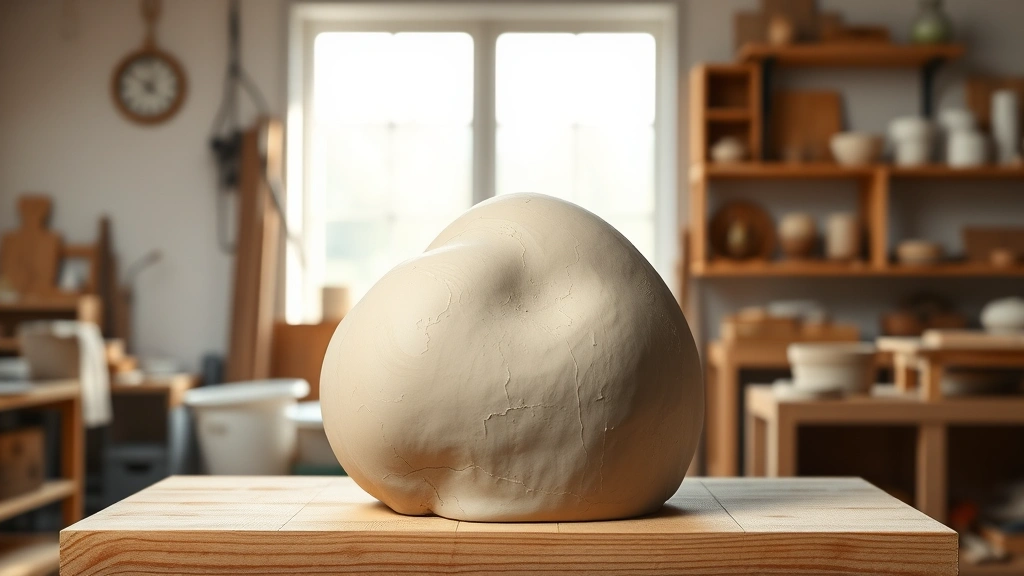
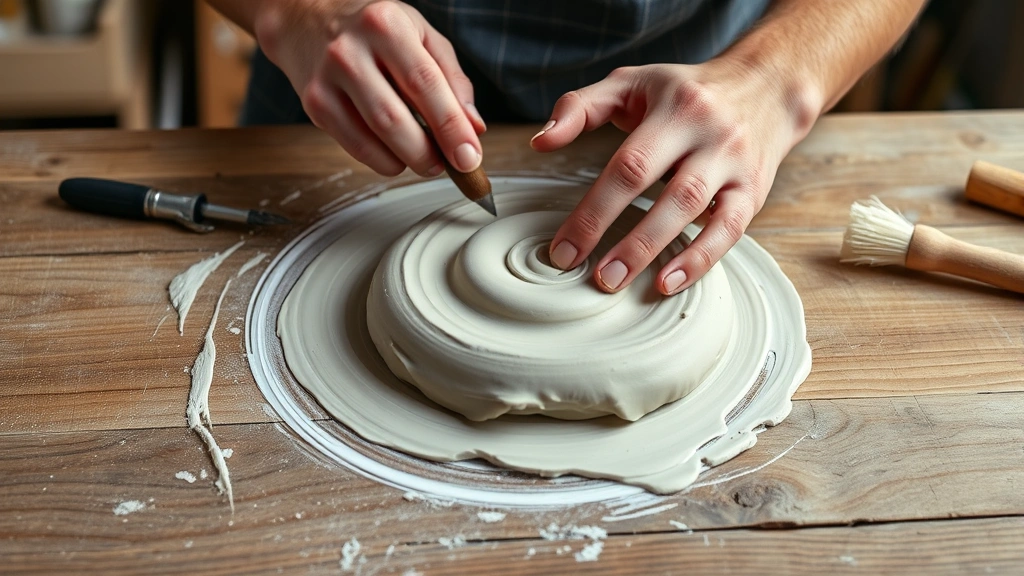
Air dry clay is basically a miracle material for DIY folks like us. Unlike traditional clay that needs a kiln, this stuff hardens through evaporation—no fancy equipment required. The standard timeline for most air dry clay brands is 24 hours for thin pieces, but thicker projects can take 3-7 days or even longer. I’ve learned this the hard way by trying to paint something after just one night and finding it still soft in the middle.
Different brands have different formulations. Polymer-based clays might dry faster than paper-based ones. Always check your specific product’s instructions—they’re usually printed right on the package. But here’s the thing: those timelines are ballpark figures. Real-world drying depends on your environment and how thick your creation actually is.
Factors Affecting Drying Speed
Think of air dry clay drying like laundry hanging on a clothesline. You wouldn’t expect wet jeans to dry as fast as a t-shirt, right? Same principle applies here. Several variables will speed up or slow down your drying timeline significantly. Understanding these factors means you can actually predict when your project will be ready instead of just guessing.
The big ones are thickness, humidity, temperature, air circulation, and surface area exposure. A thin decorative piece might be rock-solid in 12 hours, while a chunky sculpture could still be damp after 48. This is where planning ahead really pays off.
Clay Thickness Matters Most
Thickness is the heavyweight champion of drying factors. A piece that’s less than a quarter-inch thick? You’re probably looking at 24 hours, maybe less. But jump up to half an inch or more, and you’ve got a whole different ballgame. I once made a clay bowl that was about an inch thick at the base, and it took a full week to dry completely through.
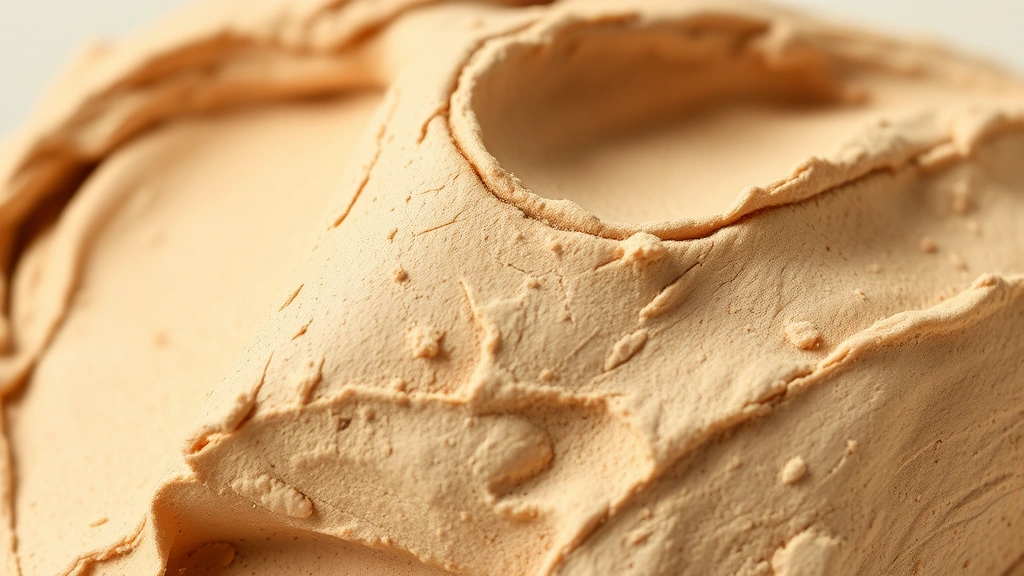
The problem with thick pieces is that the outside dries first, forming a skin that actually traps moisture inside. This is why people get frustrated—the surface feels dry after a day, but the interior is still wet. If you try to paint or seal it too early, you’re basically locking in that moisture, which can lead to cracking as it eventually dries and shrinks.
Pro tip: If you’re making something thick, consider building it hollow or in sections. I once sculpted a figure by creating the body as a hollow shell, then adding solid limbs. It dried in half the time and was way less likely to crack.
Humidity & Temperature Impact
Your workshop environment matters way more than most people realize. In a dry climate with low humidity, clay dries faster. In a humid environment—like a basement or a room near a bathroom—you’re looking at extended drying times. I’ve noticed my projects take almost twice as long during summer humidity compared to winter.
Temperature also plays a role. Warm environments speed up evaporation, cold ones slow it down. The ideal range is around 65-75°F with humidity below 50%. If you’re in a cold garage during winter, expect drying to take significantly longer. Conversely, if you’ve got a nice warm, dry studio space, you’re golden.
This is why timing matters for projects with deadlines. If you need something done by a specific date and you’re in a humid climate, you’ve got to start earlier. I learned this lesson the hard way when I procrastinated on a gift project and underestimated how long it would take to dry in my damp basement studio.
Speeding Up the Process
Sometimes you need your projects to dry faster, and there are legitimate tricks to make it happen. First, increase air circulation. A fan pointed at your project (but not directly blasting it, which can cause uneven drying and warping) will help moisture escape. I keep a small oscillating fan running in my workspace specifically for this.
Second, reduce humidity if possible. If you’ve got a dehumidifier, run it. If not, even opening windows can help on dry days. Third, keep your workspace warm—but not hot. A temperature around 70-75°F is ideal. Some folks use a heat lamp positioned a few feet away, but be careful not to create hot spots that dry one side faster than the other.
You can also try the oven method on low heat, but honestly, I’m cautious about this. Some air dry clays aren’t designed for oven use and can release fumes. Check your product instructions first. If it’s approved, use the lowest setting (around 200°F) and keep an eye on things. Never leave it unattended.
Common Drying Mistakes
I’ve made pretty much every drying mistake in the book, so let me save you the frustration. First mistake: painting or sealing too early. Your piece might feel dry on the outside, but that doesn’t mean it’s dry inside. Wait the full recommended time before applying finishes.
Second mistake: moving pieces around constantly. Every time you relocate your project, you’re disrupting the drying process and potentially creating stress points that lead to cracks. Pick a spot and leave it alone until it’s completely dry.
Third mistake: placing pieces in direct sunlight or near heating vents. Uneven drying is your enemy. You want moisture to escape evenly from all sides. Direct heat or sunlight causes the outside to dry too fast while the inside stays wet, which pretty much guarantees cracks.
Fourth mistake: stacking or crowding pieces. Air needs to circulate around your project. If you’ve got multiple pieces drying, space them out so air can flow all around each one. I learned this when I tried to dry three clay ornaments on a crowded shelf and two of them developed cracks.
Testing If Your Clay Is Dry
Here’s how to actually know when your piece is ready. The weight test is simple—pick it up carefully. Wet or damp clay feels noticeably heavier than fully dry clay. As it dries, you’ll notice it getting lighter. By the time it’s completely dry, it should feel almost weightless compared to when you finished it.
The sound test works too. Tap your piece gently with your fingernail. Damp clay makes a dull thud. Dry clay makes a sharper, clearer sound. It takes practice to develop an ear for it, but once you do, it’s reliable.
The appearance test is helpful but not foolproof. Completely dry clay usually looks lighter in color than when it was fresh. Some clays develop a slight sheen as they dry. But remember, the outside can look dry while the inside is still wet, so don’t rely solely on appearance.
My go-to method: gently press your fingernail into an inconspicuous spot. If it leaves an indent, there’s still moisture. If it’s hard and doesn’t mark, you’re good to go. Do this on the thickest part of your project, not the edges.
Sealing Your Finished Projects
Once your clay is completely dry, sealing it protects your work and gives it a professional finish. Acrylic sealer is the most popular choice—it’s non-toxic, easy to apply, and comes in matte or glossy finishes. I typically use a matte sealer for a natural look unless I want something to really pop.
Apply sealer in thin coats. One thick coat is worse than two or three thin coats. Let each coat dry completely between applications. Most acrylic sealers dry in 1-2 hours, so you can usually finish sealing in a single day.
If you’re concerned about durability—say you’re making something that’ll be handled a lot—consider a polyurethane sealer instead. It’s tougher but takes longer to dry and has stronger fumes, so you’ll want good ventilation. For decorative pieces that won’t get much handling, acrylic is perfectly fine.
Frequently Asked Questions
Can I speed up air dry clay drying in the oven?
Some air dry clays can be oven-dried, but not all. Always check your product instructions first. If it’s approved, use the lowest temperature setting (around 200°F) and never leave it unattended. The process typically takes 30 minutes to an hour depending on thickness. I’d recommend doing a test piece first before committing to this method on an important project.
Will air dry clay crack while drying?
Cracking happens when moisture escapes unevenly or too quickly. Thick pieces are especially prone to it. To minimize cracking, avoid direct heat sources, keep pieces in a stable environment, and don’t move them around. If you’re making something thick, consider building it hollow or in sections. Sometimes small surface cracks appear even with perfect technique—just fill them with a tiny bit of fresh clay and let it dry again.
Is air dry clay waterproof when dry?
Most air dry clay isn’t waterproof on its own. If you need waterproofing, you must seal it with an appropriate sealer. Even then, prolonged water exposure isn’t ideal. I use acrylic sealer for decorative pieces that might get occasional moisture exposure, but for anything that’ll be regularly wet, you’d be better off with traditional fired clay or a different material altogether.
How do I know if my air dry clay is completely dry inside?
The weight test and sound test are your best bets. Completely dry clay feels significantly lighter and makes a sharper sound when tapped. For thick pieces, wait the full recommended drying time plus an extra day or two to be safe. If you’re really unsure, gently press your fingernail into the thickest part—if it leaves an indent, there’s still moisture.
Can I paint air dry clay before it’s completely dry?
Not if you want good results. Paint won’t adhere properly to damp clay, and you risk trapping moisture underneath, which causes cracking and peeling. Always wait until your piece is completely dry before painting. The extra patience is worth it for a professional-looking finish that lasts.
What’s the difference between air dry clay brands?
Different brands have different formulations, and they dry at different rates. Some are polymer-based and dry faster, others are paper-based and take longer. Some shrink more than others as they dry. I’d recommend trying a few brands to see which works best for your style and environment. Always read the instructions on your specific product—they’ll give you the most accurate drying timeline.
Final Thoughts
Understanding how long does air dry clay take to dry isn’t just about patience—it’s about setting yourself up for success. Most pieces take 24-48 hours, but thickness, humidity, and temperature all play huge roles. The key is respecting the drying process, resisting the urge to rush, and creating an environment where moisture can escape evenly.
Start with thin pieces to get a feel for how your specific clay behaves in your workspace. Keep notes on drying times so you can predict timelines for future projects. And remember, a little extra waiting time upfront beats dealing with cracks and failed finishes later. Trust the process, and your clay creations will turn out fantastic.
For more creative projects and finishing techniques, check out our guide on how to frame a puzzle for display inspiration, or explore how to fold an American flag for other craft finishing methods. If you’re working on decorative pieces that need protection, understanding proper sealing and storage is as important as the drying process itself.


