
So you’re wondering how long does a duck take to hatch eggs? The short answer is roughly 28 days, but there’s way more to the story. Whether you’re raising Pekins, Muscovies, or any other breed, understanding the incubation timeline is crucial for successful hatching. I’ve spent enough time around broody ducks to know that patience and attention to detail make all the difference between a thriving clutch and a disappointing batch.
Table of Contents
Incubation Timeline Basics
Duck eggs take approximately 28 days to hatch from the moment you set them in an incubator or under a broody hen. This timeline is pretty consistent across most domestic duck breeds, though some variations exist depending on breed type and environmental conditions. Unlike chicken eggs which hatch in 21 days, duck eggs need that extra week because duck embryos develop at a slightly slower pace.
The 28-day window breaks down into distinct phases: the first week focuses on early embryonic development, weeks two and three involve rapid growth, and the final week is all about positioning and final preparations. If you’re using an incubator, mark your calendar and set reminders because timing matters more than you’d think.
Egg Development Stages
During days 1-7, the embryo starts forming and blood vessels begin developing. You won’t see much if you candle the egg, but trust me—stuff is happening inside. The yolk sac is forming, and the heart starts beating by day three. This early stage is sensitive, so keep conditions stable.
Days 8-21 are the growth powerhouse period. The embryo expands rapidly, consuming the albumen and yolk for nutrition. By day 14, if you candle the egg, you’ll see a dark mass (the embryo) and a network of blood vessels. Days 15-21 bring the embryo into position, with the duck starting to orient itself toward the air cell.
Days 22-28 are the final countdown. The embryo positions itself for hatching, the air cell expands, and the duckling absorbs the remaining yolk. Around day 25-26, the duckling’s egg tooth develops and it starts pipping—breaking through internal membranes. This is when you need to resist the urge to help; the duckling needs to do this work to strengthen its lungs.
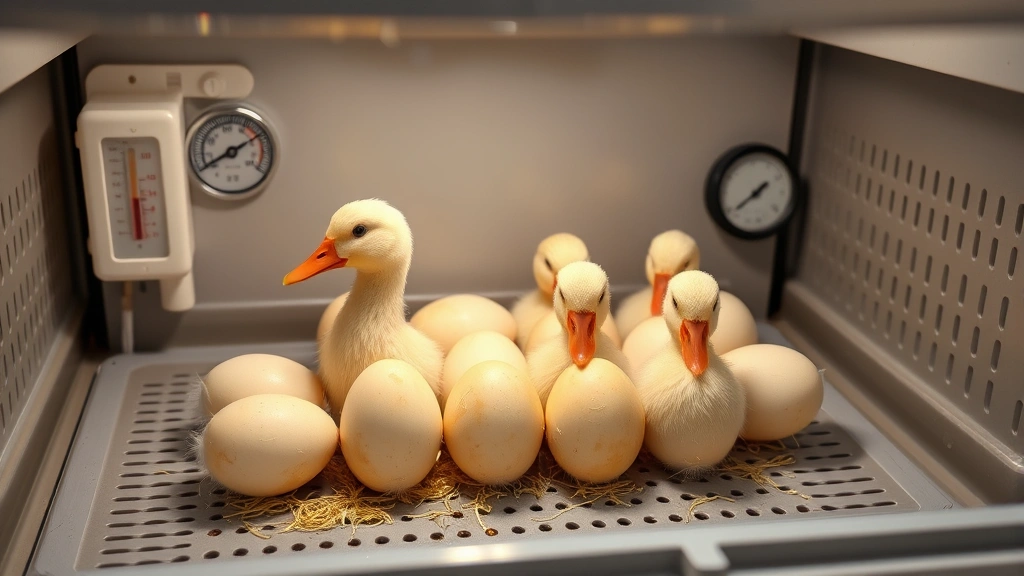
Temperature and Humidity Control
Temperature is non-negotiable. Duck eggs need to be maintained at 99.5°F (37.5°C) for still-air incubators or 101.5°F (38.6°C) for forced-air incubators. Even a one-degree variance can throw off your hatch date by a day or two. I’ve seen hatches delayed because someone didn’t account for room temperature fluctuations.
Humidity requirements change throughout the incubation period. Days 1-25 need 55-60% relative humidity (about 86-88°F wet bulb temperature). From day 25 onward, bump that up to 65-75% humidity to prevent the air cell from shrinking too much. Too little humidity and the duckling can’t absorb the yolk properly; too much and you risk mold growth or improper positioning.
Turning eggs is critical for the first 25 days. Whether you’re using an automatic turner or hand-turning, eggs need to be flipped at least 5-7 times daily. This prevents the embryo from sticking to the shell membrane. Stop turning on day 25 so the duckling can position itself for hatching.
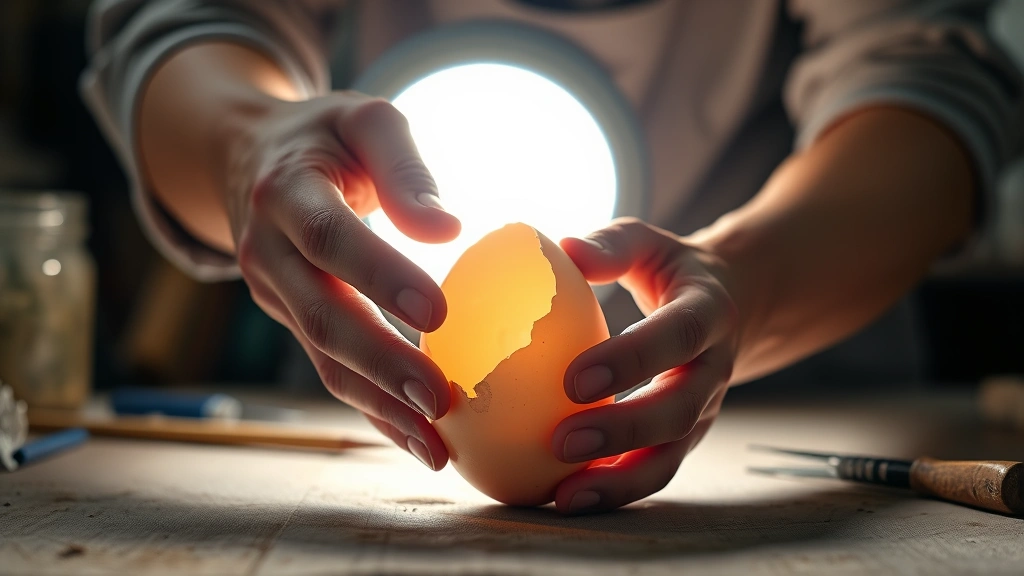
Candling Eggs for Progress
Candling—shining a bright light through the egg—lets you peek at development without cracking it open. Do your first candle around day 7-8. You should see blood vessels spreading out like a spider web and a dark embryo mass. Unfertilized eggs or dead embryos will look clear or have only a small blood ring.
Second candling happens around day 14-15. The embryo should fill about 2/3 of the egg, with the air cell at one end. You might see the embryo moving if you candle carefully. Remove any eggs that look clear or have stopped developing.
A final optional candle on day 25 shows you the air cell size and embryo positioning. If the air cell looks too small, you might need to increase humidity. If the embryo is positioned oddly, it could indicate a problem, though some variation is normal.
The Lockdown Period
Day 25 marks “lockdown”—the point where you stop turning eggs and increase humidity. This is when the duckling orients itself, head toward the air cell, preparing to break through. Stop all egg turning immediately; continued turning after lockdown can cause the duckling to hatch in the wrong position.
From day 25-28, resist opening the incubator unless absolutely necessary. Every time you open it, humidity drops and temperature fluctuates. Some folks get nervous and want to check on things constantly—don’t. Trust the process. The only exception is adding water if humidity is dropping below target.
You might hear peeping sounds starting around day 26-27. That’s internal pipping—the duckling is breathing air from the air cell and vocalizing. This is actually a good sign; it means the embryo is developing properly and communicating with the outside world.
Hatch Day Timeline
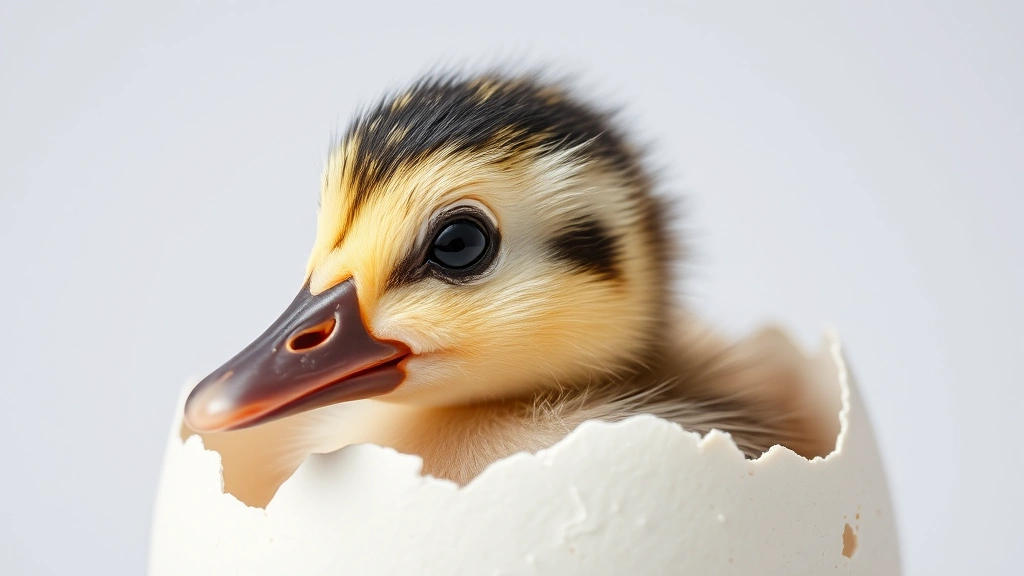
Day 28 is typically hatch day, though ducklings can pip and hatch anytime from day 26-30 depending on exact conditions. Around day 27, you’ll likely see pipping—a small hole in the shell where the duckling’s egg tooth breaks through. This is external pipping, and it’s the beginning of the end.
After pipping, the duckling needs 12-24 hours to absorb the remaining yolk and blood vessels, and to rotate enough to break through the shell. This process is called “zipping” because it creates a line of small breaks around the shell’s circumference. Do not help. I know it’s tempting, but helping can cause bleeding and weak ducklings.
Once the duckling emerges, it’ll be wet and exhausted. Leave it in the incubator for 12-24 hours to dry out. A dry duckling has fluffy down, stands up, and is ready to move to a brooder. Wet ducklings look pathetic, but they’ll dry out with time and warmth.
Breed-Specific Variations
Most domestic duck breeds hatch in 28 days, but there are exceptions. Pekin ducks, the most common meat breed, reliably hatch at 28 days. Muscovy ducks, however, take 35 days—a full week longer. If you’re mixing breeds, this matters. Khaki Campbells and other lightweight breeds typically stick to 28 days.
Muscovy ducks’ extended timeline relates to their larger size and slower embryonic development. If you’re incubating Muscovies, mark day 35 on your calendar and don’t panic if nothing’s happening by day 28. Some heritage breeds also run longer, so check your specific breed’s requirements.
Hybrid ducks might fall somewhere in between, so research before you set eggs. The last thing you want is to assume a 28-day hatch when your ducks need 32 days.
Troubleshooting Common Issues
Early hatches (before day 26) usually indicate temperature running too high. Check your thermometer calibration. Late hatches (after day 30) suggest temperature too low or humidity issues. If ducklings are hatching weak or with yolk sacs still attached, humidity was probably too low during lockdown.
If you’re seeing a lot of unfertilized eggs or early deaths, check your breeding stock. Roosters or drakes might not be fertile, or eggs might be stored improperly before incubation. Store eggs at 55-65°F with pointed end down, and don’t store longer than 10 days.
Sticky chicks (ducklings stuck to the membrane) happen when humidity is too high, preventing proper evaporation. Conversely, chicks that pip but can’t break through usually faced low humidity. It’s a balance, and it takes practice to dial in perfectly.
Post-Hatch Care
Once ducklings are dry and fluffy, move them to a brooder with heat lamp (95°F first week, dropping 5°F each week), water, and starter feed. They’ll be hungry and thirsty after their ordeal. Provide shallow water dishes—deep water can cause drowning in young ducklings because they can’t regulate body temperature yet.
Keep the brooder clean and dry. Ducklings are messy and produce a lot of moisture, so change bedding frequently. Pine shavings work well; avoid cedar and oak which are toxic. By week 3-4, ducklings can handle cooler temperatures and can start spending time outdoors if weather permits.
For more detailed guidance on raising young waterfowl, check out resources on how long it takes for turtle eggs to hatch, which covers similar incubation principles. You might also find it useful to understand broader animal husbandry by exploring ground deer meat recipes if you’re raising livestock for meat production.
Frequently Asked Questions
Can I help a duckling hatch if it’s taking too long?
Resist the urge. Helping before 24 hours after pipping usually causes more harm than good. The duckling needs to absorb the yolk sac and blood vessels. If it’s been 36+ hours since pipping with no progress, you can carefully make the opening slightly larger, but let the duckling do the work.
What if some eggs hatch early and some late?
This is normal. A spread of 2-3 days is common. Early hatchers might be from slightly warmer spots in the incubator; late ones from cooler areas. Once all ducklings are dry, move them together to the brooder.
Do I need an incubator or can a broody duck hatch eggs?
A broody duck works great if you have one willing to sit. She’ll naturally maintain temperature and humidity, and she’ll turn eggs. The downside is she can only handle so many eggs (usually 10-15), and you can’t monitor development as easily.
How do I know if an egg is fertile?
Candle at day 7-8. Fertile eggs show blood vessels and an embryo. Unfertilized eggs look clear inside with no development. Infertile eggs won’t hatch no matter what you do, so remove them early.
What temperature should my brooder be?
Start at 95°F under the heat lamp. Ducklings will huddle under the lamp if cold or spread out if hot. By week 2, drop to 90°F, week 3 to 85°F, and so on. By week 4-5, if weather is mild, they might not need heat at all.
Can I incubate duck and chicken eggs together?
Not recommended. Chickens hatch in 21 days; ducks in 28. You’d need to remove chickens at day 21, disrupting humidity and temperature for remaining duck eggs. Separate batches work better.
Final Thoughts
Hatching duck eggs takes patience, precision, and a willingness to let nature do its thing. The 28-day timeline (or 35 for Muscovies) is your roadmap, but every hatch is slightly different. Keep detailed records of temperatures, humidity, and candling observations. Each batch teaches you something new about your incubator and your breed.
The reward—watching fluffy ducklings emerge and grow into productive layers or meat birds—makes the careful attention worthwhile. Start with good eggs from healthy stock, maintain stable conditions, and resist the urge to intervene during the hatch. You’ve got this.


