
A hoisin sauce recipe is one of those kitchen game-changers that’ll have you wondering why you ever bought the bottled stuff. I’m talking about a rich, glossy, umami-packed sauce you can whip up in about five minutes with ingredients you probably already have hanging around your pantry. No weird additives, no mystery ingredients—just pure, honest flavor that tastes like it came straight from a professional kitchen.
Table of Contents
What Is Hoisin Sauce?
Hoisin is a thick, dark, sweet-savory condiment that’s absolutely essential in Asian cooking, especially Chinese cuisine. Think of it as the bridge between sweet and savory—it’s got molasses-like depth, a hint of spice, and that addictive umami punch that makes your taste buds sit up and take notice. The name comes from the Chinese word “hae-sin,” which means “seafood,” though modern versions don’t necessarily contain seafood at all.
The sauce is traditionally made with fermented soybeans, but you can create a fantastic approximation at home that’s actually fresher and more customizable than most store-bought versions. It’s thick enough to cling to meat or vegetables, but fluid enough to brush on or drizzle over dishes.
Why Make Homemade Hoisin
Store-bought hoisin often comes loaded with corn syrup, preservatives, and ingredients you can’t pronounce. When you make your own hoisin sauce recipe, you control every single element. You get better flavor complexity, fresher ingredients, and the satisfaction of knowing exactly what’s going into your food.
Plus, homemade hoisin costs about a quarter of what you’d pay for a quality bottled version, and it tastes noticeably better. Once you’ve made it fresh, you’ll never go back. It’s also perfect if you’re working on easy vegan dinner recipes since you can adjust the ingredients to fit your dietary needs.
Ingredients You Need
Here’s the beautiful part—you probably have most of these sitting in your kitchen right now:
- Soy sauce: ¼ cup (use low-sodium if you prefer)
- Peanut butter: 3 tablespoons (natural or regular works)
- Molasses: 2 tablespoons (blackstrap gives deeper flavor)
- Rice vinegar: 1 tablespoon (or apple cider vinegar)
- Honey: 1 tablespoon (adds smoothness)
- Garlic: 2 cloves, minced (fresh is crucial here)
- Ginger: ½ teaspoon, minced (or ¼ teaspoon ground)
- Sesame oil: ½ teaspoon (don’t skip this—it’s the secret weapon)
- Red pepper flakes: ¼ teaspoon (adjust to your heat tolerance)
- Water: 2-3 tablespoons (to reach desired consistency)
That’s it. Ten ingredients, most of which are pantry staples. The peanut butter might seem odd, but it’s what gives homemade hoisin that thick, luxurious body that makes it cling to food beautifully.
Step-by-Step Instructions
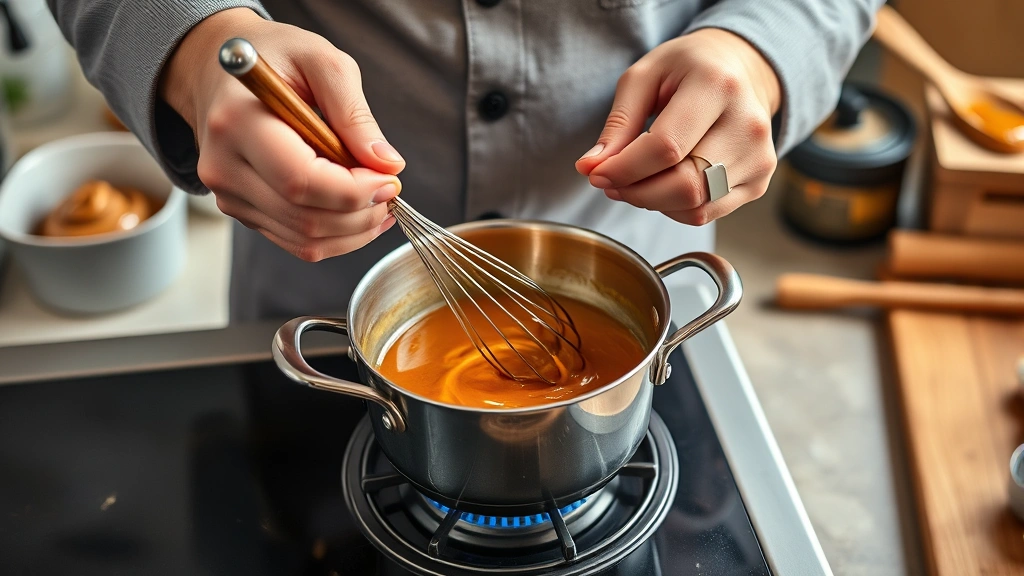
Step 1: Combine Your Base
Grab a small saucepan and add your soy sauce, molasses, and honey. Put it over medium heat and stir until everything dissolves together smoothly. You’re looking for a glossy, dark mixture—this should take about 1-2 minutes. Don’t rush this; let the molasses really meld with the soy sauce.
Step 2: Add the Aromatics
Mince your garlic and ginger fresh (seriously, don’t use jarred for this—the flavor difference is massive). Add them to the pan and stir constantly for about 30 seconds. You’ll smell that incredible ginger-garlic aroma hit your nose—that’s when you know you’re on the right track. This brief cooking mellows the raw edge while keeping the flavors bright.
Step 3: Incorporate the Peanut Butter
Add your peanut butter and sesame oil. This is where the magic happens. Stir constantly and let it simmer for another minute. The peanut butter will initially look like it’s not blending, but keep stirring—it’ll come together into a silky, cohesive sauce. If you’re making dishes like cranberry salsa recipe, this thickness is exactly what you’re after in a complementary sauce.
Step 4: Balance the Flavors
Add your rice vinegar and red pepper flakes. Stir well and taste. This is your moment to adjust. Need it sweeter? Add a touch more honey. Too thick? Add water a tablespoon at a time until you get the consistency you want. Too spicy? Add a pinch more peanut butter to mellow it out.
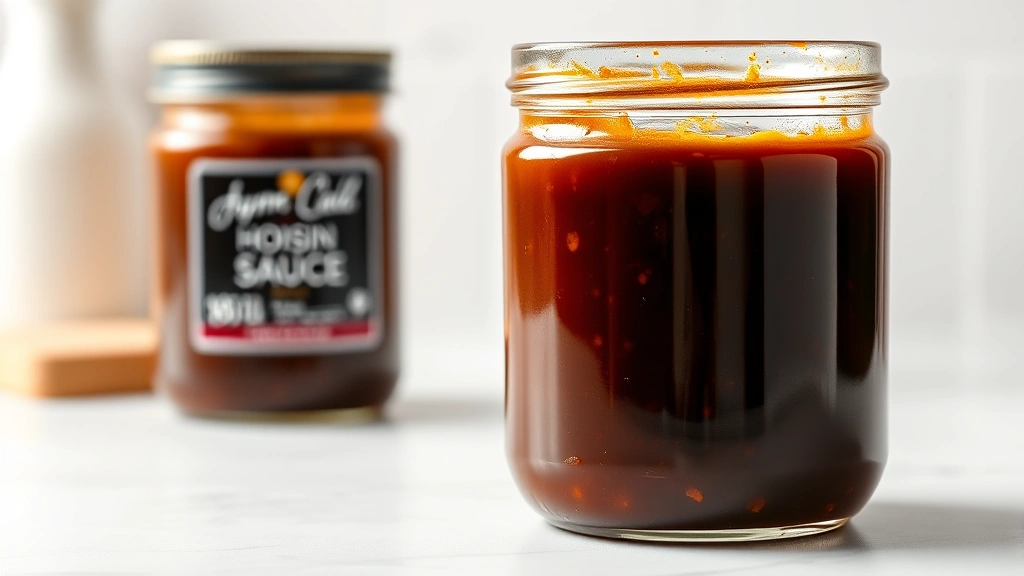
Step 5: Cool and Store
Remove from heat and let it cool for a few minutes. Transfer to a glass jar or container. The sauce will thicken slightly as it cools, which is exactly what you want. That’s your finished product—you’ve just made restaurant-quality hoisin sauce in about five minutes flat.
Flavor Variations & Tweaks
This is where you get creative. The basic recipe is solid, but here are some directions you can take it:
Spicier Version: Add ½ teaspoon of sriracha or increase the red pepper flakes to ½ teaspoon. Some folks add a pinch of cayenne for extra heat.
Deeper Umami: Stir in ½ teaspoon of miso paste for serious savory depth. It’ll make the sauce taste even more complex and restaurant-quality.
Ginger Forward: If you love ginger, bump it up to ¾ or 1 teaspoon. Fresh ginger is always better than ground here.
Five-Spice Version: Add ¼ teaspoon of Chinese five-spice powder for that warm, complex flavor you get in authentic Asian cuisine.
Citrus Twist: Replace some of the rice vinegar with lime juice for brightness, especially if you’re using it on seafood like haddock recipes oven style.
Storage & Shelf Life
This is one of the best parts about making your own sauce—it keeps for ages. Store it in an airtight glass jar in the refrigerator, and it’ll stay fresh for about three weeks. The soy sauce acts as a natural preservative, so you don’t need to worry about it going bad quickly.
You can also freeze it in ice cube trays if you want portion-controlled amounts. Pop out a cube whenever you need a tablespoon or two. It freezes beautifully and thaws in minutes. I usually make a double batch and freeze half of it—no point in making something this easy just once.
The sauce will thicken slightly as it sits in the fridge, which is fine. Just stir it up before using, or add a splash of water if you need it thinner. Some separation might occur, but that’s normal—just stir it back together.
Uses & Applications
Once you’ve got a jar of homemade hoisin, you’ll find yourself using it on everything. Brush it on grilled chicken, pork, or beef about five minutes before they’re done cooking—it’ll caramelize beautifully and create an incredible glaze. Use it as a dipping sauce for spring rolls, dumplings, or roasted vegetables.
Stir a couple tablespoons into ground meat for Asian-style tacos or lettuce wraps. Mix it with mayo for an incredible sandwich spread. Drizzle it over rice bowls with roasted vegetables and protein. Use it as a marinade base for grilled meats—just combine it with a bit of oil and let your protein sit in it for 30 minutes to a few hours.
It’s also fantastic in stir-fries. Add a tablespoon or two toward the end of cooking to coat your vegetables and meat with that glossy, delicious finish. If you’re planning easy dessert recipes to feed a crowd, you could even use a touch in a glaze for roasted vegetables served alongside.
Troubleshooting Guide
Too Thin? Simmer it on low heat for a few minutes to reduce it slightly. The longer it cooks, the thicker it becomes. Don’t let it boil hard, though—you’ll lose the fresh flavors.
Too Thick? Add water one tablespoon at a time and stir well. It should be pourable but still coat a spoon.

Tastes Too Sweet? Add another tablespoon of soy sauce or a splash of vinegar to balance it out. You want sweet and savory in harmony, not one overpowering the other.
Tastes Too Salty? Add a bit more honey or molasses to balance the salt. You can also add a splash of water and let it simmer briefly.
Peanut Butter Won’t Blend In? Make sure your sauce is warm enough. Cold sauce won’t blend smoothly. If it’s already cooled, reheat it gently and stir again.
Grainy Texture? This usually means the peanut butter wasn’t fully incorporated. Reheat gently and whisk vigorously. You might also strain it through a fine-mesh sieve if you’re really concerned about texture.
Frequently Asked Questions
Can I use almond butter instead of peanut butter?
Absolutely. Almond butter will give you a slightly more delicate flavor, but it works great. Tahini also works if you want a nuttier, more sesame-forward sauce. The consistency might be slightly different, but you can adjust with water.
Is this recipe vegan?
Yes, completely! Soy sauce, molasses, honey, peanut butter, rice vinegar, garlic, ginger, sesame oil, and red pepper flakes are all vegan. It’s naturally plant-based, which is one of the reasons it’s so versatile.
Can I make a big batch and can it?
You can make a large batch, but I wouldn’t recommend traditional canning since this isn’t a high-acid preserve. Stick with refrigerator storage or freezing. The sauce keeps fine in the fridge for three weeks, so you don’t really need to can it.
What’s the difference between this and store-bought hoisin?
Store-bought versions often contain corn syrup, additives, and preservatives. This homemade version is fresher, cleaner-tasting, and you control the sweetness level. Plus, it costs way less.
Can I adjust the spice level?
Definitely. Start with ¼ teaspoon of red pepper flakes and add more if you want heat. You can also use fresh Thai chilies, sriracha, or any hot sauce you like. Taste as you go.
How long does it take to make?
About five minutes from start to finish. That’s mixing, cooking, and cooling time included. It’s faster than running to the store.
Can I use this as a marinade?
Yes, but thin it out slightly with a bit of oil and water first. Use about ¼ cup hoisin sauce, 2 tablespoons of neutral oil, and 1 tablespoon of water. Let your protein marinate for 30 minutes to a few hours.
Final Thoughts
Making your own hoisin sauce recipe is one of those small kitchen skills that pays huge dividends. You’ll save money, get better flavor, and impress anyone who tastes your cooking. The five-minute timeline means there’s zero excuse not to make it fresh every time you need it. Keep a jar in your fridge at all times, and you’ll find yourself reaching for it constantly—on grilled meats, in stir-fries, as a dipping sauce, or brushed on roasted vegetables.
The best part? Once you master this basic recipe, you can start experimenting with variations that match your taste preferences. Add more heat, more ginger, more garlic—make it yours. That’s the real power of cooking from scratch instead of relying on store-bought versions. You’re not just saving money; you’re taking control of your kitchen and your food.


