
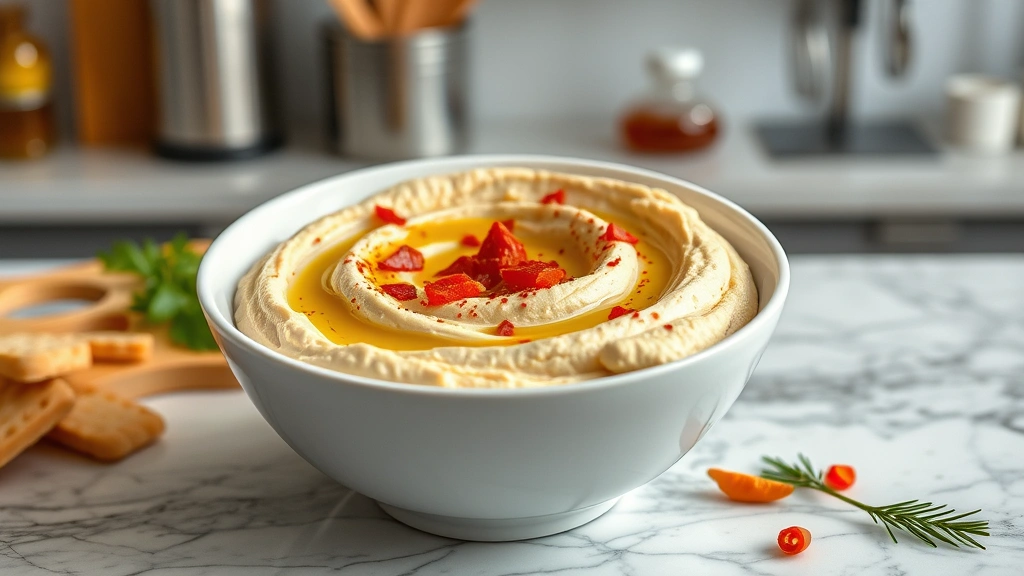
Making homemade hummus recipes without tahini is easier than you think, and honestly, it opens up a whole world of flavor possibilities you might’ve overlooked. Whether you’ve got a tahini allergy, can’t find it at your local store, or just want to experiment with different bases, I’ve got you covered with five solid methods that’ll have you whipping up creamy, delicious hummus in your kitchen like a pro.
Table of Contents
Why Skip Tahini?
Look, tahini is great, but it’s not mandatory for good hummus. Some folks have allergies or sensitivities to sesame. Others find tahini’s earthy flavor overpowering or simply don’t have it stocked. The truth is, chickpeas are the star of the show anyway—everything else is just supporting cast. By ditching tahini, you’re actually freeing yourself up to experiment with ingredients you probably already have in your pantry. Plus, these no-tahini versions often cost less and come together just as quickly.
Sunflower Seed Base Method
This is my go-to substitute because sunflower seeds are affordable, widely available, and deliver that nutty creaminess you’re after. You’ll need one 15-ounce can of chickpeas (drained and rinsed), 1/3 cup raw sunflower seeds, 3 tablespoons lemon juice, 2 cloves garlic, 1/4 cup extra virgin olive oil, 1/2 teaspoon salt, and 2-3 tablespoons water.
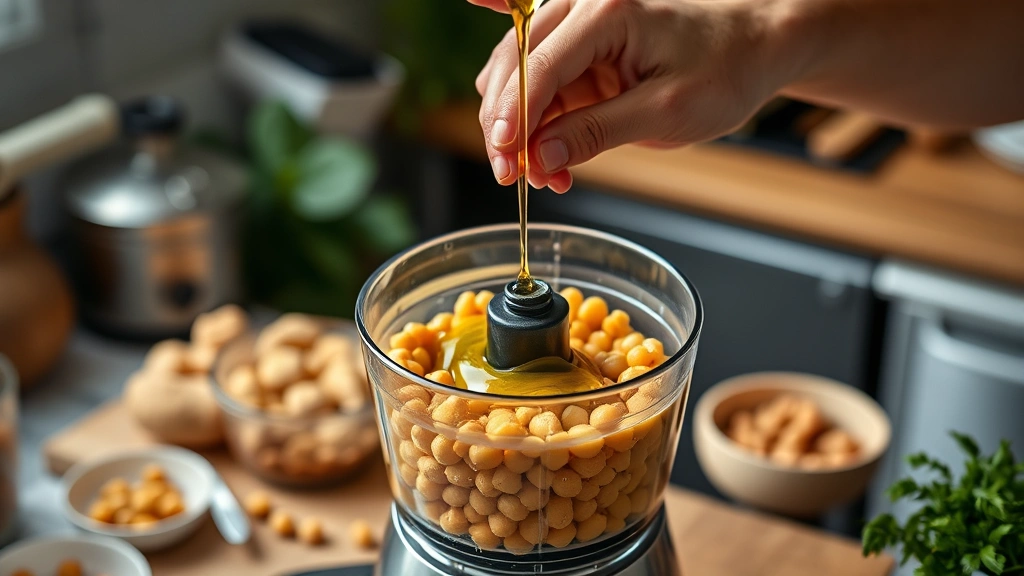
Toss the sunflower seeds into a food processor and blend for about two minutes until they break down into smaller pieces. Add your chickpeas, garlic, lemon juice, and salt. Pulse everything together, then drizzle in the olive oil while the processor runs. Add water gradually until you hit that silky consistency. The whole process takes maybe five minutes. The result? Creamy, slightly sweet hummus that’s honestly hard to distinguish from the tahini version.
Greek Yogurt Creamy Method
If you want maximum creaminess with minimal effort, Greek yogurt is your secret weapon. This method uses one 15-ounce can chickpeas, 1/2 cup plain Greek yogurt, 3 tablespoons lemon juice, 2 cloves garlic, 3 tablespoons olive oil, 1/2 teaspoon cumin, and salt to taste.
The yogurt adds protein and creates an incredibly smooth texture without any grittiness. Dump everything into your food processor and blend until completely smooth—usually 3-4 minutes. You won’t need to add much water because the yogurt provides plenty of moisture. The tanginess from the yogurt actually complements the chickpeas beautifully, giving you a hummus that’s slightly lighter than traditional versions but still totally satisfying. This method works especially well if you’re serving it alongside stuffed cabbage or other Mediterranean dishes.
Cashew Butter Rich Method
Want something luxurious? Cashew butter delivers richness and subtle sweetness that elevates your hummus game. You’ll need one 15-ounce can chickpeas, 1/4 cup cashew butter (or homemade if you’re feeling ambitious), 3 tablespoons lemon juice, 2 cloves garlic, 1/4 cup olive oil, 1/2 teaspoon salt, and 3-4 tablespoons water.
This one’s straightforward: combine everything in your food processor and blend until you reach your desired consistency. The cashew butter already contains fat and creaminess, so you might use slightly less olive oil than other methods. The flavor profile is more indulgent—perfect if you’re making hummus for a special occasion or want to impress someone at a dinner party. The chickpeas and cashew butter combination creates something almost buttery that regular tahini-based hummus can’t quite match.
Extra Olive Oil Method
Sometimes the simplest approach wins. This method strips everything back to basics: one 15-ounce can chickpeas, 1/2 cup extra virgin olive oil, 4 tablespoons lemon juice, 3 cloves garlic, 1/2 teaspoon salt, 1/4 teaspoon cayenne pepper, and 4-5 tablespoons water.
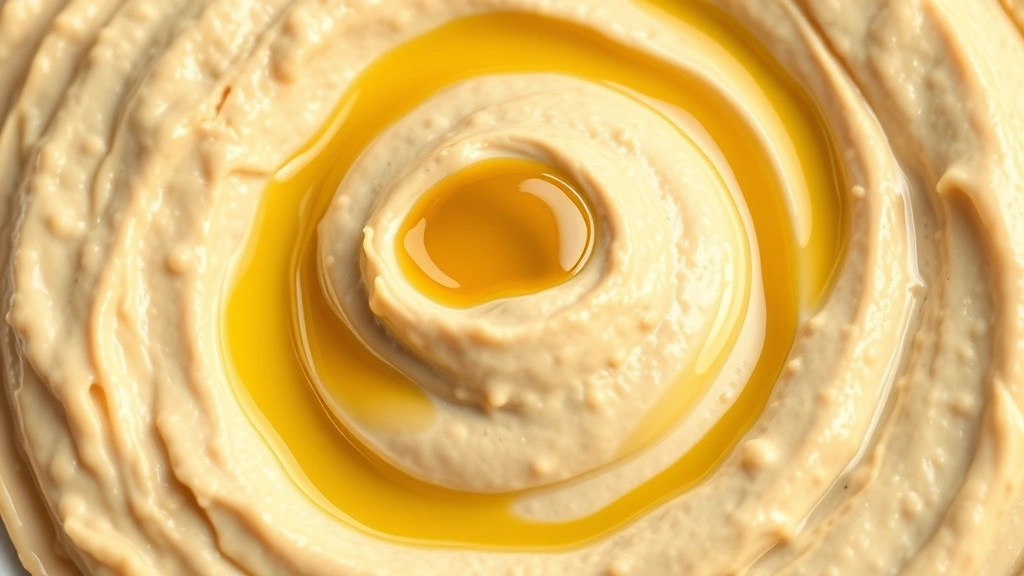
The trick here is using really good olive oil—it becomes the main flavor component since you’re not using tahini or other nut butters. Process your chickpeas, garlic, lemon juice, and spices first, then slowly drizzle in that premium olive oil while everything’s running. The emulsion that happens creates incredible creaminess. You’ll end up with hummus that tastes cleaner and brighter, with the olive oil’s fruity notes shining through. This method is perfect if you’ve invested in quality oil and want it to be the star.
Avocado Smooth Method
Here’s where things get interesting. One ripe avocado mixed into hummus creates something special—incredibly smooth, slightly creamy, and with a subtle richness. Use one 15-ounce can chickpeas, one ripe avocado, 3 tablespoons lemon juice, 2 cloves garlic, 2 tablespoons olive oil, 1/2 teaspoon salt, and 2 tablespoons water.
The avocado acts as your fat base, so you need less olive oil than other methods. Blend everything together until completely smooth. The lemon juice prevents browning, so your hummus stays vibrant green. This version works best served fresh—the avocado doesn’t store as long as other methods—but it’s absolutely worth making when avocados are in season. Pair it with fried rice or fresh vegetables for a light meal.
Flavor Variations to Try
Once you’ve nailed your base recipe, experiment with flavors. For roasted red pepper hummus, add 1/2 cup jarred roasted red peppers to any base method. Roasted garlic hummus means using roasted garlic instead of raw—milder and sweeter. Try adding 1/4 cup fresh herbs like cilantro or parsley for herb-forward versions. Spice lovers should add smoked paprika, cumin, or even a dash of harissa. You can also make a beet hummus by adding 1/3 cup cooked beets for an earthy, visually stunning dip.
The beauty of making hummus at home is that you control everything. Don’t like it too garlicky? Use one clove instead of three. Want it spicier? Add more cayenne. Prefer it sweeter? A teaspoon of honey does the trick. These recipes are starting points, not rigid rules.
Storage and Shelf Life
Homemade hummus keeps in an airtight container in your fridge for about five days, though the avocado version should be consumed within two days. The key is keeping it sealed to prevent oxidation and drying out. If you notice the surface darkening slightly, that’s just oxidation—still safe to eat, but you can scrape it off if it bothers you.
Want to extend shelf life? Freeze your hummus in ice cube trays, then transfer the cubes to freezer bags. They’ll last about three months. Thaw in the fridge overnight before serving. This works great for all methods except the avocado version, which gets weird when frozen.
Common Issues Fixed
If your hummus comes out grainy, you probably didn’t blend it long enough. Keep that food processor running for at least 5-7 minutes—seriously, longer than you think. The friction from the processor actually heats up the mixture and helps everything emulsify smoothly. Too thick? Add water one tablespoon at a time. Too thin? Blend in another 1/4 cup chickpeas. Not creamy enough? You might need more fat—add another tablespoon of olive oil or nut butter.
Bitter taste means your garlic’s too raw or the lemon juice is overwhelming. Use less of each next time, or roast your garlic first. Not enough flavor? Increase the salt gradually—it’s a flavor amplifier. Separated oil on top? That’s normal and easy to fix—just stir it back in or drain it off if you prefer.
Frequently Asked Questions
Can I use canned chickpeas or do I need dried?
Canned chickpeas work perfectly and are actually preferable for most home cooks. They’re pre-cooked, so you skip the long soaking and cooking process. Just drain and rinse them well to remove excess sodium. If you want to use dried chickpeas, soak them overnight, then cook for about 1.5 hours until tender. Drain well before processing.
Why does my hummus separate?
Separation happens when the oil and chickpea mixture don’t emulsify properly. This usually means you didn’t blend long enough or your food processor isn’t powerful enough. Try blending for the full 7-10 minutes and add the oil slowly while the processor runs. A high-powered blender works even better than a food processor for this reason.
Is homemade hummus cheaper than store-bought?
Absolutely. A can of chickpeas costs about 50 cents, and your other ingredients are pantry staples. You’ll make a batch for under two dollars that would cost five or six at the store. The flavor difference is worth it too—fresher and more vibrant than anything sitting on a shelf.
Can I make hummus without a food processor?
Technically yes, but it’s tough. You could use an immersion blender, though you’ll need to work in smaller batches. A high-powered blender like a Vitamix works great. Without any of these tools, you’re looking at mashing by hand, which gives you a chunky spread rather than smooth hummus. Not ideal, but doable if you’re desperate.
What’s the best oil to use?
Extra virgin olive oil is traditional and delivers great flavor, especially in the olive oil-heavy method. For other methods, regular olive oil works fine since other ingredients are competing for attention. Avoid cheap oils with off-flavors. If you’re using the avocado method, lighter olive oil won’t overpower the delicate avocado taste.
Can I make hummus ahead for parties?
Yes, and it’s actually better when made a day or two ahead—flavors meld together. Make it up to four days before your event and store in the fridge. Just before serving, give it a good stir and drizzle with olive oil on top. You can also make and freeze batches weeks ahead if you want ultimate convenience.
Does hummus need to be served cold?
Not necessarily. Hummus is traditionally served at room temperature or slightly chilled. Cold hummus straight from the fridge is fine too, but letting it sit out for 15-20 minutes before serving brings out the flavors better. Never serve it hot—heat changes the texture and flavor profile.
What should I serve hummus with?
Pita bread, vegetables (carrots, celery, cucumber, bell peppers), crackers, or tortilla chips all work great. It’s also excellent as a sandwich spread or sauce. Try it with branzino for a Mediterranean-inspired meal, or use it as a dip for brie bites at a party.
External Resources: For more Mediterranean cooking inspiration, check out Family Handyman’s kitchen guides, This Old House’s recipe collection, and Bob Vila’s cooking tips.


