

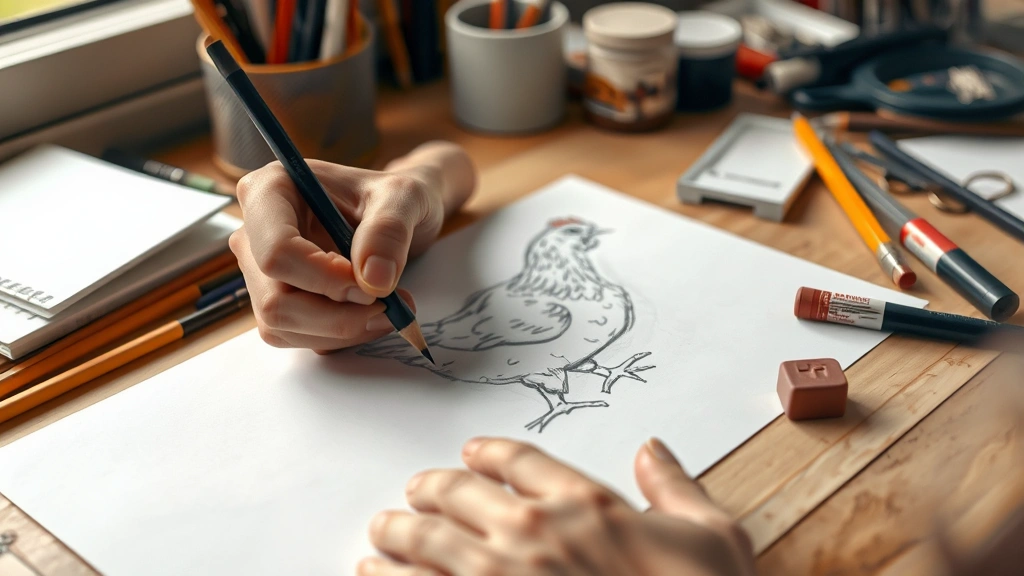
Learning hen how to draw is one of the most rewarding skills you can pick up, whether you’re an aspiring artist, a parent looking to entertain kids, or just someone who wants to create something with their hands. Drawing a hen might seem intimidating at first, but I’m here to tell you it’s absolutely doable—even if you think you can’t draw a straight line. In this guide, we’ll break down the process into manageable steps that anyone can follow, from complete beginners to folks with a little drawing experience under their belt.
Table of Contents
Gather Your Materials
Before you start drawing, let’s talk about what you’ll actually need. The good news? You probably have most of this stuff already. Grab a pencil—a regular #2 HB pencil works perfectly fine for beginners. You’ll want some quality paper; sketch paper or drawing paper gives you a nice surface to work on, but honestly, printer paper works too when you’re starting out. Get yourself an eraser (a kneaded eraser is fantastic because it doesn’t damage the paper), a pencil sharpener, and maybe a ruler if you want perfectly straight lines. Some folks like having a blending stump or even a tissue for softening pencil marks, but that’s optional. The key is not overthinking your supplies—you don’t need expensive gear to create something beautiful.
Start with Basic Shapes
Here’s the secret that professional artists don’t want you to know: everything, and I mean everything, starts with basic shapes. A hen is really just a collection of circles, ovals, and triangles arranged in a specific way. Don’t try to draw the finished hen right away. Instead, lightly sketch an oval for the body—this is going to be the main bulk of your hen. Then add a smaller circle for the head, positioned above and slightly forward of the body. These light, loose strokes are just your foundation, so don’t press hard. You’re basically creating an invisible skeleton that guides everything else. This approach removes the pressure of getting it perfect because you’re just playing with shapes at this stage.
Sketch the Hen Body
Now that you’ve got your basic shapes down, let’s refine that body. Your oval should be tilted slightly—hens don’t stand perfectly upright like statues. Adjust your oval so it angles a bit forward and downward. This gives your hen a more natural, realistic posture. The body is where most of the hen’s mass lives, so make sure it’s proportionally larger than the head. Think about how a real hen looks: the body is chunky and rounded, kind of like a fluffy potato with feathers. Start rounding out the edges of your oval, making it less geometric and more organic-looking. You’re transitioning from stick-figure territory into actual hen territory here.
Add the Head and Neck
The head and neck are what really start making your drawing look like an actual bird. Connect your head circle to the body with a curved neck line. Hen necks aren’t long and thin like a goose’s—they’re relatively short and thick. Draw two curved lines connecting the head to the body, and then fill in the space between them. The head itself should be a fairly small circle, positioned so it’s looking slightly forward and down, like a hen naturally does when it’s pecking around. Don’t make the head too large, or your hen will look cartoonish (unless that’s what you’re going for, which is totally fine!). The proportions should feel balanced—the body should clearly be the dominant feature.
Draw Wings and Feather Details
This is where your hen really starts coming alive. On each side of the body, you’re going to sketch in wings. Hen wings fold against their bodies pretty tightly, so don’t make them huge and spread out. Draw a curved line from about the middle of the body that follows the body’s contour, creating a wing shape on each side. The wings should look like they’re tucked in, not splayed out. Now here’s where it gets fun: add some feather lines. Lightly sketch curved lines within the wing area, following the direction the feathers would naturally lay. These don’t need to be perfect—just suggest the texture and form. Feathers overlap each other, so varying your line lengths and angles makes it look more realistic. You can also add a few feather details along the back and sides of the body for extra character.
Create Legs and Feet
Hen legs are pretty simple, which is great because you’re getting close to the finish line. From the bottom of the body, draw two thin, straight lines downward. Hen legs are relatively short and skinny compared to the body. At the bottom of each leg, create the foot by drawing three forward-facing toes and one toe pointing backward. Don’t overthink the feet—simple lines work perfectly. The feet should look like little bird claws, with each toe tapering to a point. Some people like to add a bit of detail by showing the segments on each toe, but that’s optional. The legs and feet ground your hen and give it stability in the composition.
Refine Facial Features
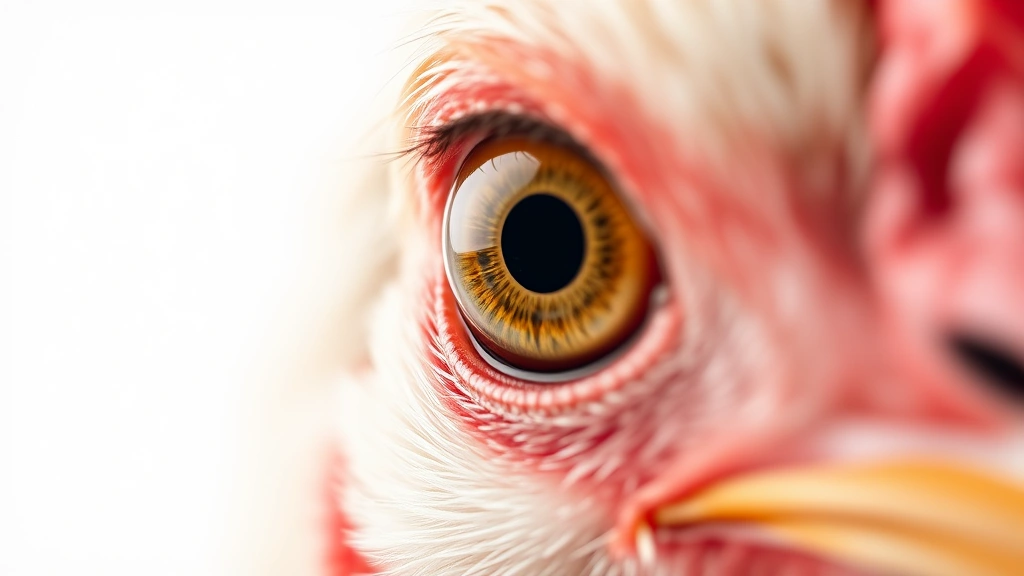
Now let’s give your hen personality. On the head, you need to add an eye, a beak, and a comb (that red floppy thing on top of a hen’s head). Start with the eye—it’s a small circle or oval positioned on the side of the head. Inside that, draw a smaller circle for the pupil, and leave a tiny white spot for the highlight, which makes the eye look alive and shiny. The beak is a small triangle or pointed shape extending from the front-lower part of the head. Make it look like it’s slightly open or closed—whatever feels right. The comb is the fun part: it’s a wavy, bumpy shape on top of the head that looks almost like a crown or a flame. Draw a few bumps or waves creating the comb shape. You can also add a small wattle (that dangly bit under the chin) if you want extra detail. These facial features are what make your hen recognizable as a hen and not just a generic bird.
Add Shading and Texture
This step transforms your drawing from a sketch into something with real dimension. Look at your hen and imagine where light would naturally fall. Usually, light comes from above and slightly to one side. The areas facing away from the light should be darker. Using your pencil, start adding light shading to these areas—use gentle, circular motions or directional strokes following the form of the feathers. Build up your shading gradually; you can always add more darkness, but it’s harder to remove it. Focus on creating shadows under the wings, along the bottom of the body, and under the head. Don’t make it uniformly dark—vary your pressure and create subtle gradations. The body should look three-dimensional, like it has volume and form. Remember that feathers catch light differently, so you can leave some areas lighter to suggest the texture of individual feathers.
Final Touches and Details
You’re in the home stretch now. Step back and look at your drawing as a whole. Are there any areas that need more definition? Add darker lines where edges need more contrast. Sharpen up the eye so it really pops—make sure that highlight is bright and clear. You might want to darken the beak and add a line showing where the upper and lower beak meet. If you want, add a few more feather details or texture lines to make the surface more interesting. Some artists like to add a simple ground line or shadow beneath the hen to anchor it in space. Check your proportions one more time—does the head look right relative to the body? Are the legs positioned correctly? Make any final adjustments. When you’re happy with how it looks, you can go over your final lines with slightly more pressure to make them pop, or leave it soft and sketchy for a more artistic feel. Both approaches work beautifully.
Frequently Asked Questions
What if I make a mistake while drawing?
Mistakes are part of the process—honestly, they’re not really mistakes at all. If you’ve drawn something in the wrong place, just erase it lightly and redraw it. If the eraser leaves a mark, you can blend it with your finger or a tissue. Many professional artists work through multiple iterations before they’re happy. The beauty of pencil is that it’s forgiving. Keep a kneaded eraser handy and don’t stress about perfection.
Do I need to use reference photos?
Using reference photos is incredibly helpful, especially when you’re starting out. Look at real hens or high-quality photos to understand their proportions, posture, and feather patterns. You don’t need to copy the photo exactly—just use it to inform your drawing and help you understand how hens actually look. This makes your drawing more convincing and helps you learn faster.
How long does it take to draw a hen?
A basic hen drawing can take anywhere from 15 to 45 minutes, depending on how detailed you want to get and your experience level. Beginners might take longer because they’re working carefully through each step. As you practice, you’ll get faster. Don’t rush—the goal is to enjoy the process and create something you’re proud of.
Can I use colored pencils or markers?
Absolutely! Once you’ve got your pencil drawing down, you can add color with colored pencils, markers, watercolors, or whatever medium you prefer. Many people find that adding color makes their hen drawing feel more complete and vibrant. Just let your pencil drawing dry completely if you’re using wet media, and consider using a fixative spray to protect your work.
What if my hen doesn’t look realistic?
Not every drawing needs to be photorealistic, and honestly, sometimes a more stylized or cartoon-like hen is more charming. If you want more realism, spend extra time on shading and details. Study how light and shadow work on feathered surfaces. But remember, there’s no “wrong” way to draw—your style is valid, whether it’s realistic, cartoon-like, or somewhere in between.
If you want to expand your drawing skills beyond poultry, you might find it helpful to understand how long does it take for turtle eggs to hatch if you’re interested in drawing other animals and their life cycles. For those documenting their artistic progress, how to cite a internet source MLA can help you properly reference the tutorials and resources you’ve used. And if you’re creating digital versions of your hen drawings, how to add drop down list in excel can help you organize your art portfolio or track your drawing progress. For sharing your finished work on social media, how to screen record on iPhone 16 is perfect for creating time-lapse videos of your drawing process.
Drawing a hen is genuinely one of the most satisfying beginner art projects you can tackle. You’ve got a clear subject, manageable proportions, and tons of room for personal style and interpretation. Start with those basic shapes, work through the steps methodically, and don’t be afraid to add your own flair. The more you practice, the more confident you’ll become, and soon you’ll be sketching hens from memory without even thinking about it. So grab your pencil, find a comfortable spot, and start drawing. Your hen is waiting to come to life on that blank page.


