
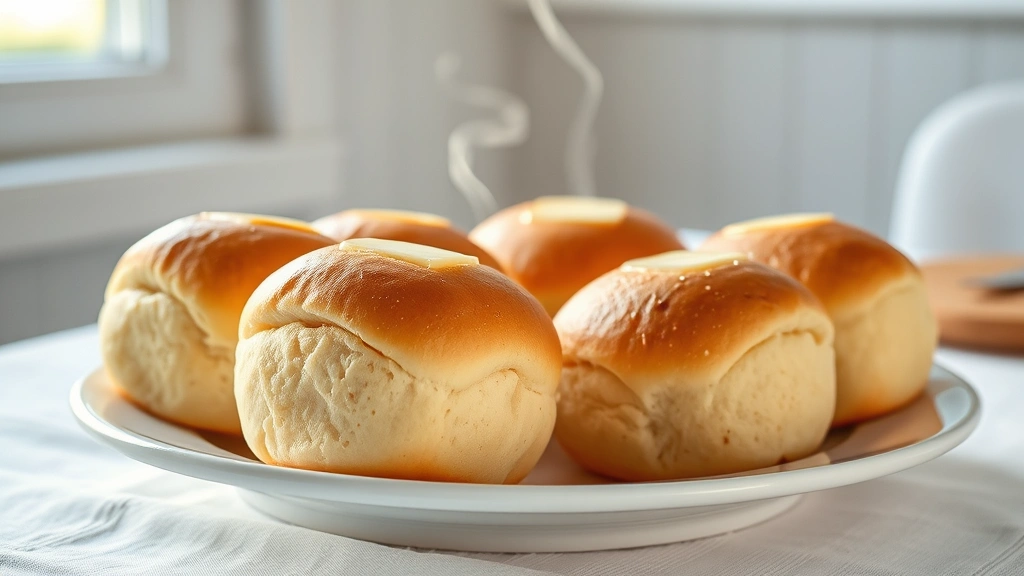
A hawaiian rolls recipe is your ticket to making those pillowy-soft, slightly sweet dinner rolls that disappear faster than you can say ‘pass the butter.’ These aren’t your grandmother’s plain dinner rolls—they’re the ones with a subtle tropical sweetness that makes people ask for seconds before they’ve finished their first bite. I’ve been baking these for years, and I’m going to walk you through exactly how to nail them in your own kitchen.
Table of Contents
Ingredients You’ll Need
Let’s start with what goes into a solid hawaiian rolls recipe. You don’t need anything exotic or hard to find—just quality basics that work together.
For the dough, grab 3 cups of all-purpose flour, 1 packet (2¼ teaspoons) of instant yeast, ½ cup of granulated sugar, 1 teaspoon of salt, 2 tablespoons of butter (softened), 1 large egg, ¾ cup of whole milk (warmed), and ¼ cup of pineapple juice (this is the secret weapon). The pineapple juice gives you that signature Hawaiian flavor without being overwhelming.
For brushing and topping, you’ll want 2 tablespoons of melted butter and a light sprinkle of sea salt if you’re feeling fancy. Some bakers add a tablespoon of honey to the wash for extra shine—totally optional, but I do it.
Why Hawaiian Rolls Work
The magic of a hawaiian rolls recipe comes from the combination of sugar, pineapple juice, and the right ratio of wet to dry ingredients. The sugar feeds the yeast and creates that tender crumb structure. The pineapple juice adds acidity and subtle sweetness that balances perfectly with bread flour’s earthiness.
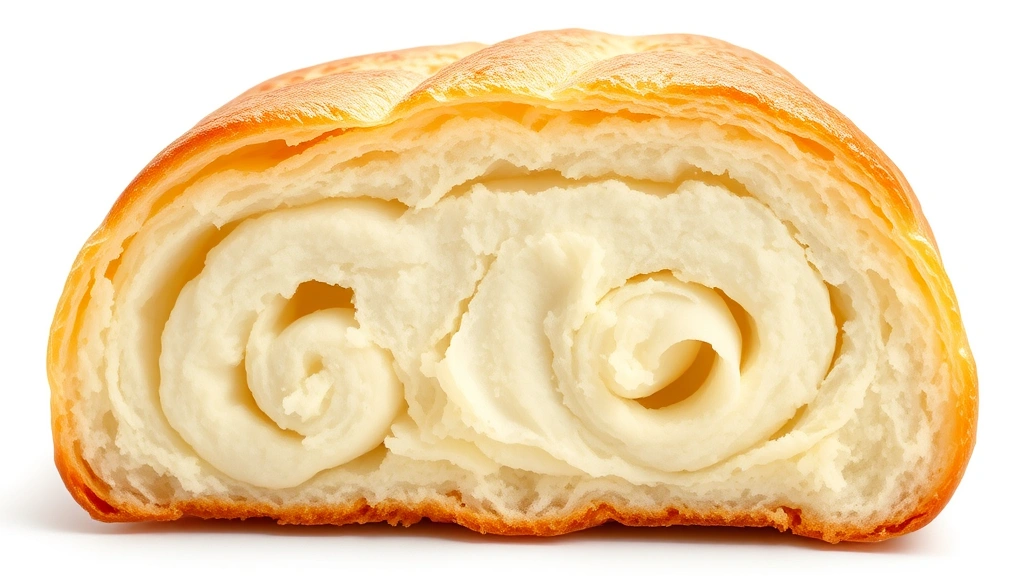
These rolls stay soft longer than standard dinner rolls because of the fat (butter and egg) and sugar content. It’s the same principle bakers use for brioche and enriched doughs. The higher moisture content also means they’re less likely to dry out, which is huge if you’re making them ahead.
Mixing the Dough
Start by warming your milk to about 110°F (43°C)—warm enough that it’s comfortable to stick your pinky in without pulling away. In a large mixing bowl, combine the flour, yeast, sugar, and salt. Whisk these dry ingredients together so the yeast distributes evenly.
Pour the warm milk and pineapple juice into the center of your dry mix. Add the softened butter and the egg. If you’re using a stand mixer, attach the dough hook and mix on medium speed for about 8-10 minutes until the dough comes together and pulls away from the bowl sides. If you’re doing this by hand, expect 12-15 minutes of solid kneading.
The dough should be slightly tacky but not sticky enough to stick to your fingers permanently. You want to be able to touch it without it sticking to your palm. This is where experience matters—every flour absorbs liquid differently, so adjust with a tablespoon of flour or milk as needed.
First Rise & Patience
Oil a clean bowl lightly, place your dough in it, and turn it to coat all sides. Cover with a damp kitchen towel or plastic wrap. Let it rise at room temperature (68-72°F is ideal) for about 90 minutes to 2 hours, until it’s roughly doubled in size.
You can also do a slow rise in the fridge overnight if you’re planning ahead. Cold fermentation actually develops better flavor and makes the dough easier to handle. Just pull it out about 2 hours before you want to shape the rolls and let it come to room temperature.
Don’t skip this step or rush it. The rise is where flavor develops and gluten structure strengthens. Poke the dough gently with your finger—if the indent springs back slowly and doesn’t disappear completely, you’re ready to shape.
Shaping and Proofing
Turn your risen dough onto a lightly floured surface. Gently press it down to deflate it slightly, but don’t go full-on punch mode—you want to keep some of those air bubbles. Divide the dough into 12 equal pieces. I use a bench scraper and divide the dough in half, then quarters, then into thirds to get 12 pieces without weighing them.
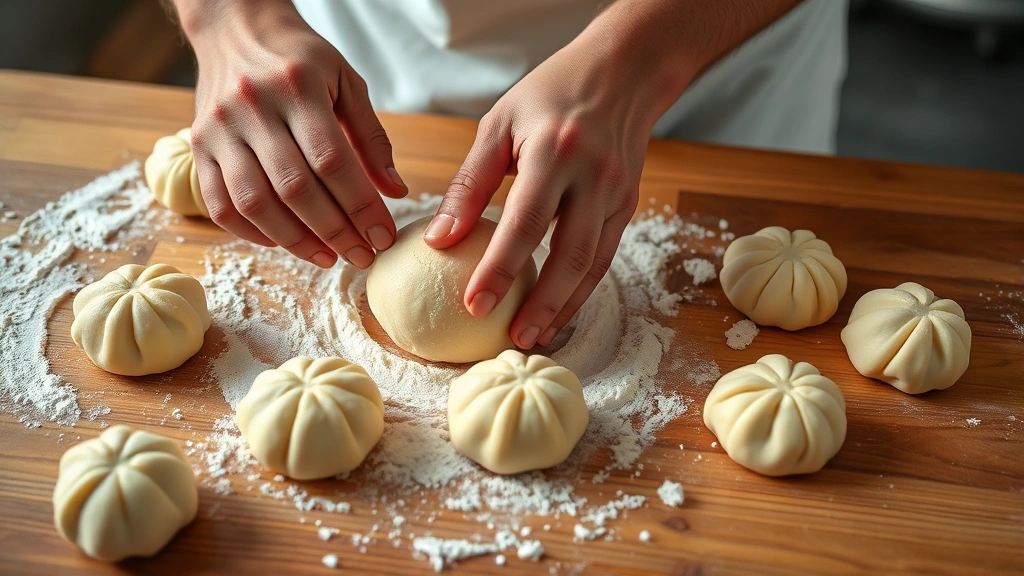
Roll each piece into a tight ball by cupping it in your palms and rolling it toward you on the counter. This creates surface tension that helps the rolls rise up instead of spreading out. Place the shaped rolls on a parchment-lined baking sheet, leaving about 2 inches between each one.
Cover the baking sheet with plastic wrap or a damp towel and let the rolls proof for 45 minutes to 1 hour at room temperature. They should increase in size by about 50-75%, not quite doubled. If they’re completely doubled, they’ll over-proof and collapse in the oven.
Baking to Perfection
Preheat your oven to 375°F (190°C) about 15 minutes before baking. While it’s heating, prepare your egg wash by whisking together 1 egg with 1 tablespoon of water. Brush this mixture gently over each roll—this creates that beautiful golden-brown exterior.
Bake for 15-18 minutes until the rolls are deep golden brown on top. The internal temperature should hit 190°F (88°C) when you stick an instant-read thermometer into the center of a roll. Don’t underbake—those gorgeous rolls need enough time to set up properly.
You’ll know they’re done when the kitchen smells like a Hawaiian bakery and the bottoms sound hollow when you tap them. Let them cool on the baking sheet for 5 minutes, then transfer to a wire rack.
Finishing Touches
While the rolls are still warm, brush them with melted butter. This is non-negotiable if you want that soft, tender crust. Some folks add a pinch of sea salt on top for contrast, which honestly elevates the whole situation.
If you want to get fancy, brush with a honey-butter mixture (1 tablespoon melted butter mixed with ½ teaspoon honey). This adds shine and a subtle sweetness that complements the pineapple flavor beautifully. The rolls will continue to soften as they cool, so don’t worry if they seem slightly firm right out of the oven.
Troubleshooting Common Issues
If your rolls came out dense, your dough probably didn’t rise enough or your oven temperature was off. Get an oven thermometer—they’re cheap and invaluable. Dense rolls also happen when you knead too hard or use water that’s too hot and kills the yeast.
If they’re too dry, you might be overbaking or your dough was too stiff to begin with. Remember to brush them with butter immediately after baking. If they spread out instead of rising up, you over-proofed them or your rolls weren’t shaped tight enough.
Rolls that taste yeasty mean you either used too much yeast or let them ferment too long. Stick to the recipe and use a timer. If they’re not sweet enough, add an extra tablespoon of sugar to the dough next time, though don’t overdo it or you’ll throw off the balance.
Pairing With Your Meals
These rolls are perfect alongside stuffed cabbage or any slow-cooked dinner. The sweetness plays beautifully with savory mains. I also love them with cajun boil because the rolls soak up all those spiced juices perfectly.
For breakfast, split a warm roll and fill it with ham and cheese, or just eat them plain with jam. They’re also fantastic for sliders or pulled pork sandwiches. The slight sweetness doesn’t compete with savory fillings—it actually enhances them.
If you’re looking for other baked goods to round out your repertoire, banana bread and these rolls make a killer breakfast spread. For dessert-leaning projects, check out almond paste recipes if you want to get into pastry territory.
Storage and Reheating
Keep cooled rolls in an airtight container at room temperature for up to 3 days. They actually taste better on day 2 once the flavors have melded. For longer storage, freeze them in a freezer bag for up to 3 months.
To reheat, wrap them in foil and warm in a 350°F oven for about 10 minutes. If they’re frozen, add 5 extra minutes. You can also microwave individual rolls for 15-20 seconds, though the oven method keeps them from getting tough.
Pro tip: if your rolls have dried out slightly, brush them with a bit of milk or water before reheating. This restores moisture and brings back that bakery-fresh texture. Some bakers swear by wrapping them in a damp paper towel and microwaving for 10 seconds—experiment and see what works for you.
Frequently Asked Questions
Can I make this hawaiian rolls recipe without pineapple juice?
Technically yes, but you’ll lose the signature Hawaiian flavor. Substitute with orange juice or even a splash of vanilla extract mixed with water. The rolls will still be good, just different. Pineapple juice is really the key ingredient that makes this recipe special, so I’d recommend hunting it down.
Why are my rolls not rising?
Check your yeast expiration date first—dead yeast won’t rise anything. Make sure your milk wasn’t too hot (over 120°F kills yeast) or too cold (under 100°F won’t activate it properly). Also verify your room temperature is at least 68°F. Cold kitchens need longer rising times.
Can I use a bread machine for this recipe?
Yes, absolutely. Add ingredients in the order your machine recommends, use the dough cycle, and stop after the first rise. Then shape, proof, and bake as directed. This saves you about 20 minutes of hands-on time.
What’s the difference between this and empanada dough?
Empanada dough is much firmer and less enriched—it’s meant to hold fillings without tearing. Hawaiian roll dough has more butter, egg, and sugar, making it tender and sweet. They’re completely different beasts designed for different purposes.
How do I get them extra shiny?
Brush with an egg wash right before baking, and immediately after baking, brush with melted butter mixed with a tiny bit of honey. Some bakers also sprinkle a light coating of coarse sugar before baking for extra shine and texture.
Can I make these vegan?
Replace the butter with coconut oil or vegan butter, use plant-based milk instead of dairy milk, and substitute the egg wash with a mixture of plant milk and cornstarch. The rolls will be slightly less rich but still delicious.
How many rolls does this recipe make?
This recipe makes 12 standard-sized rolls. If you want smaller rolls for sliders, you can get 16-18 rolls by dividing the dough into smaller pieces. Adjust baking time down by 2-3 minutes for smaller rolls.


