
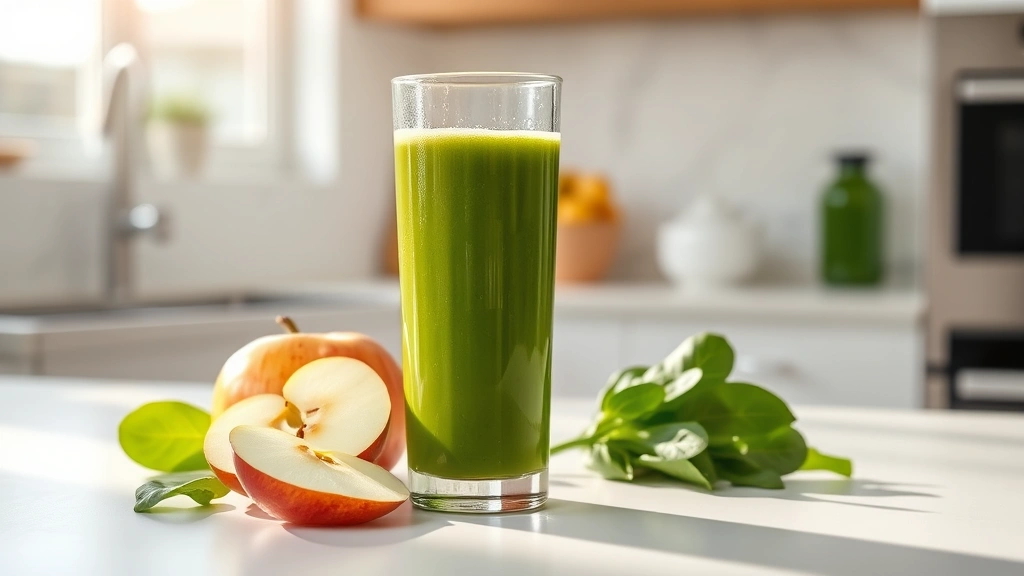
A green juice recipe is your ticket to packing serious nutrition into a single glass—we’re talking leafy greens, fresh fruit, and whole-food energy without any of the processed junk. Whether you’re new to juicing or you’ve been doing it for years, mastering a solid green juice recipe takes just five straightforward steps and some basic equipment you probably already have at home.
Table of Contents
Choose Your Greens
The foundation of any solid green juice recipe starts with selecting the right leafy greens. Spinach is your beginner’s best friend—mild flavor, nutrient-dense, and easy to juice. Kale brings more earthiness and serious nutritional density, but it’s stronger-tasting, so you might want to blend it with milder greens at first. Romaine lettuce, arugula, and Swiss chard all work beautifully too. The key is picking greens that are fresh and crisp, not wilted or browning at the edges. Mix and match based on what’s available at your farmers market or grocery store. Don’t get stuck on one type—variety keeps your palate interested and ensures you’re hitting different nutrient profiles.
Pick Supporting Fruits
Green juice doesn’t have to taste like you’re drinking lawn clippings. Adding the right fruits transforms your green juice recipe into something you’ll actually crave. Apples are the classic choice—they’re naturally sweet, widely available, and pair with almost any green. Pears offer a gentler sweetness. Citrus like lemon and lime add brightness and help with nutrient absorption. If you want to check if pineapple is ripe, you can use fresh pineapple for tropical vibes and natural enzymes. A single banana adds creaminess and body, though it can make the juice thicker. Stick with one or two fruits per batch—you want the greens to be the star, not buried under fruit sweetness. Pro tip: frozen fruit works fine if fresh isn’t available, and it chills your juice naturally without watering it down with ice.
Gather Equipment
You don’t need fancy gear to make a quality green juice recipe. A cold-press juicer extracts the most nutrients and produces juice that lasts longer in the fridge, but they’re pricey. A centrifugal juicer is the budget option—faster, louder, and the juice oxidizes quicker, but it gets the job done. Even a high-powered blender works if you strain the pulp through cheesecloth or a fine-mesh strainer. What you absolutely need: a cutting board, a sharp knife, and something to catch and store your juice. A glass pitcher is ideal since it won’t leach chemicals into your fresh juice. Have a small strainer handy if you’re using a blender method. Clean everything before you start—residue from yesterday’s dinner won’t improve your green juice recipe.
Prep and Wash Everything
This step separates mediocre juice from the good stuff. Rinse all your greens and fruits thoroughly under cold running water, rubbing them gently with your fingers to remove dirt and any residue. Pat dry with a clean kitchen towel—excess water dilutes your juice and wastes time in the juicer. Cut apples and pears into chunks that fit your juicer’s feed tube. Remove apple seeds if you’re using a blender method (they contain small amounts of cyanide compounds, though the quantity in a single apple is negligible). Peel citrus or leave the pith on depending on your juicer’s power—some handle it fine, others struggle. Don’t peel the greens, obviously. If you’re using organic produce, you can skip peeling. Conventional produce with thick skins like apples and pears? Peeling reduces pesticide intake, though the skin holds fiber and nutrients.
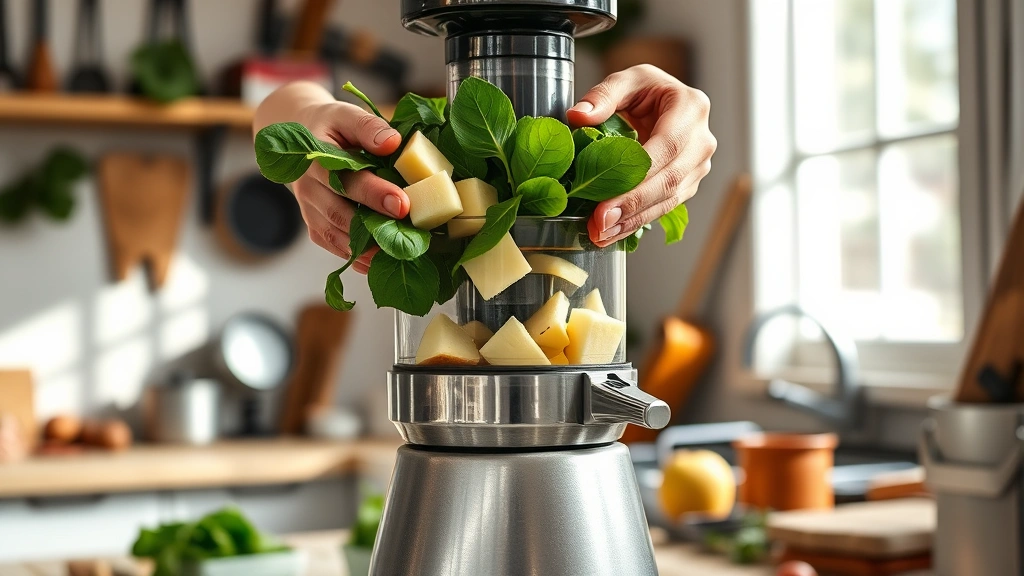
Juice and Serve Fresh
Now for the actual juicing. If you’re using a centrifugal or cold-press juicer, feed greens and fruits alternately—a chunk of apple, a handful of greens, another apple chunk. This keeps the greens from getting stuck and maximizes extraction. Don’t force anything through; let the juicer do the work. If you’re blending, add greens first with a splash of water, blend until smooth, then add fruit and blend again. Strain through cheesecloth or a fine strainer into your pitcher. The result should be vibrant green and relatively smooth, though some pulp is normal and adds fiber. Drink your green juice recipe immediately if possible—fresh juice loses nutrients fast, especially when exposed to air and light. If you can’t drink it right away, store it in an airtight glass container in the coldest part of your fridge.
Storage Tips for Later
Fresh green juice is best consumed within 24 hours, though cold-pressed juice lasts up to 72 hours if stored properly. Keep it in a glass container with an airtight seal—plastic leaches chemicals and allows oxidation. Store it on the lowest shelf of your fridge where it’s coldest. If you’re batch-prepping for the week, freeze portions in ice cube trays and thaw as needed. Frozen juice lasts about a month. You can also use your green juice recipe as a base for smoothie bowls or blend it into air fryer vegetable recipes for cooked applications, though you lose the raw enzyme benefits. Label everything with the date—it’s easy to forget how long something’s been sitting in the back of your fridge.
Flavor Variations to Try
Once you nail the basic green juice recipe, experimenting gets fun. Add ginger for a warming kick and digestive support. Turmeric brings anti-inflammatory properties and earthy flavor. Fresh mint or basil adds brightness without calories. A tablespoon of chia seeds or flax seeds adds omega-3s and body. Coconut water instead of plain water adds electrolytes. If you’re into wellness shots, try adding a tiny amount of cayenne pepper for metabolism support. Some people swear by adding a splash of cold brew coffee for an energy boost. You can even infuse your juice with homemade essential oils if you’re into that level of customization. Start conservative with add-ins—you can always add more, but you can’t take it out once it’s blended.
Real Health Benefits
Let’s be honest about what a green juice recipe actually does for you. Fresh green juice delivers concentrated vitamins, minerals, and phytonutrients in easily absorbable form. You’re getting chlorophyll, which supports oxygen transport and energy. Leafy greens provide iron, calcium, and magnesium. The fruit adds vitamin C, which helps with iron absorption and immune function. You’re getting live enzymes that support digestion. That said, juice isn’t a magic cure—it’s concentrated nutrition, not a meal replacement. It’s best as part of a balanced diet with whole foods. If you’re preparing meals for the week, a daily green juice complements solid nutrition, not replaces it. People with certain health conditions should check with their doctor before starting any juice regimen, especially if they’re on medications that interact with high vitamin K intake.
Frequently Asked Questions
Can I make green juice recipe without a juicer?
Absolutely. Use a high-powered blender and strain the pulp through cheesecloth or a fine-mesh strainer. It takes a bit more effort, but the result is just as nutritious. You’ll get more fiber since you’re not separating the pulp completely.
How much green juice recipe should I drink daily?
Eight to sixteen ounces daily is a solid starting point. Some people do more, but remember it’s concentrated nutrition. Too much can cause digestive upset or nutrient imbalances. Listen to your body and adjust accordingly.
Is store-bought green juice as good as homemade?
Store-bought juice is pasteurized, which kills bacteria but also destroys heat-sensitive enzymes and nutrients. Homemade is superior nutritionally, though store-bought is better than nothing if you’re short on time.
What if my green juice tastes terrible?
Add more fruit, especially apple or pear. Start with a 70/30 ratio of fruit to greens if you’re new to juicing, then gradually shift toward more greens as your palate adjusts. You can also add a squeeze of fresh lemon juice for brightness.
Can I juice frozen greens?
Frozen greens work in a blender, but they’re tougher on centrifugal juicers. Cold-press juicers handle them better. Fresh is always ideal for juicing, but frozen is fine for smoothies.
Should I peel my produce before juicing?
Organic produce can be juiced with skin on—that’s where much of the nutrition lives. Conventional produce benefits from peeling to reduce pesticide intake, though you lose some nutrients. Your call based on your sourcing and preferences.
Making a solid green juice recipe is straightforward once you understand the basic framework: choose quality greens, add complementary fruit, prep everything properly, juice it fresh, and drink it immediately. The best green juice recipe is the one you’ll actually make and drink consistently, so don’t overthink it. Start simple, taste as you go, and adjust based on what your body responds to. You’ve got this.


