
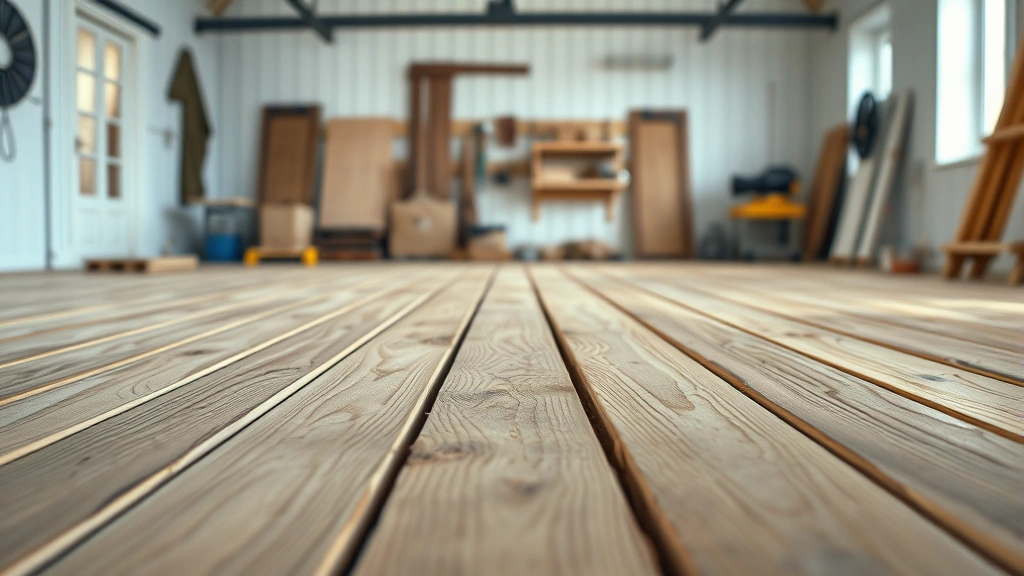
Learning how to remove fungus on wood is one of those essential skills that separates folks who let their stuff rot from those who actually maintain their investments. Whether it’s a deck, fence, wooden furniture, or interior trim, fungus doesn’t discriminate—it’ll colonize any wood that’s damp enough to support it. The good news? You don’t need a chemistry degree or expensive treatments to win this battle. I’m going to walk you through five proven methods that actually work, based on what real woodworkers and homeowners have found effective in the field.
Table of Contents
- Understanding Wood Fungus Types
- Assessing the Damage Level
- Method 1: Vinegar & Baking Soda
- Method 2: Hydrogen Peroxide Treatment
- Method 3: Bleach Solution Approach
- Method 4: Commercial Fungicides
- Method 5: Sanding & Sealing
- Prevention Beats Treatment
- When to Replace Instead
- Frequently Asked Questions
- Final Thoughts
Understanding Wood Fungus Types
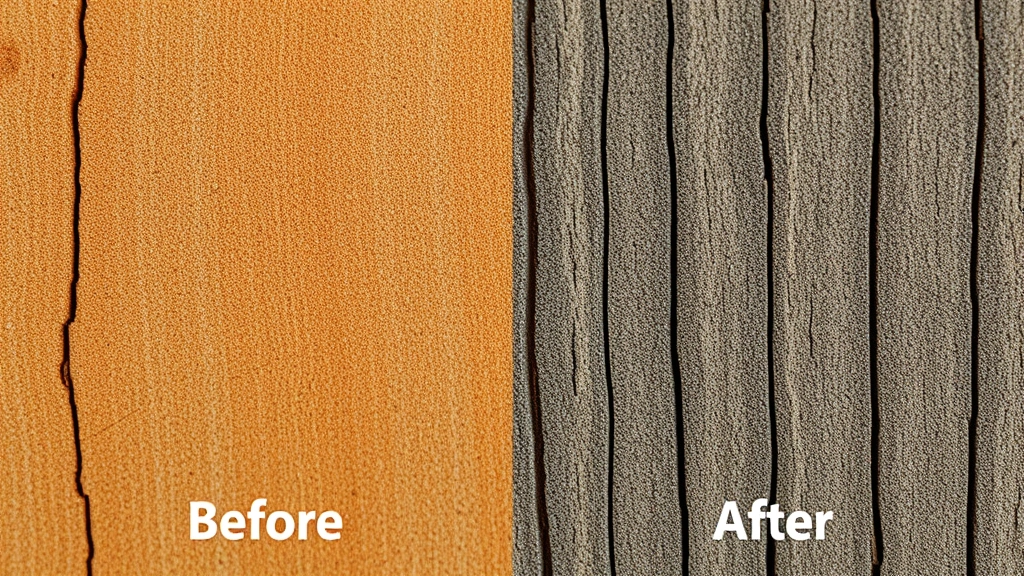
Before you grab your tools, let’s talk about what you’re actually dealing with. Wood fungus comes in a few varieties, and knowing which one you’ve got matters for treatment. Surface mold is the black, green, or white fuzzy stuff that sits on top of wood—it’s ugly but usually not structural. Mildew is similar and mostly a cosmetic problem. Then there’s dry rot and wet rot, which are the serious players that actually eat into the wood’s structure and compromise its integrity.
Dry rot thrives in damp conditions (ironically) and can spread rapidly through wood, turning it into a crumbly mess. Wet rot needs constant moisture and tends to stay localized but still causes real damage. Most of what you’ll encounter on outdoor wood is surface fungus or mildew, which respond well to the methods I’m about to share. The structural stuff requires more aggressive intervention or replacement.
Assessing the Damage Level
Grab a screwdriver or awl and press it into the affected wood. If it sinks in easily or the wood feels spongy, you’ve got deeper damage that might need professional help or replacement. If the wood is still firm underneath the fungal growth, you’re looking at a surface problem that these methods will handle. Check if the fungus covers just a small area or if it’s widespread—that’ll determine which method makes the most sense for your situation and budget.
Method 1: Vinegar & Baking Soda
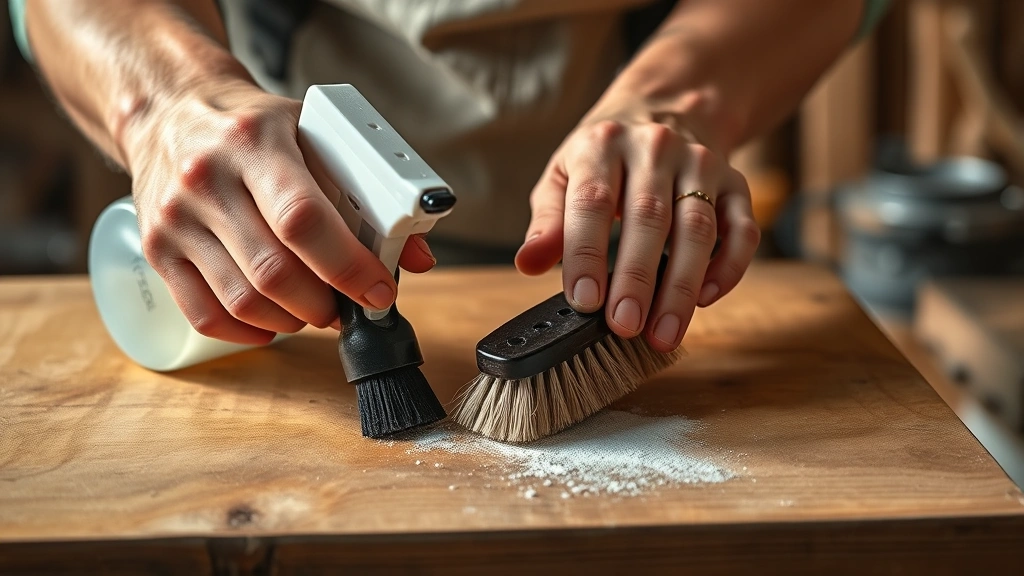
This is the gentlest approach and perfect for furniture or indoor wood. White vinegar is acidic enough to kill most surface fungi without destroying the wood or requiring hazmat gear. Mix equal parts white vinegar and water in a spray bottle, then spray the affected area generously. Let it sit for about an hour, then scrub with a stiff brush. For stubborn spots, make a paste with baking soda and water, apply it, let it dry, then brush it off.
The beauty of this method is that it’s non-toxic, smells better than bleach, and won’t harm surrounding plants or finish. You might need to repeat it a few times for heavily colonized areas, but patience pays off. I’ve used this on wooden cutting boards, porch railings, and even antique furniture with solid results. The combination of vinegar’s acidity and baking soda’s mild abrasive action handles most mold and mildew without breaking a sweat.
Method 2: Hydrogen Peroxide Treatment
Hydrogen peroxide is stronger than vinegar but still safer than bleach for most situations. Use 3% hydrogen peroxide (the standard drugstore variety) and spray it directly on fungal growth. It’ll fizz as it works, which is actually the chemical reaction killing the fungi. Let it sit for 10-15 minutes, then scrub and rinse thoroughly. For tougher cases, you can find 35% food-grade hydrogen peroxide, but that requires careful handling and dilution.
This method works particularly well on decks and exterior wood because it breaks down into water and oxygen—no toxic residue left behind. You might see some lightening of the wood, which usually returns to normal as it dries. I’ve found this especially effective on cedar and redwood, which are naturally beautiful woods you don’t want to bleach out. The peroxide penetrates slightly better than vinegar, making it a solid middle ground between gentle and aggressive.
Method 3: Bleach Solution Approach
When you need the heavy artillery, bleach works fast and kills fungi thoroughly. Mix one part household bleach with three parts water—never go stronger than that, or you’ll damage the wood. Apply with a sprayer or brush, let it sit for 15 minutes, scrub, and rinse extensively. This is best reserved for exterior wood where some lightening won’t matter, like fence posts or deck boards you’ll eventually stain anyway.
Bleach is brutal on fungi but also harsh on your hands, eyes, and the environment, so wear gloves and eye protection. Don’t mix bleach with anything except water—especially not ammonia or vinegar, which create toxic gases. Rinse the wood thoroughly afterward to remove all bleach residue, which can prevent stain or sealer adhesion later. This method is fast and effective, but use it as your nuclear option, not your first choice for precious wood.
Method 4: Commercial Fungicides
If you want a purpose-built solution, commercial wood fungicides are formulated specifically for this job. Products like Wet & Dry Wood Fungicide or similar brands contain active ingredients designed to penetrate and kill fungal spores. Follow the manufacturer’s instructions exactly—application rates, drying times, and safety precautions vary by product. Most require you to apply them to clean, dry wood and let them cure before exposing the wood to moisture.
These products often provide longer-lasting protection than household solutions, making them worth the investment for valuable pieces or high-traffic outdoor areas. They’re also a good choice if you’ve tried other methods without success, since the active ingredients are more potent. The downside is cost and the need to handle chemical products carefully. For detailed guidance on protecting your home’s structural elements, check out how to install garbage disposal for understanding home maintenance priorities.
Method 5: Sanding & Sealing
Sometimes the best cure is prevention wrapped in removal. If the fungus hasn’t penetrated deeply, sand the affected area with 80-120 grit sandpaper to remove the fungal growth and any discolored wood. Wipe away all dust with a damp cloth, let it dry completely, then apply a quality wood sealer or finish. This seals out moisture, which is what fungi need to survive and spread.
This method works best on smaller affected areas and is ideal for furniture or indoor wood where appearance matters. You’re not just removing the fungus—you’re eliminating the conditions that let it thrive in the first place. A good polyurethane, varnish, or modern wood sealer creates a moisture barrier that keeps fungi from getting the damp environment they crave. This is preventive maintenance disguised as treatment, and it’s one of the most effective long-term solutions.
Prevention Beats Treatment
Here’s the real secret: preventing fungus is way easier than removing it. Keep wood dry by ensuring proper drainage, fixing leaks immediately, and maintaining good ventilation around wooden structures. Paint or seal exterior wood regularly—this creates a protective barrier against moisture. For decks and outdoor furniture, apply a water-repellent sealer every 1-2 years, depending on your climate.
Inside your home, control humidity with proper ventilation and dehumidifiers if needed. Wipe up spills on wooden furniture immediately. Ensure gutters and downspouts direct water away from your house’s wooden elements. For detailed guidance on home maintenance systems, check how often to change cabin air filter to understand the importance of regular maintenance schedules.
Think of it this way: fungi need three things—food (wood), moisture, and darkness. You can’t remove the food, but you can eliminate moisture and increase air circulation. This triple approach of dryness, ventilation, and protective coatings is your best defense. I’ve seen homeowners go years without fungal problems simply by maintaining their sealers and keeping gutters clean.
When to Replace Instead
Sometimes removal isn’t the answer, and replacement is the smarter move. If the wood is soft, crumbly, or if a screwdriver sinks in more than a quarter-inch, you’ve got structural damage that treatment won’t fix. Dry rot in particular can spread invisibly through wood, so if you find it in one spot, there’s usually more hiding nearby. For load-bearing elements like deck joists, floor beams, or structural trim, don’t gamble—replace it.
Calculate the cost of treatment versus replacement, including your time. Sometimes a new board costs less than the effort and materials for aggressive treatment. For outdoor structures, pressure-treated lumber or naturally rot-resistant species like cedar or redwood might be worth the upgrade. This is where being honest about the damage level saves you from throwing good money after bad. When in doubt, consult a structural inspector or contractor—peace of mind is worth the consultation fee.
Frequently Asked Questions
Can I paint over fungus on wood?
No—painting over fungus traps moisture and lets it spread underneath. Always remove the fungus first, let the wood dry completely, then paint. If you paint over active fungus, you’re just hiding the problem while it gets worse.
How long does it take to remove fungus?
Surface fungus can be removed in a few hours using vinegar or hydrogen peroxide. Stubborn cases might need multiple treatments over a week or two. Structural fungus like dry rot requires professional assessment and may take weeks to address properly.
Is wood fungus dangerous to breathe?
Most surface molds and mildew aren’t serious health hazards for healthy people, but they can trigger allergies or respiratory issues in sensitive individuals. Wear a mask when treating large affected areas, and ensure good ventilation. Dry rot spores are less of a concern than the structural damage they cause.
What’s the difference between mold and mildew on wood?
Mildew is typically powdery and white or gray, while mold is usually fuzzy and darker (black, green, or brown). Both are fungi, both respond to the same treatments, and both indicate moisture problems. The distinction matters mostly for identification—treatment is similar.
Will vinegar permanently kill wood fungus?
Vinegar kills active fungal growth, but it won’t prevent future fungus if moisture returns. That’s why sealing and moisture control are essential. Vinegar is a treatment, not a permanent solution—prevention is what stops it from coming back.
Can I use tea tree oil to remove fungus from wood?
Tea tree oil has antifungal properties and works on some surface fungi, but it’s slower and less reliable than vinegar or hydrogen peroxide. It’s better suited for small areas or as a preventive maintenance step rather than heavy-duty removal.
Final Thoughts
Removing fungus on wood isn’t rocket science, but it does require the right approach for your specific situation. Start with assessment—figure out if you’re dealing with surface growth or structural damage. For surface fungus, pick your method based on what you have on hand and how much elbow grease you’re willing to invest. Vinegar and baking soda are your gentle, non-toxic friends. Hydrogen peroxide is the solid middle ground. Bleach is for when you need results fast and don’t care about wood color. Commercial fungicides are for when nothing else works. Sanding and sealing is your long-term investment in prevention.
The real victory comes from preventing fungus in the first place by keeping wood dry, maintaining good ventilation, and refreshing protective coatings regularly. Check out how to change smoke alarm battery to understand the importance of regular home maintenance checks that catch moisture problems early.
Remember, wood is a living material that responds to its environment. Give it the dry conditions and protective barrier it needs, and fungus becomes a non-issue. Treat it as an afterthought, and you’ll be fighting mold battles for years. The choice—and the prevention—is in your hands. Get out there, assess your wood, pick your method, and get to work. Your future self will thank you for taking action now instead of waiting for the problem to get worse.


