
Learning fix how to properly can save you hundreds of dollars and hours of frustration. Whether you’re dealing with a broken gadget, a malfunctioning device, or a household problem that’s been nagging you, knowing the right approach makes all the difference between a quick win and a costly disaster. This guide walks you through the exact methodology I’ve used for years to troubleshoot and repair just about anything that breaks.
Table of Contents
Diagnose the Problem First
Before you touch anything, spend time understanding what’s actually broken. This is the most critical step in learning fix how to correctly. Don’t just assume you know the issue—investigate like a detective. Is the device completely dead, or does it partially work? Does it make sounds, show lights, or give error messages? Write down exactly what you observe.
Start with the obvious: Is it plugged in? Is the battery charged? I know this sounds basic, but you’d be shocked how often the simplest explanation is correct. Check power sources, connections, and settings before assuming something is broken. Ask yourself: when did it stop working? What was happening right before it failed? Did anything change recently—software updates, physical drops, exposure to water?
This diagnostic phase typically takes 10-15 minutes and prevents you from wasting hours on the wrong solution. Take photos of error codes, warning lights, or unusual behavior. These details become gold when you’re researching the fix.
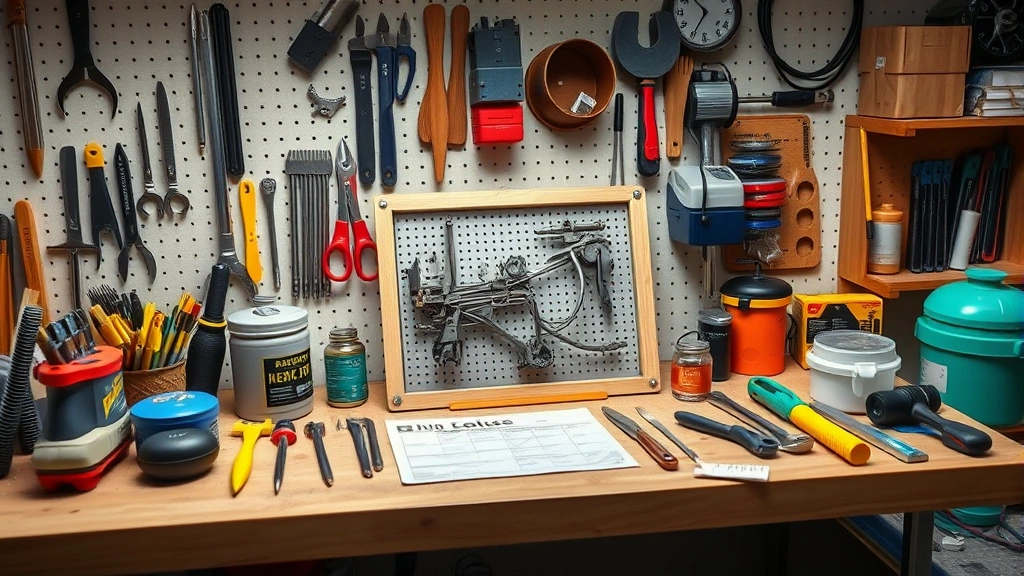
Gather Your Tools and Materials
Once you understand the problem, collect everything you’ll need before starting. Nothing derails a repair faster than discovering halfway through that you’re missing a critical tool. For electronics work, keep a basic toolkit: screwdrivers (Phillips and flathead), a multimeter for testing electrical components, tweezers for handling small parts, and isopropyl alcohol for cleaning.
For hardware repairs, you might need wrenches, pliers, lubricants, or replacement parts. For appliances, have your model number handy and know where to find replacement components. Check online retailers and manufacturer websites to identify exactly what parts you need before you start disassembling anything.
Organize your workspace too. Use a clean, well-lit surface. Get a small container or magnetic tray to hold screws and fasteners—losing a tiny screw can mean the difference between success and failure. Lay out all tools within arm’s reach. This preparation phase takes 10 minutes but saves 30 minutes of frustration later.
Research the Right Solution
Now search for solutions using specific details from your diagnosis. Instead of typing “phone broken,” search “iPhone 12 won’t charge after water exposure” or “Dell laptop overheating and shutting down.” The more specific your search, the better results you’ll get. Visit trusted sources like manufacturer support pages, Family Handyman, This Old House, and Bob Vila for comprehensive guides.
Watch video tutorials from reputable channels—watching someone actually perform the repair beats reading text alone. Look for videos with multiple camera angles showing hands working through each step. Read user comments to see if others encountered the same issue and what worked for them.
Cross-reference multiple sources. If five different guides all recommend the same solution, you’re on the right track. If sources disagree, read deeper to understand why. Sometimes different problems cause the same symptom, and you need the right diagnosis before attempting the fix. This research phase is where patience pays off—rushing here leads to mistakes.
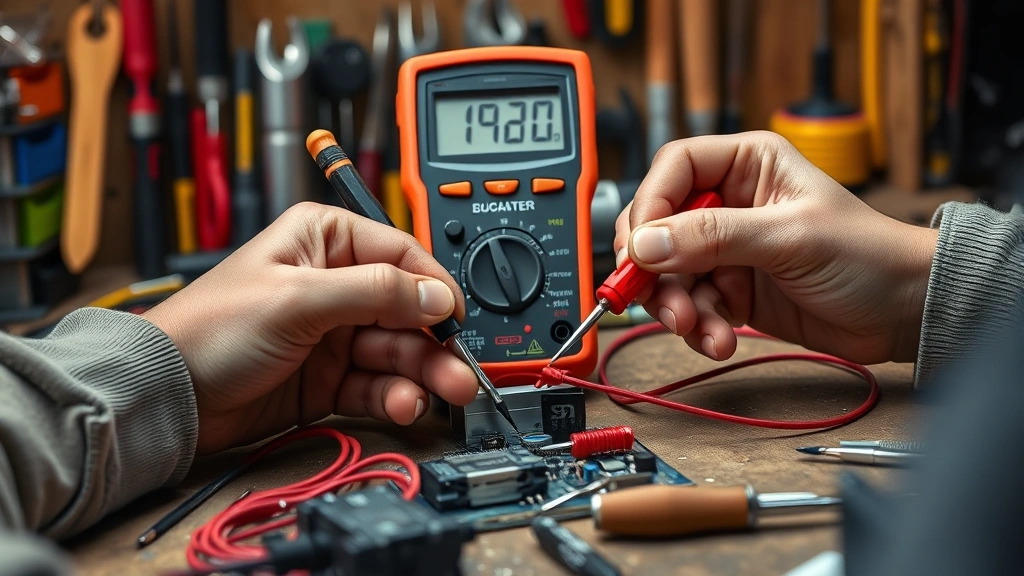
Test Before You Fix
Before making any permanent changes, test your hypothesis with non-destructive methods. If you suspect a keyboard issue, you might want to check out how to unlock keyboard first—sometimes the solution is simpler than you think. For electronics, use a multimeter to check for power flow. For software problems, try restarting or resetting before opening anything up.
This testing phase identifies whether the problem is actually what you think it is. For instance, if your car won’t start, you should test a car battery before replacing the alternator or starter. Testing takes 20 minutes and might reveal the real issue is something completely different.
Document your test results. If the device responds in a certain way to a specific test, that information becomes crucial if you need to escalate to professional repair. It also helps you understand whether your fix actually worked or if you just got lucky.
Document Your Process
Take photos or videos of every step as you disassemble or repair. This might feel tedious, but it’s your roadmap for reassembly. Take a photo before removing each screw or component. If you’re opening something with multiple layers, photograph each layer before moving deeper.
Create a simple text file noting: which screws came from where, which components you removed in which order, and any cables or connectors you disconnected. This documentation prevents you from reassembling things incorrectly, which can cause new problems worse than the original issue.
If you’re dealing with something complex like checking motherboard damage from GPU or other internal components, detailed documentation becomes essential. You need to remember exactly how everything connects before you power it back on.
Avoid These Common Mistakes
The biggest mistake people make is rushing. They see a problem and immediately start disassembling without understanding what they’re doing. Slow down. The fix-how-to process rewards patience. Second mistake: working on electronics while they’re powered on. Always disconnect power before opening anything electrical.
Third mistake: forcing things. If a screw won’t budge, don’t strip it by applying more force. Use penetrating oil and wait. If a component won’t fit, you’re probably putting it in wrong—stop and reconsider. Forcing causes damage that compounds your original problem.
Fourth mistake: skipping the research phase. You might think you know how something works, but modern devices are complex. That five-minute research session prevents hour-long disasters. Fifth mistake: not testing your fix. After you repair something, test it thoroughly before declaring victory. Sometimes fixes are temporary or incomplete.
Sixth mistake: losing small parts. Use containers or magnetic trays religiously. One lost screw can render a device non-functional. Finally, avoid working in poor lighting. Get a good work light or headlamp. You can’t fix what you can’t see clearly.
Know When to Quit
Sometimes the smartest fix is knowing when to stop and call a professional. If you’re dealing with something dangerous—high voltage electrical work, gas appliances, or structural issues—stop immediately and get a licensed professional. Your safety is worth more than repair costs.
If you’ve spent more than a few hours on something and made no progress, consider whether professional repair is more cost-effective than your time. If you’re working on something under warranty, check whether opening it voids the warranty before you start. Some manufacturers offer free repairs for devices still under coverage.
If you’ve made a mistake and created new problems beyond your skill level, it’s time to hand it off. Professional technicians have tools and experience you don’t. Sometimes paying $100 for professional repair beats spending $200 on replacement parts for a DIY fix that went sideways.
Prevention Tips for Later
Once you’ve fixed something, take steps to prevent the same problem recurring. If moisture caused failure, improve ventilation or add protective cases. If overheating was the issue, clean dust filters regularly. If something failed due to power surges, add surge protection.
For devices that store important data, implement backup systems. If you ever need to recover erased photos or lost files, you’ll wish you’d backed up earlier. For wireless devices like AirPods Pro, understand proper reset procedures. For smart home devices like Google Home Mini, keep documentation of your setup so you can restore it quickly if needed.

Maintain a simple log of repairs you’ve done. Note what broke, what you did to fix it, and how long it took. This becomes invaluable reference material if the same issue happens again or if you need to explain the device’s history to someone else.
Frequently Asked Questions
What’s the most important step in fix how to?
Diagnosis. Understanding what’s actually broken prevents you from wasting time on the wrong solution. Spend 15 minutes investigating before touching anything.
Should I always try DIY repair?
No. If something is dangerous, under warranty, or beyond your skill level, professional repair is the right choice. DIY repair saves money only when you have the knowledge and tools to do it safely.
How do I know if I’m making things worse?
If you’re forcing components, if you hear cracking sounds, or if new problems appear that weren’t there before, stop immediately. Document what you’ve done and consider professional help.
What tools do I absolutely need?
A basic toolkit with screwdrivers, a flashlight, and a multimeter covers 80% of common repairs. Add specific tools as needed for particular projects.
How do I stay organized during repairs?
Use a magnetic tray for small parts, take photos of each step, and create written notes about which components came from where. Organization prevents reassembly mistakes.
What if I can’t find the specific solution online?
Post on relevant forums or subreddits with detailed photos and descriptions of your problem. Communities of enthusiasts often have solutions for unusual issues. Be specific and patient for responses.
Conclusion
Learning fix how to is a skill that improves with practice. Start with simple repairs to build confidence, then tackle more complex projects. The five-step methodology—diagnose, gather, research, test, and document—works for everything from electronics to appliances to vehicles.
Remember that every expert was once a beginner who took their time, did the research, and learned from mistakes. Your first repair might take hours; your hundredth will take minutes. The key is approaching each project with patience, respect for the work, and commitment to understanding what you’re doing before you start doing it.
Keep detailed notes of your repairs. Build a toolkit gradually. Watch others work. Ask questions. And most importantly, know when to call in the professionals. That combination of DIY confidence and humble knowing-your-limits is what separates successful repairs from expensive disasters.


