
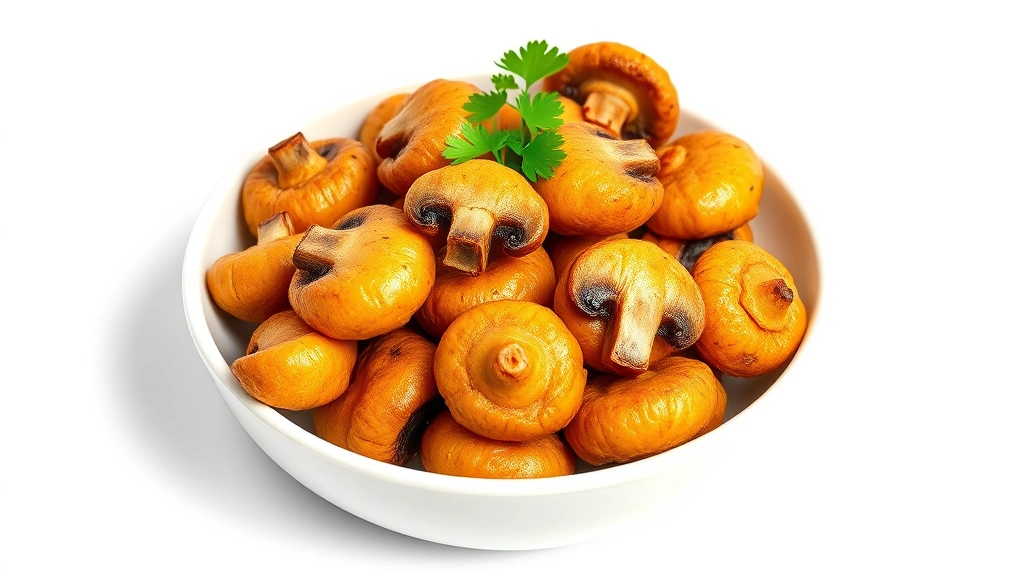
A fried mushrooms recipe is one of those kitchen moves that transforms humble fungi into something absolutely addictive. Whether you’re prepping a side dish, appetizer, or snack that’ll disappear faster than you can plate it, crispy fried mushrooms deliver that perfect textural contrast—golden, crunchy exterior giving way to tender, savory insides. This isn’t fancy restaurant magic; it’s straightforward technique that works in any home kitchen.
Table of Contents
Choosing the Right Mushrooms
Not all mushrooms fry equally. Button mushrooms work fine in a pinch, but you’ll get better results with slightly meatier varieties. Cremini mushrooms—the brown cousins of white buttons—have more flavor and hold up better to the heat. Oyster mushrooms are fantastic if you can find them; their delicate structure creates incredible texture contrast. Even chanterelle recipes benefit from a quick fry if you’re feeling adventurous with wild varieties.
Size matters here. Medium mushrooms work best—roughly the size of a golf ball or slightly smaller. They cook through without drying out and maintain structural integrity during frying. Avoid the massive specimens; they’ll either be raw inside or burnt outside by the time the center cooks. Pick mushrooms that feel firm, not squishy. Store them in a paper bag in the fridge, not plastic; they’ll stay fresher longer and won’t get that slimy coating.
Prep Work Matters
Here’s where most home cooks cut corners and regret it. Clean your mushrooms properly. Use a damp paper towel or soft brush to wipe away dirt—don’t dunk them in water like potatoes. Mushrooms are like sponges; excess moisture is your enemy when frying. Pat them completely dry with clean kitchen towels or paper towels. This step alone determines whether you get crispy results or soggy disappointment.
Leave small mushrooms whole or halve them if they’re larger. Uniform size ensures even cooking. Remove the stem if it’s particularly woody or thick, though most mushroom stems are perfectly edible and add flavor. If you’re halving them, cut them cleanly—a sharp knife prevents bruising and helps them hold their shape during cooking.
Coating Options That Crisp
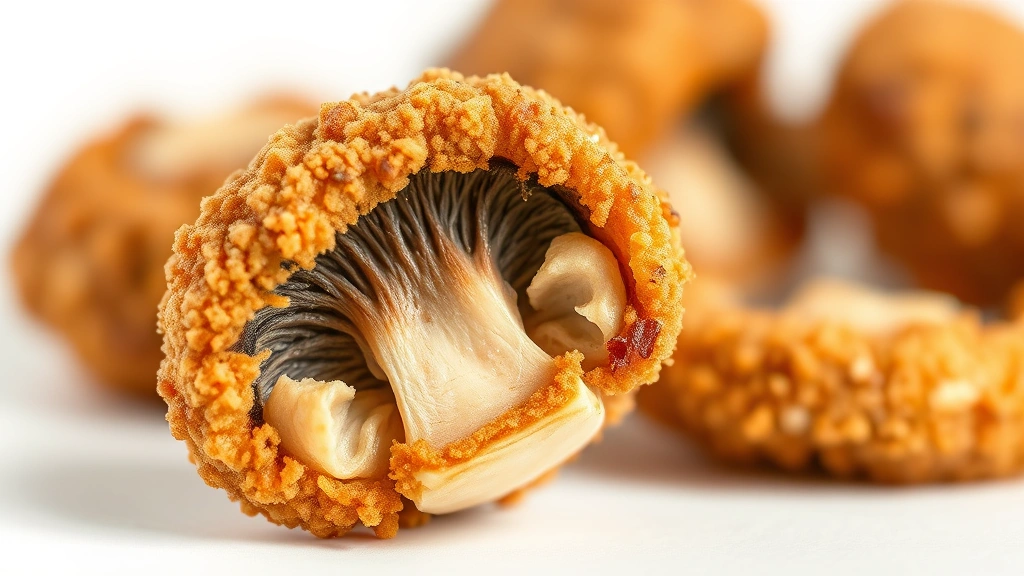
The coating is what separates mediocre fried mushrooms from the ones people actually remember. A simple flour dredge works, but you’ll get better results with a two-step approach. Start with seasoned flour—kosher salt, black pepper, garlic powder, and a pinch of paprika mixed into all-purpose flour. Toss your dried mushrooms in this mixture until completely coated, shaking off excess.
For extra crispiness, dip your floured mushrooms into a light batter before the oil. A basic batter is just one cup flour, one egg, one cup cold water or beer, plus your seasonings. The beer adds a subtle flavor and creates extra-crispy edges. Mix just until combined; lumps are actually your friend here. They create irregular surfaces that fry up crunchier. Some cooks swear by adding cornstarch to their flour mixture—about 25% cornstarch to 75% flour—which produces an almost shattering crispness.
Panko breadcrumbs work too if you want maximum crunch. Coat mushrooms in flour first, then dip in beaten egg, then roll in panko. This three-step breading creates serious textural appeal, though it’s heavier than a simple flour or batter coat.
Oil Temperature Control
This is non-negotiable. Too-cool oil produces greasy, soggy results. Too-hot oil burns the outside before the inside cooks. You want 350-375°F. Use a cooking thermometer—don’t guess. A digital instant-read thermometer works, or grab a dedicated deep-fry thermometer if you’re doing this regularly.
Choose an oil with a high smoke point. Vegetable oil, canola oil, or peanut oil all work beautifully. Avoid olive oil; it smokes too early and overpowers the delicate mushroom flavor. Heat your oil in a heavy-bottomed pot or Dutch oven—at least 3 inches deep. A heavy pot maintains temperature better when you add cool mushrooms. If you use a Blackstone griddle or flat-top cooker, you can shallow-fry mushrooms in about an inch of oil with excellent results.
Let the oil come to temperature slowly. Rushing this step causes temperature swings that mess up your cooking. Once it hits target temperature, test with a single mushroom piece. It should sizzle aggressively and start browning within 30 seconds. If it just sits there, wait longer. If it immediately turns dark brown, cool the oil slightly.
Frying Technique Essentials
Work in batches. Crowding the pot drops the oil temperature and causes mushrooms to steam instead of fry. Add only as many mushrooms as fit in a single layer without touching. This usually means 8-12 mushrooms per batch depending on size. They’ll sink initially, then float as they cook. This is normal.
Don’t move them constantly. Let them sit for 45-60 seconds on the first side to develop that golden crust. Flip once, fry another 45-60 seconds until both sides are golden brown. Total cooking time is usually 90-120 seconds per batch. They should sound crispy when you tap them with the tongs.
Remove them with a slotted spoon and place on a wire rack set over a baking sheet—not paper towels. The rack allows air circulation underneath, preventing the bottom from getting soggy. Paper towels trap steam and defeat your crispiness efforts.
Draining and Seasoning Right
Season immediately while they’re still hot. Kosher salt, freshly cracked black pepper, and fresh or dried herbs all work. Try a combination: kosher salt, garlic powder, and dried thyme or oregano. Grated Parmesan cheese adds incredible savory depth. Fresh herbs like parsley or chives provide brightness.
The hot surface helps seasonings stick better than waiting until they cool. Toss them gently to distribute seasoning evenly. If you’re making large batches, keep finished mushrooms warm in a low oven (200°F) while you fry remaining batches. They’ll stay crispy for about 15-20 minutes this way.
Dipping Sauces That Elevate
Fried mushrooms demand a proper dipping sauce. A simple garlic aioli—mayo mixed with minced garlic, lemon juice, and salt—is hard to beat. Sour cream mixed with fresh dill and a touch of vinegar creates a cool, tangy contrast. Ranch dressing works in a pinch, but homemade versions blow store-bought out of the water.
For something different, try a hot honey situation: warm honey mixed with red pepper flakes and a pinch of salt. The sweet-spicy combo against crispy mushrooms is phenomenal. Marinara sauce works too, especially if you’re thinking appetizer. A simple brown butter with fresh sage creates an elegant sauce that tastes more complicated than it is.
Storage and Reheating Tips
Fried mushrooms are best eaten fresh, but leftovers happen. Store cooled mushrooms in an airtight container in the fridge for up to three days. They’ll lose some crispness, but they’re still good. Reheat in a 375°F oven for about 8-10 minutes to restore crispiness. Avoid the microwave; it’ll make them rubbery.
You can freeze fried mushrooms for up to two months. Cool them completely, spread on a baking sheet to freeze individually, then transfer to freezer bags. Reheat from frozen in a 375°F oven for 12-15 minutes. They won’t be quite as crispy as fresh, but they’re still respectable.
Recipe Variations to Try
Once you nail the basic technique, variations are endless. Make them spicy by adding cayenne pepper to your flour mixture. Try an Asian-inspired version with soy sauce, ginger, and sesame seeds in your coating. Mix grated Parmesan into your flour for an Italian angle.
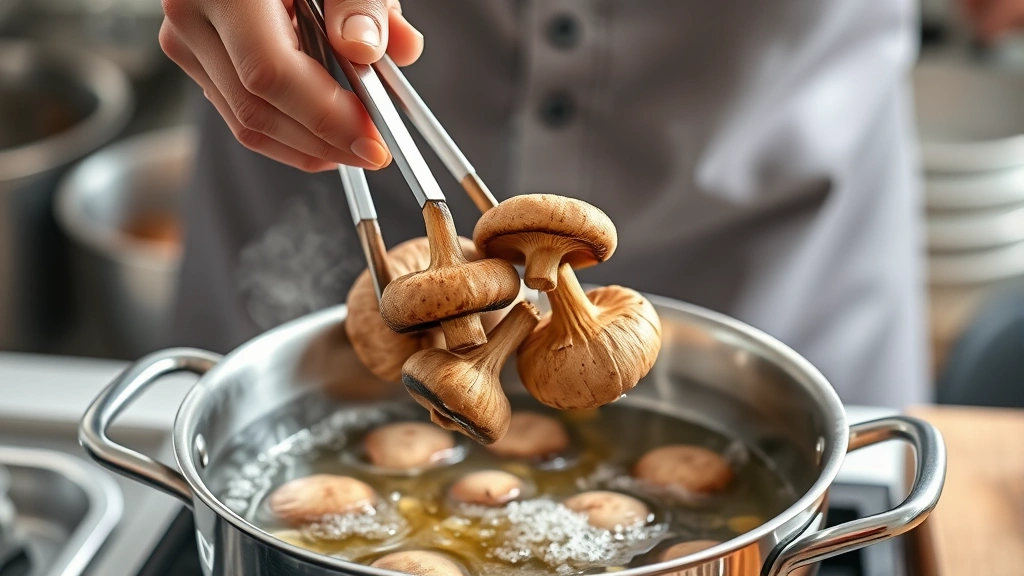
For a lighter version, skip the batter and just do a flour dredge. You lose some crispness but gain elegance. Some cooks mix boiled potato recipes concepts into their mushroom prep—blanching mushrooms briefly before frying (though this is unconventional and not necessary).
Experiment with different mushroom types. Oyster mushrooms have a delicate flavor that works beautifully with minimal seasoning. Shiitake mushrooms bring umami depth. Even a mix of varieties creates interesting texture and flavor combinations in a single batch.
Troubleshooting Common Issues
Soggy, greasy mushrooms: Oil temperature was too low. Use a thermometer next time. Also ensure mushrooms are completely dry before coating.
Burnt outside, raw inside: Oil temperature was too high, or you didn’t fry long enough. Lower temperature slightly and give them more time. Smaller mushroom pieces help here.
Coating falls off: Mushrooms weren’t dry enough, or you’re moving them too much while frying. Pat dry thoroughly and resist the urge to fiddle with them.
Tastes oily: Either the oil was too cool (mushrooms absorbed excess oil), or you’re using old oil. Fresh oil makes a huge difference. Oil breaks down with use and takes on off-flavors.
Mushrooms stick together: Crowding the pot and high moisture content. Fry in smaller batches and ensure thorough drying before cooking.
Frequently Asked Questions
Can I use a deep fryer instead of a pot?
Absolutely. Deep fryers maintain consistent temperature better than stovetop pots and are safer if you’re nervous about hot oil. Follow the same temperature guidelines (350-375°F) and frying times. Just ensure your fryer is clean before use.
What’s the best mushroom type for frying?
Cremini, oyster, and shiitake mushrooms all fry beautifully. Button mushrooms work but are more watery. Avoid delicate varieties like morels unless you’re experienced—they’re expensive and finicky. For chanterelle recipes, a quick fry works if mushrooms are firm.
Can I make this recipe dairy-free?
Yes. Skip the Parmesan seasoning and use plant-based mayo for aioli. Batter works fine with non-dairy milk instead of regular milk or beer. The frying process itself is naturally dairy-free unless you add it.
How much oil do I need?
Enough to submerge mushrooms by about 1.5 inches—usually 4-6 cups depending on pot size. You want enough that adding room-temperature mushrooms doesn’t drop the oil temperature drastically.
Can I reuse the frying oil?
Yes, but strain it first through a fine mesh strainer or cheesecloth to remove burnt bits. Store in a cool, dark place. Oil lasts 3-4 uses before it breaks down and takes on off-flavors. Discard when it smells rancid or looks dark.
What’s the difference between shallow and deep frying?
Deep frying submerges food completely; shallow frying uses about 1-2 inches of oil. Both work for mushrooms. Deep frying is faster and creates more uniform browning. Shallow frying uses less oil and is easier to manage on a stovetop.
Should I bread mushrooms or just flour them?
Flour alone creates a thinner, crispier crust. Breading (flour-egg-panko) creates a thicker, crunchier exterior. Both are delicious; it depends on your preference. Batter falls somewhere in between.
How do I know when they’re done?
They should be golden brown on all sides and sound crispy when tapped with tongs. The exterior should feel firm and crunchy, not soft or squishy. If unsure, fry a few seconds longer—they won’t overcook in that timeframe.
Can I prep mushrooms ahead of time?
Clean and dry them several hours ahead, but coat and fry just before serving. Coated mushrooms sitting around absorb moisture and lose crispness. If you must prep ahead, coat them no more than 30 minutes before frying.
What if I don’t have a thermometer?
Use the bread cube test: drop a small bread cube into the oil. It should brown in about 60 seconds at proper frying temperature. This is less precise than a thermometer but works in a pinch. Invest in a cheap instant-read thermometer though—it’s invaluable for cooking.
Final Thoughts
Mastering a fried mushrooms recipe is genuinely one of those kitchen skills that pays dividends. Once you understand the fundamentals—proper mushroom selection, thorough drying, correct oil temperature, and appropriate seasoning—you can produce restaurant-quality results at home every single time. The technique transfers to other fried foods too; the same principles apply whether you’re frying mushrooms, vegetables, or proteins.
Start with the basic flour-and-fry method to build confidence. Once that feels natural, experiment with batters, breadings, and seasonings. Keep your oil fresh, use a thermometer, and work in batches. These habits guarantee success. Fried mushrooms disappear fast at parties, make excellent appetizers, and honestly work as a standalone snack that’s way better than anything processed.
The beauty of this recipe is its flexibility. Serve them with properly preheated oven-roasted vegetables, alongside grilled meats, or as a casual appetizer with dipping sauces. They pair with beer, coffee from a French press, or basically any beverage. Once you’ve made them a few times, you’ll develop your own preferences for coating style, mushroom type, and seasonings. That’s when you know you’ve truly mastered the technique.


