
So you’re wondering how long dissolvable stitches take to dissolve? Here’s the straight answer: most dissolvable stitches break down between 2 to 8 weeks, depending on the type, location, and your body’s healing speed. But there’s way more to know about keeping them clean, spotting problems, and understanding why your doc chose this method over the traditional removal route.
Table of Contents
- What Are Dissolvable Stitches?
- Timeline: How Long Do They Actually Take?
- Factors That Speed Up or Slow Down Dissolution
- Daily Care Routine for Stitched Wounds
- Warning Signs Something’s Wrong
- When to Contact Your Doctor
- Activity Restrictions During Healing
- Common Aftercare Mistakes to Avoid
- Frequently Asked Questions
What Are Dissolvable Stitches?
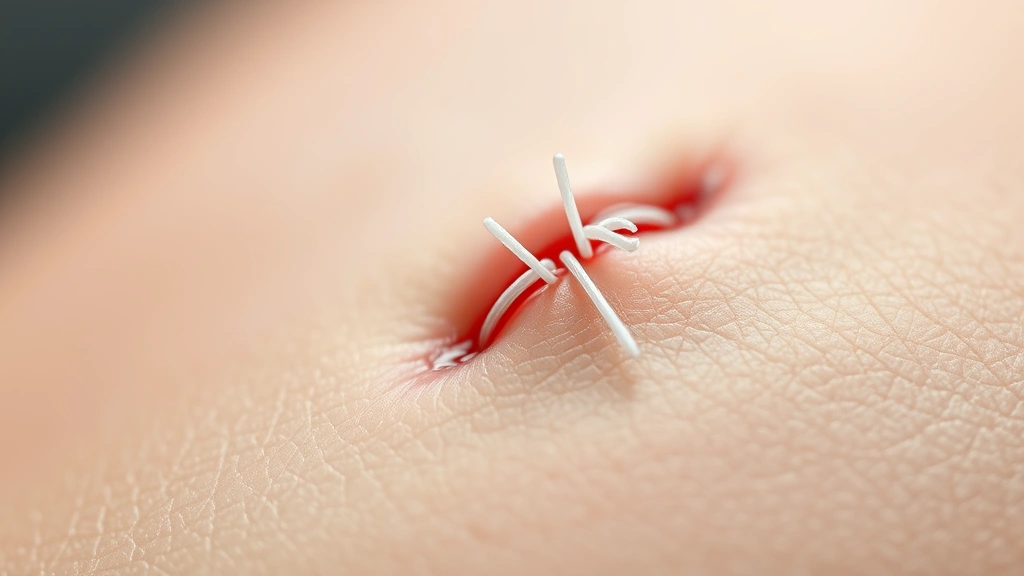
Dissolvable stitches—also called absorbable sutures—are made from materials your body can naturally break down and absorb. Unlike traditional stitches that need removal, these guys work their magic on their own. They’re typically made from materials like polyglactin, polydioxanone, or catgut (yes, that’s a real thing, though modern versions are synthetic).
Your surgeon picks dissolvable stitches for specific reasons. They’re ideal for internal wounds, delicate areas like your face, and situations where follow-up removal appointments are inconvenient. The material gradually weakens as your body’s natural enzymes work on it, and eventually, it just disappears. No snip-snip visit needed.
Timeline: How Long Do They Actually Take?
The dissolution timeline varies wildly depending on which type of dissolvable stitches you’ve got. Here’s the breakdown:
Fast-dissolving varieties (polyglactin 910) typically disappear in 7 to 14 days. These are common for facial wounds or areas with good blood flow.
Standard absorbable stitches (like polyglactin 370) usually take 2 to 3 weeks to fully dissolve. This is the sweet spot for most wound types.
Slow-dissolving types (polydioxanone) can hang around for 4 to 8 weeks. Surgeons use these for deeper wounds or areas needing longer-term support while healing progresses.
The catch? Individual variation is huge. Your metabolism, infection status, wound location, and even your age can shift these timelines. A 25-year-old athlete healing a leg laceration might see dissolution in 3 weeks, while a 65-year-old with the same injury could take 6 weeks.
Factors That Speed Up or Slow Down Dissolution
Several variables influence how quickly your body breaks down those stitches. Understanding these helps you manage expectations and spot when something’s off.
Blood flow matters enormously. Wounds on your face, scalp, or hands dissolve faster because these areas get excellent circulation. A cut on your shin or foot? Expect slower dissolution. Your body’s enzymes reach the stitches faster when blood flow is robust.
Infection is a major slowdown. If bacteria colonize the wound site, your body gets distracted fighting infection instead of dissolving stitches. This is why keeping the area clean is non-negotiable.
Your immune system’s strength plays a role. People with compromised immunity, diabetes, or on immunosuppressant medications often experience slower dissolution. Age factors in too—older adults typically heal more slowly than younger folks.
Wound depth and tension affect the timeline. Deeper wounds with more tension on the stitches take longer to dissolve because the stitches bear more load while healing. Your body keeps them intact longer to maintain structural support.
Moisture and humidity speed things up. Moist wound environments promote faster enzymatic breakdown. Dry environments slow the process.
Daily Care Routine for Stitched Wounds
Proper aftercare is your job, and it directly impacts how smoothly dissolution happens. Here’s your game plan:
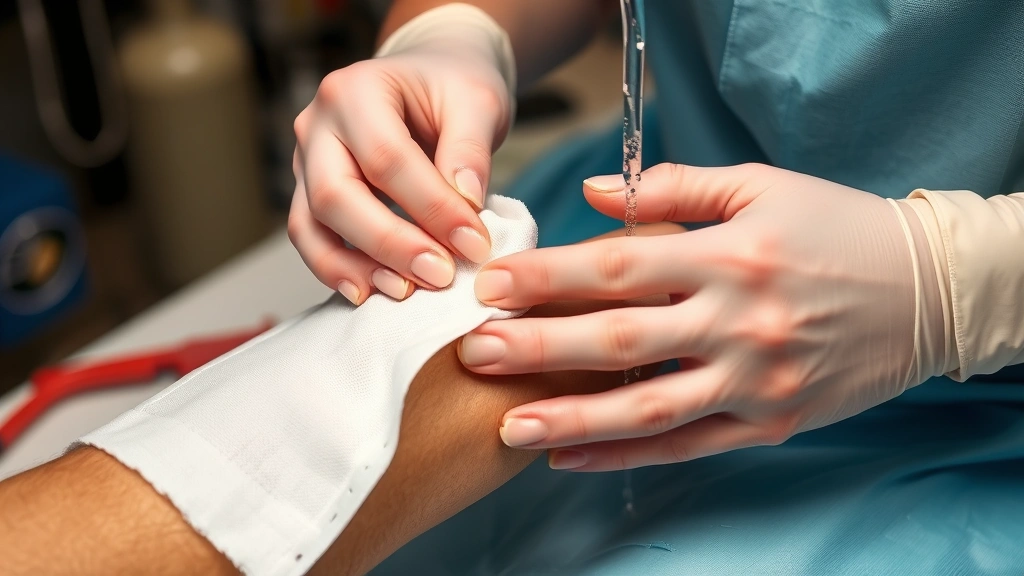
Cleaning is step one. Gently wash the area with mild soap and lukewarm water once or twice daily. Use a soft cloth or your clean hands. Pat dry with a clean towel—don’t scrub or rub aggressively. This removes bacteria and debris without disturbing the stitches.
Keep it dry between cleanings. Moisture is good during healing, but excess moisture invites infection. If you shower, pat the area dry immediately after. If the wound gets wet from swimming or sweating, dry it promptly.
Apply prescribed antibiotic ointment if directed. Your surgeon might recommend Neosporin or a similar product. Use sparingly—a thin layer is all you need. This reduces infection risk and keeps the area slightly moist, which aids dissolution.
Cover it appropriately. Early on (first few days), keep a bandage on to protect from dirt and friction. Once it stops oozing, you can leave it uncovered unless it’s in a dirty area or subject to friction from clothing.
Avoid submerging the wound. Baths, swimming pools, and hot tubs are off-limits until your surgeon gives the all-clear. Showers are fine if you keep water flow gentle.
Watch for signs of irritation. Some redness and mild swelling is normal, but increasing redness, warmth, or pus means infection. See your doctor immediately if this happens.
Warning Signs Something’s Wrong
Your body usually handles dissolvable stitches without drama, but problems can develop. Know what to watch for:
Persistent redness or swelling beyond 3 days suggests infection or an allergic reaction to the suture material. Normal inflammation peaks around day 2 or 3, then gradually improves.
Pus, drainage, or foul odor are red flags. These indicate bacterial infection that needs treatment. Don’t wait—contact your doctor.
Increasing pain or throbbing after the first week usually means infection or complications. Sharp, localized pain at a specific stitch site might indicate a stitch abscess (a small pocket of infection around one stitch).
Stitches that don’t seem to be dissolving after 10 weeks warrant a call to your surgeon. Some stitches are stubborn, but this is unusual enough to investigate.
The wound reopening or gaping means the stitches failed prematurely. This is rare but serious—get medical attention immediately.
Allergic reactions like severe itching, hives, or rash around the wound suggest sensitivity to the suture material. Your doctor can address this.
When to Contact Your Doctor
Don’t be shy about calling. Your surgeon wants to know about problems early. Reach out immediately if you experience:
Fever above 101°F (38.3°C) combined with wound symptoms. Fever suggests systemic infection.
Spreading redness that extends beyond the immediate wound area. This indicates cellulitis—spreading skin infection that needs antibiotics.
Severe pain unrelieved by over-the-counter pain medication. This isn’t normal.
Any sign of wound separation or gaping. Your stitches are failing.
Excessive bleeding or oozing that doesn’t stop with gentle pressure after 10 minutes.
Pus, unusual discharge, or foul odor. These scream infection.
Allergic symptoms like severe itching, hives, or difficulty breathing (rare but possible).
Activity Restrictions During Healing
Your surgeon gave you specific restrictions for a reason. Ignoring them risks complications like infection, reopening, or scarring.
For the first 48 hours: Keep activity minimal. Rest is healing. Avoid anything that elevates your heart rate or causes sweating.
For the first week: Light activity only. Walking is fine. Heavy lifting, intense exercise, and strenuous work are off-limits. Sweating increases infection risk and can loosen stitches.
For weeks 2-4: Gradually increase activity as your wound shows improvement. If it starts oozing or becoming inflamed, dial it back. Pain is your signal to stop.
Avoid friction and pressure: Don’t wear tight clothing over the wound. Friction irritates healing tissue and can cause premature stitch failure.
Keep the area protected from sun: UV exposure can darken scars. Use sunscreen (SPF 30+) once the wound closes, or keep it covered.
Swimming and water activities: Wait until your surgeon clears you. Typically this is 2-3 weeks minimum, depending on wound depth and location.
Common Aftercare Mistakes to Avoid
People mess up wound care in predictable ways. Learn from their mistakes:
Picking at the stitches. This is the number-one mistake. Resist the urge. Picking introduces bacteria, delays dissolution, and increases scarring. If you’re tempted, keep the area covered or bandaged.
Cleaning too aggressively. Scrubbing hard damages new tissue and irritates the stitches. Gentle is the watchword. Think “pat” not “scrub.”
Skipping cleaning entirely. Some people avoid touching the wound from fear of disrupting it. This backfires. Gentle daily cleaning prevents infection better than leaving it alone.
Using dirty water or non-sterile materials. Tap water is fine for cleaning, but make sure your hands and cloths are clean. Don’t use dirty bandages or old ointment.
Applying too much ointment. More isn’t better. Excess ointment traps moisture and can promote infection. A thin layer suffices.
Ignoring early warning signs. Slight redness on day 1? Normal. Increasing redness on day 5? Call your doctor. People often wait too long, hoping it improves on its own.
Resuming normal activity too quickly. Impatience leads to complications. Follow your surgeon’s timeline, not your wishful thinking.
Getting the wound excessively wet. Showers are fine, but extended soaking softens the wound and promotes infection. Dry it promptly.
Frequently Asked Questions
Can I shower with dissolvable stitches?
Yes, you can shower gently with dissolvable stitches. Keep water flow gentle and pat the area dry immediately afterward. Avoid scrubbing or soaking the wound. Most surgeons recommend waiting 24-48 hours after the procedure before showering, but check your specific post-op instructions.
What if a stitch comes out early?
If you notice a stitch has fallen out prematurely, don’t panic. Contact your surgeon to report it. If the wound looks fine (no gaping, no increased redness), it’s usually not an emergency. Your surgeon might want to see you to confirm the wound is healing properly. If the wound starts to separate or shows signs of infection, call immediately.
Is it normal for dissolvable stitches to itch?
Yes, itching is completely normal during healing. It’s actually a sign your body is working on repair. Resist scratching—this is crucial. If itching is severe, ask your doctor about using hydrocortisone cream or taking an antihistamine. Keeping the area cool and moisturized with fragrance-free lotion can help.
Can I remove dissolvable stitches myself?
No. Do not attempt to remove dissolvable stitches yourself. Unlike traditional stitches, these aren’t meant for self-removal. If a stitch is bothering you or seems problematic, see your surgeon. They have the proper tools and can assess whether removal is appropriate.
Why are my stitches still visible after 6 weeks?
Some dissolvable stitches take longer to dissolve than expected. Factors like slow metabolism, infection, or certain stitch types can extend the timeline to 8-10 weeks. If it’s been longer than 10 weeks and stitches remain, contact your surgeon. Occasionally, a stitch resists dissolution and needs manual removal.
Will dissolvable stitches leave a scar?
Dissolvable stitches don’t prevent scarring—all wounds scar to some degree. However, proper wound care minimizes scarring. Keep the area clean, protected from sun, and avoid picking. Once healed, silicone scar sheets or vitamin E oil may help fade scars over time. Deeper wounds naturally scar more than shallow ones.
What’s the difference between dissolvable and traditional stitches?
Traditional stitches require removal (usually 7-14 days after placement) and are typically non-absorbable materials like nylon. Dissolvable stitches break down on their own over weeks and don’t need removal. Dissolvable stitches are ideal for internal wounds, delicate areas, or when follow-up appointments are inconvenient. Traditional stitches offer more control over removal timing and are sometimes preferred for high-tension wounds.


