
A solid chickpeas garbanzo beans recipe is like having a reliable tool in your kitchen workshop—it gets the job done every time. Whether you’re a seasoned home cook or just starting out, these humble legumes deserve a spot in your regular rotation. They’re packed with protein, fiber, and versatility that’ll make you wonder why you didn’t cook with them sooner.
Table of Contents
Understanding Chickpeas Basics
Let’s start with the fundamentals. Chickpeas and garbanzo beans are the same thing—just different names for the same legume. They’re round, beige, and slightly nutty in flavor. You’ll find them dried or canned at any grocery store, and each form has its place in your cooking arsenal.
Dried chickpeas are cheaper and give you more control over texture and seasoning. Canned versions save you time and effort. Neither is wrong; it depends on what your schedule allows. The key difference is that dried beans need soaking and longer cooking times, while canned chickpeas are ready to go straight from the can.
A typical cup of dried chickpeas yields about 2.5 to 3 cups cooked beans. This matters when you’re scaling recipes up or down. Fresh-cooked beans taste noticeably better than canned, but sometimes convenience wins—and that’s okay.
Preparation Methods Matter
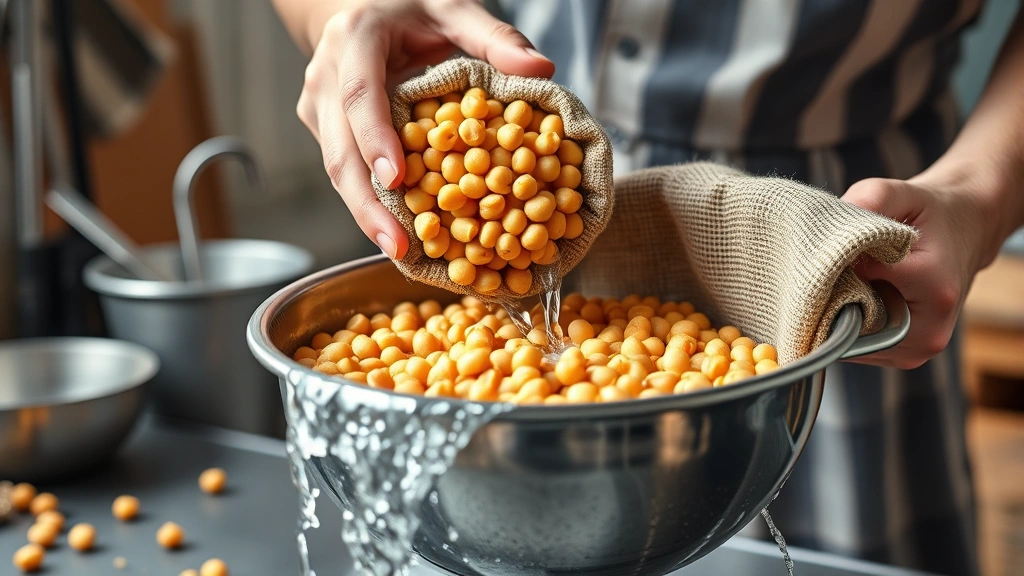
Before you cook anything, you need to prep your chickpeas properly. If you’re using dried beans, rinse them under cold water and pick through them for any debris. Then decide whether you’ll soak them overnight or use the quick-soak method.
The overnight soak is the traditional route: submerge your beans in plenty of water and let them sit for 8 to 12 hours. This reduces cooking time and can minimize digestive discomfort. The quick-soak method involves boiling the beans for 2 minutes, then letting them rest for an hour before draining and cooking.
For canned chickpeas, simply drain and rinse them thoroughly under cold running water. This removes excess sodium and the starchy liquid that can affect your final dish. Don’t skip this step—it makes a real difference in the finished product.
Stovetop Cooking Techniques
The traditional stovetop method gives you hands-on control and works perfectly for most situations. After soaking your dried chickpeas, drain them and place them in a large pot with fresh water—about 3 cups of water per cup of dried beans.
Bring everything to a boil, then reduce heat to a gentle simmer. Skim off any foam that rises to the surface. Add aromatics like bay leaves, onion halves, or garlic cloves if you want extra flavor. Cook uncovered for 45 minutes to 1.5 hours, depending on bean age and your preference for texture.
Test for doneness by crushing a bean between your fingers. It should break easily without being mushy. Undercooked beans taste chalky; overcooked ones fall apart. You’ll develop a feel for it after a couple of batches. Add salt only during the last 10 minutes of cooking, as salt can toughen the bean skins if added too early.
Pressure Cooker Magic
A pressure cooker cuts cooking time dramatically—from over an hour down to about 20 to 30 minutes. This makes weeknight meals much more feasible when you’re working with dried beans.
Soak your beans first (overnight or quick-soak method), then drain them. Add them to your pressure cooker with 3 cups of fresh water per cup of dried beans. Seal the lid and cook on high pressure for 15 to 20 minutes. Let the pressure release naturally for 10 minutes, then do a quick release for any remaining pressure.
The beans will be tender and evenly cooked. You’ll notice they hold their shape better than stovetop methods, which is perfect for salads or dishes where texture matters. Many cooks prefer pressure-cooked chickpeas for this reason.
Slow Cooker Approach
If you prefer a set-it-and-forget-it method, the slow cooker is your friend. This approach requires no soaking—just drain and rinse your dried beans, then add them to the slow cooker with 4 cups of water per cup of beans.
Cook on low for 8 to 10 hours, or on high for 4 to 6 hours. The longer, slower cooking actually produces a creamier texture because the beans cook more gently. This is ideal if you’re making hummus or a creamy chickpea curry.
The downside is timing—you need to plan ahead. The upside is minimal supervision and a kitchen that smells incredible all day. You can also add your aromatics and seasonings directly to the slow cooker from the start.
Roasting for Crunch
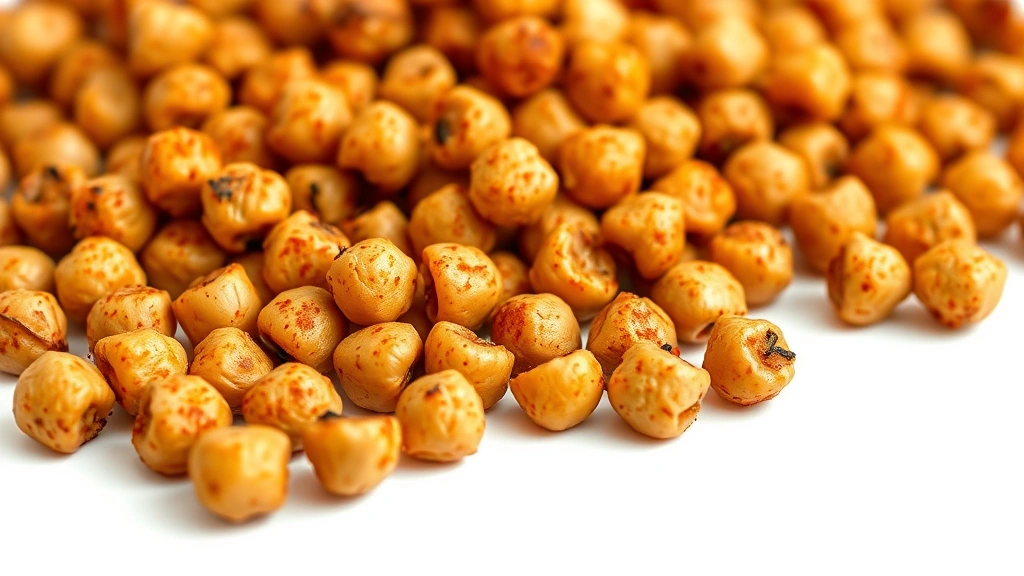
Want something completely different? Roasted chickpeas are a game-changer for snacking or salad toppings. Start with canned chickpeas, drained and dried thoroughly with a clean kitchen towel. Moisture is your enemy here.
Toss them with a touch of olive oil and your choice of seasonings—think paprika, garlic powder, cumin, or even cinnamon and sugar. Spread them on a baking sheet in a single layer and roast at 400°F for 20 to 30 minutes, stirring halfway through.
They’ll go from soft to crispy and golden. They’re best eaten fresh but stay crunchy in an airtight container for a few days. This method transforms chickpeas into something completely different from boiled versions, giving you another tool in your kitchen workshop.
Instant Pot Method
The Instant Pot combines pressure cooker speed with slow cooker convenience. Soak your dried chickpeas first, then drain them. Add to the Instant Pot with 3 cups of fresh water per cup of beans.
Set to high pressure for 15 minutes. Use natural pressure release for 10 minutes, then quick release. The result is perfectly tender beans in under 30 minutes total time, including prep.
The Instant Pot also has a slow cooker function if you prefer that method. You get flexibility without buying multiple appliances. Many home cooks find this their go-to method for weeknight cooking.
Seasoning Strategies
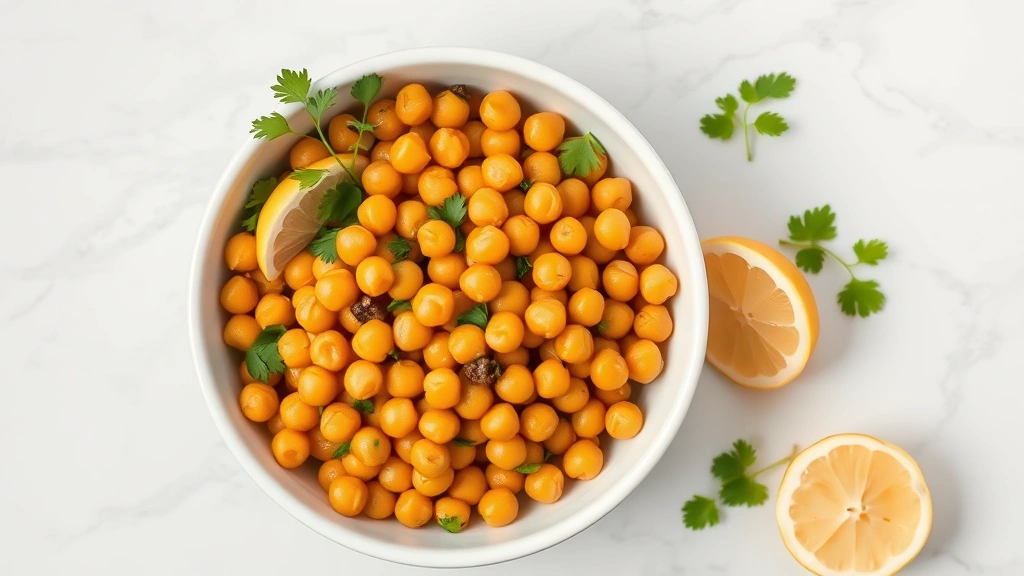
Plain cooked chickpeas are fine, but seasoning elevates them into something special. Mediterranean flavors work beautifully: olive oil, lemon juice, garlic, and fresh herbs like parsley or cilantro. This combination works for salads, grain bowls, or side dishes.
For Indian-inspired dishes, try cumin, coriander, turmeric, and ginger. Curry powder is a shortcut that delivers complex flavor quickly. You can make a simple chickpea curry by sautéing onions, adding curry powder, then tossing in your cooked chickpeas with coconut milk and spinach.
Spanish flavors lean into smoked paprika, saffron, and chorizo. Mexican preparations use cilantro, lime, cumin, and jalapeños. The beauty of chickpeas is that they play well with almost any flavor profile. Start with basics and adjust to your taste.
Storage and Make-Ahead
Cooked chickpeas keep in the refrigerator for up to 5 days in an airtight container. Freeze them in portions—ice cube trays work great for smaller amounts—and they’ll last several months. Frozen chickpeas thaw quickly and work perfectly in most recipes.
You can also cook a big batch on Sunday and use them throughout the week. Add them to salads, grain bowls, soups, or curries. This meal-prep approach makes healthy eating much easier when you’re busy.
Store dried chickpeas in a cool, dry place in airtight containers. They’ll last for years, though they cook faster when fresher. Canned chickpeas have a long shelf life but do take up pantry space. Keep a few cans on hand for quick meals.
Frequently Asked Questions
Can you cook chickpeas without soaking?
Yes, but it takes longer—typically 2 to 3 hours on the stovetop. Soaking reduces cooking time to 45 minutes to 1.5 hours. If you’re using a slow cooker or Instant Pot, soaking isn’t strictly necessary, though it’s still recommended for faster results.
Why are my chickpeas still hard after cooking?
Old beans take longer to cook. If you’ve been storing them for years, they may never fully soften. Also, cooking in hard water or with acidic ingredients like tomatoes can slow the softening process. Start fresh beans if possible, and avoid adding acidic ingredients until beans are fully cooked.
Is it okay to use the canning liquid?
The liquid is starchy and contains added sodium. Drain and rinse for most recipes. However, some cooks save it for making aquafaba (chickpea water), which whips into meringues and mousses. If you’re using the beans in a curry or soup where extra starch helps with consistency, you can keep some liquid.
How do you reduce gas from chickpeas?
Soaking and draining removes oligosaccharides that cause digestive issues. Cooking them thoroughly also helps. Rinsing canned chickpeas removes additional compounds. Starting with small portions and gradually increasing your intake helps your digestive system adjust.
Can you cook canned chickpeas?
You can, but they’re already cooked. Heating them further softens them more, which some recipes require. For roasting, you want them completely dry. For curries or soups, you can simmer them gently with other ingredients. Just don’t overdo it or they’ll become mushy.
What’s the difference between dried and canned chickpeas?
Dried chickpeas are raw and require cooking but are cheaper and last longer. Canned are pre-cooked and ready to eat but cost more and contain added sodium. Fresh-cooked dried beans often have better texture and flavor, while canned offer convenience. Choose based on your schedule and preferences.
Wrapping It Up
Mastering a solid chickpeas garbanzo beans recipe opens up dozens of cooking possibilities. Whether you go the stovetop route, pressure cooker, slow cooker, or roasting method, you’re building skills that make weeknight cooking easier and more nutritious.
Start simple: cook a batch, season them well, and taste what you’ve made. Then experiment with different flavor combinations. Before long, you’ll have a go-to method that fits your lifestyle and several flavor profiles in your regular rotation.
Like any workshop skill, cooking chickpeas gets easier with practice. Your first batch might not be perfect, but you’ll learn something valuable. Keep notes on what worked and what didn’t. Pretty soon, you’ll be cooking these nutritious legumes with the confidence of someone who knows their tools.
For more vegetable cooking techniques, check out our guide on how long to steam broccoli for perfectly tender greens. You might also enjoy exploring chayote squash recipes for another versatile ingredient. And if you’re looking to expand your cooking skills beyond savory dishes, our how to make caramel popcorn guide offers sweet snacking inspiration.


