
A chess bars recipe is your golden ticket to making one of the South’s most beloved desserts right in your own kitchen. These gooey, custard-like bars sit somewhere between a chess pie and a brownie—pure comfort food that’ll have folks asking for seconds before they even finish their first bite. Whether you’re prepping for a potluck, feeding a crowd, or just satisfying a serious sweet tooth, chess bars deliver that homemade magic without requiring fancy techniques or hard-to-find ingredients.


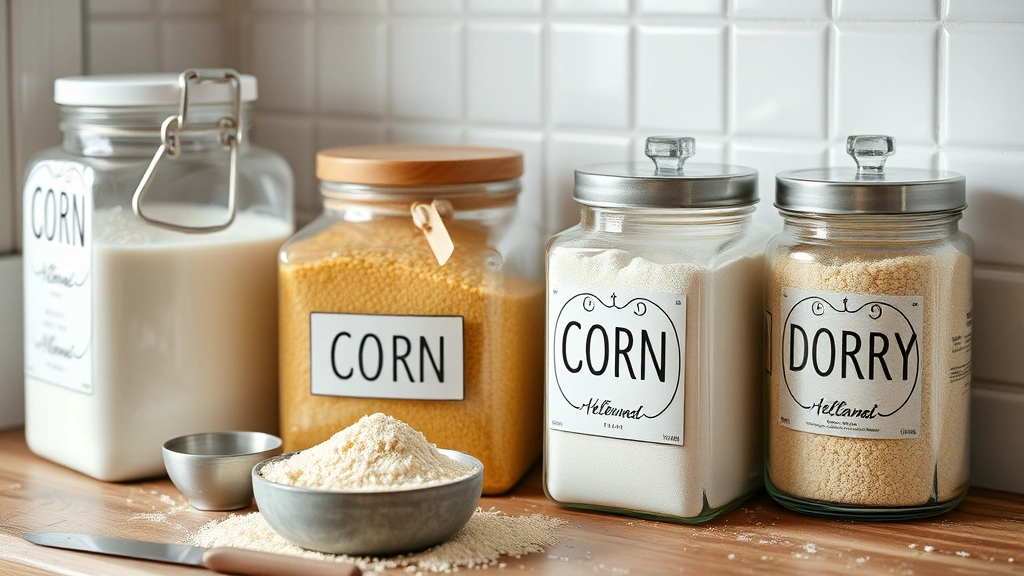


Table of Contents
What Are Chess Bars Exactly
Chess bars are a Southern staple that combines the best of both worlds—a buttery shortbread crust topped with a silky, slightly tangy custard filling. The name’s origin is actually debated (some say it comes from “chest” as in a chest of drawers, others claim it’s just a corruption of the word), but what matters is the taste. They’re less dense than brownies, more structured than pudding, and infinitely more satisfying than store-bought sweets. The filling has this unique texture that’s creamy yet slightly gooey, with just enough tartness from the vinegar to cut through the sweetness. Think of it as a deconstructed chess pie—all the flavor, way easier execution.
Ingredients You’ll Need
Here’s what you’ll gather before you start. For the crust, grab one stick of softened butter, one cup of flour, and a quarter cup of powdered sugar. This trio creates that perfect shortbread base. For the filling, you’ll need one and a half cups of sugar, three eggs, three tablespoons of flour, three tablespoons of cornmeal, a quarter cup of milk, two tablespoons of vinegar (white or apple cider work great), and one teaspoon of vanilla extract. Some recipes add a pinch of nutmeg for extra warmth. That’s it—no complicated chemistry, just straightforward pantry staples. If you’re planning to make multiple batches, consider prepping a batch recipe approach to streamline your workflow.
Building the Perfect Base
Your crust is the foundation—mess this up and the whole bar suffers. Start by preheating your oven to 350 degrees Fahrenheit and lining a 9×13 baking pan with parchment paper (makes cleanup infinitely easier). Cream together that softened butter, powdered sugar, and flour until the mixture resembles coarse breadcrumbs. Press this firmly into the bottom of your prepared pan, creating an even layer. You want it compact but not overly dense. Bake this base for about 10-12 minutes until it’s set but not browned—just slightly golden at the edges. This pre-bake step is crucial because it prevents a soggy crust when the wet filling hits it. Think of it like priming before painting; you’re setting yourself up for success.
Making the Custard Filling
While your crust bakes, whisk together your eggs and sugar in a large bowl until well combined and slightly fluffy—about two minutes of whisking does the trick. In a separate bowl, whisk together the flour, cornmeal, and a tiny pinch of salt. The cornmeal is what gives chess bars their signature slightly grainy, custard-like texture (don’t skip it). Fold the dry mixture into the wet mixture gently, then stir in the milk, vinegar, and vanilla extract. The vinegar is the secret weapon here—it adds brightness and prevents the filling from being overly sweet. Your filling should be smooth and pourable, like thick pancake batter. Pour this directly onto your pre-baked crust and you’re ready for the main event.
Baking Process & Timing
Slide that pan into your 350-degree oven and set your timer for 35-40 minutes. The bars are done when the filling is set around the edges but still has a slight jiggle in the center—that wobble is your friend. It means you’ve hit that sweet spot between cooked and creamy. The top should be lightly golden, not dark brown. If you’re baking multiple batches for a gathering, you might want to reference some Dutch oven recipes for keeping food warm while you work. The whole process from pan to oven takes maybe five minutes of active work.
Cooling and Cutting Tips
This is where patience pays off. Remove the pan from the oven and let it cool completely on a wire rack—at least two hours, preferably three. Resist the urge to cut into warm bars; they’ll fall apart and disappoint you. Once fully cooled, run a sharp knife along the edges to loosen them from the pan, then cut into squares. A 9×13 pan typically yields 24 bars if you cut them into 1.5-inch squares, or 12 larger bars if you prefer bigger portions. For cleaner cuts, dip your knife in warm water and wipe it between cuts. Some folks chill the entire pan in the fridge for an hour before cutting for even neater results.
Storage & Make-Ahead Options
Chess bars keep beautifully for up to five days in an airtight container at room temperature. You can also refrigerate them for up to a week, or freeze them (wrapped individually) for up to three months. They actually taste better the next day as the flavors meld and the texture sets up even more. If you’re making these for an event, bake them the day before and store them covered. They travel well too—just layer them between parchment paper in a sturdy container. This makes them perfect for potlucks, bake sales, or office parties.
Popular Variations & Tweaks
Once you’ve mastered the classic, get creative. Add a tablespoon of lemon juice along with (or instead of) the vinegar for brightness. Some folks sprinkle a teaspoon of cinnamon or nutmeg into the filling. You can add a tablespoon of bourbon or rum for depth. Brown the butter before mixing the crust for a nuttier flavor. Some Southern cooks add a tablespoon of buttermilk to the filling for extra tang. If you want to pair these with other recipes, check out blueberry syrup recipes for a fun topping option, or explore cashew cheese recipes if you’re experimenting with dairy-free variations.
Troubleshooting Common Issues
If your bars come out too cake-like, your filling might have been overmixed or your oven too hot—lower the temperature by 25 degrees next time. If they’re too gooey even after cooling, you underbaked them; add five more minutes to your next batch. Cracks on top are actually normal and don’t affect taste, but if you want to prevent them, cover the pan loosely with foil for the last 10 minutes of baking. A soggy crust usually means you skipped the pre-bake step—don’t do that. If the edges brown too quickly, tent with foil earlier in the baking process. Most issues come down to oven temperature variations, so grab an oven thermometer if you’re struggling.
Frequently Asked Questions
Why is it called a chess bar?
The origin is genuinely unclear. Some food historians think it comes from the word “chest” (as in a chest of drawers), while others believe it’s a corruption of the word “cheese.” The filling does have a custard-like quality similar to some chess pie recipes. Regardless of the name’s origin, the dessert has been a Southern favorite for generations.
Can I use a different type of vinegar?
Absolutely. White vinegar, apple cider vinegar, and even rice vinegar all work. The vinegar’s job is to add brightness and cut sweetness, so choose based on what you have available. White vinegar is most traditional, but apple cider vinegar adds a subtle fruitiness that some folks prefer.
What if I don’t have cornmeal?
You can substitute with an equal amount of flour, though you’ll lose that signature slightly grainy texture. Some bakers use a tablespoon of instant vanilla pudding mix as a substitute. The bars will still be delicious, just slightly different in texture.
Can these be made in a different pan size?
Yes, but adjust your baking time. An 8×8 pan will require an extra 5-10 minutes; a 10×15 pan might need 5 minutes less. The bars should be roughly half an inch to three-quarters of an inch thick when done. If they’re thicker, they’ll need more time; if thinner, less time.
Are chess bars better cold or at room temperature?
Room temperature is ideal for flavor and texture, but many folks enjoy them chilled straight from the fridge. Cold bars are firmer and easier to grab, while room temperature ones are creamier and more decadent. Serve them however you prefer.
Can I make these gluten-free?
Yes. Use a 1-to-1 gluten-free flour blend for the crust and filling. The cornmeal stays the same. The texture might be slightly different, but they’ll still be delicious. Some gluten-free bakers add a tablespoon of xanthan gum to help with binding if their flour blend doesn’t contain it.
For more creative recipes and batch cooking ideas, explore air fryer tilapia recipes to expand your cooking repertoire beyond desserts.
Final Thoughts
A chess bars recipe is one of those desserts that feels fancy but requires zero fancy skills. You’re mixing a handful of ingredients, pressing some dough into a pan, pouring a custard-like filling on top, and letting your oven do the heavy lifting. The result is something that tastes like your grandmother spent all day in the kitchen, even though you barely spent thirty minutes of active work. These bars are proof that simple ingredients, when treated with respect and a little patience during cooling, create something genuinely special. Keep this recipe handy for potlucks, weeknight desserts, or whenever you need to impress people without the stress. Your kitchen will smell amazing, and your reputation for being a dessert wizard will be cemented.


