
A canning salsa recipe is one of the most rewarding projects you can tackle in your kitchen—it transforms fresh tomatoes and peppers into shelf-stable jars of pure flavor that’ll last through winter. Whether you’re a seasoned preserver or picking up a canning pot for the first time, this guide walks you through everything from ingredient selection to that satisfying pop of the jar seal.
Table of Contents
Why Make Your Own Salsa
Store-bought salsa sits in warehouses and trucks for months. Your homemade canning salsa recipe delivers fresh, vibrant flavor that tastes like summer in a jar. You control the heat level, adjust the spice blend, and know exactly what goes into every batch. Plus, there’s something deeply satisfying about preserving food with your own hands—it connects you to a tradition that kept families fed for generations.
The cost advantage is real too. A single pound of tomatoes costs pennies compared to a jar of store salsa. Make a batch of eight to ten jars and you’ve got condiments for months at a fraction of retail price.
Essential Equipment Needed
Before you start your canning salsa recipe, gather your tools. You’ll need a large stainless steel pot (at least 8-quart capacity), a canning pot with a rack, mason jars in pint or quart sizes, two-piece lids (flat lids and bands), a jar lifter, a bubble remover and headspace tool, a funnel designed for canning, and a large colander for draining tomatoes.
A kitchen scale takes the guesswork out of measurements. A sharp chef’s knife and cutting board are non-negotiable. Many people invest in a food mill to remove tomato skins without blanching, though a box grater works in a pinch. You’ll also want clean towels, a ladle, and a timer you can actually see.
Choosing Quality Ingredients
The foundation of any excellent canning salsa recipe starts with tomatoes. Roma tomatoes are ideal—they’re meatier with fewer seeds than beefsteaks, and they break down into that perfect chunky consistency. Pick tomatoes at peak ripeness; underripe ones lack flavor and won’t break down properly during cooking.
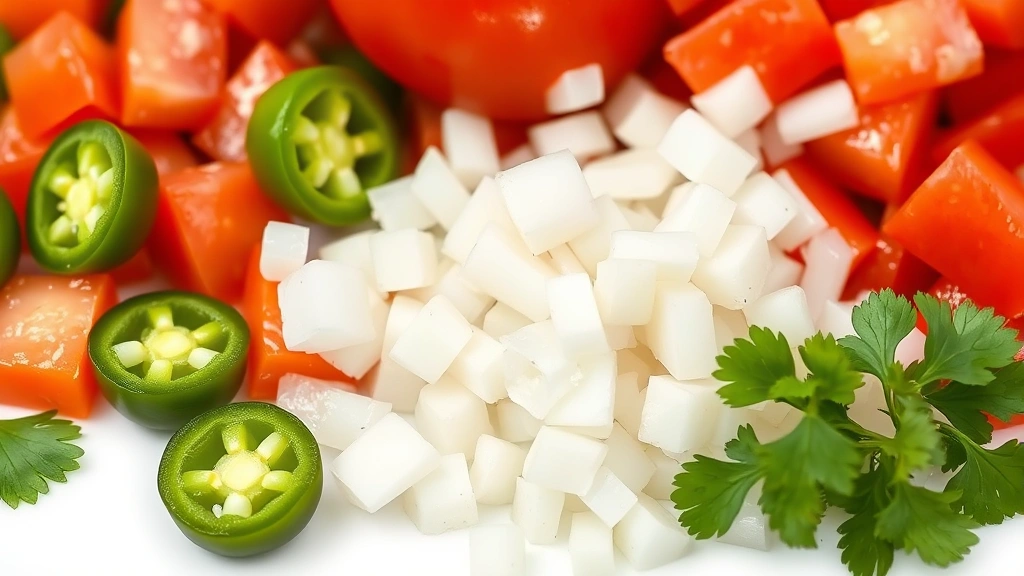
Fresh jalapeños, serranos, or habaneros bring the heat. Onions add sweetness and body. Garlic provides depth. Cilantro, lime juice, and vinegar round out the flavor profile. For a traditional approach, grab cumin and a pinch of oregano. The vinegar isn’t optional—it’s a safety requirement that prevents botulism by raising acidity to safe canning levels. Use 5% distilled white vinegar or lime juice; never skip this step.
Prep Work and Measurements
This is where patience pays off. Wash all produce thoroughly under running water. For a basic canning salsa recipe, you’ll need about 10 pounds of tomatoes, 3-4 onions, 6-8 jalapeños, 4 garlic cloves, and 1 cup of cilantro. That yields roughly eight pint jars.
Core and quarter your tomatoes. Halve your onions. Seed your peppers if you want milder salsa (the white membrane holds heat). Mince garlic fine. Measure your vinegar—you’ll need about 1 cup per batch. Have your lime juice ready. Don’t skip the mise en place; organized ingredients make the cooking phase smooth and safe.
The Cooking Process
Add your prepared tomatoes to a large pot without water—they’ll release liquid as they heat. Bring them to a boil over medium-high heat, stirring occasionally. This takes 15-20 minutes. Once boiling, reduce heat and simmer for 10 minutes to start breaking down the tomatoes.
Add your diced onions, minced peppers, and garlic. Stir well. Continue simmering for 20-30 minutes, stirring every 5 minutes to prevent sticking. The mixture should thicken noticeably and the vegetables should soften. Add your vinegar, cumin, oregano, and salt (about 1 teaspoon per batch). Stir in fresh cilantro in the last 2 minutes—heat destroys its delicate flavor.
Taste as you go. This is your chance to adjust seasoning. The salsa will thicken more as it cools, so don’t over-reduce it in the pot. You want a chunky consistency with visible tomato pieces, not a paste.
Filling and Sealing Jars
Prepare your jars by running them through the dishwasher on hot cycle, or submerge them in boiling water for 10 minutes. Keep them hot—cold jars crack when you pour hot salsa into them. Place flat lids in a small pot of simmering water (not boiling) for 5 minutes to soften the sealing compound.
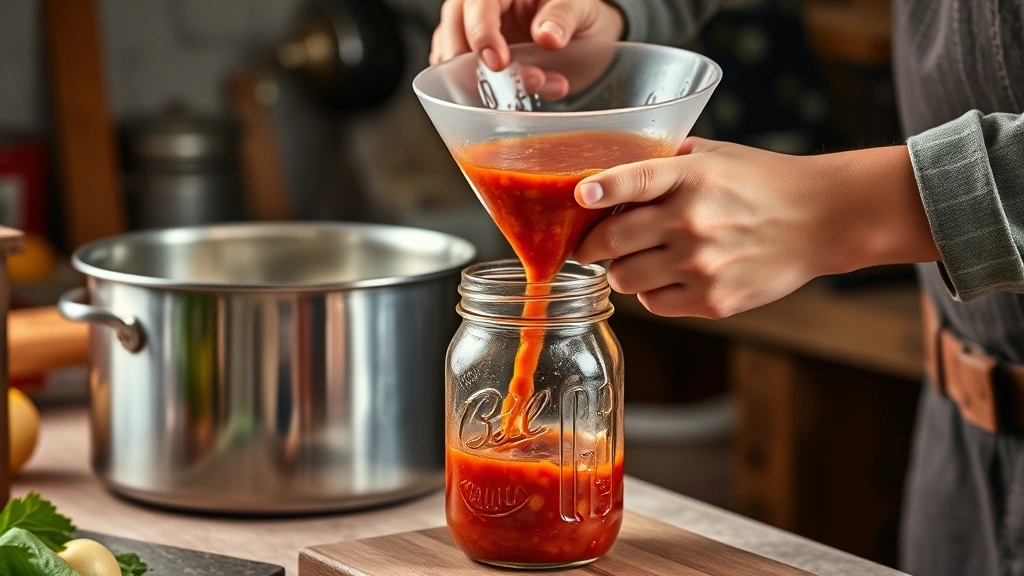
Using a canning funnel, ladle hot salsa into hot jars, leaving ½-inch headspace (the gap between salsa and jar rim). Run a bubble remover tool around the inside edge to release trapped air. Wipe the rim clean with a damp cloth—any salsa residue prevents proper sealing. Place a hot lid on each jar and screw the band on fingertip-tight. Don’t over-tighten; the lid needs room to move slightly as pressure builds.
Water Bath Canning Method
Fill your canning pot with water and bring it to a rolling boil. Using a jar lifter, carefully place filled jars on the rack inside the pot, ensuring they don’t touch each other. The water should cover the jars by at least 1 inch. If needed, add more boiling water.
Cover the pot and return to a rolling boil. Once boiling, process pint jars for 15 minutes (quart jars need 20 minutes). Adjust time if you’re above 1,000 feet elevation—add 5 minutes for every 1,000 feet. Set a timer and don’t guess.
When time’s up, turn off heat and let jars sit in the pot for 5 minutes before removing them. Use your jar lifter to transfer them to a clean towel on the counter. Space them an inch apart and let them cool completely—this takes 12-24 hours. Resist the urge to tighten bands or move jars around.
Storage and Shelf Life
After 24 hours, test the seals by pressing the center of each lid. It should be concave (dipped down) and not flex when you press it. If a lid flexes, that jar didn’t seal—refrigerate it and use within two weeks, or reprocess it with a new lid.
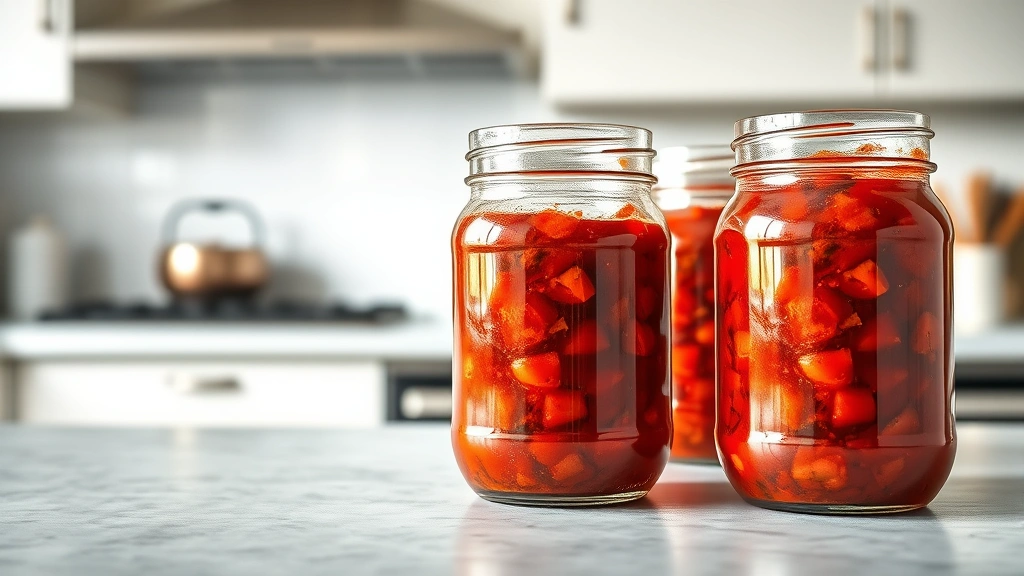
Label jars with the date and contents. Store in a cool, dark place—a basement, pantry, or closet works perfectly. Properly canned salsa lasts 12-18 months. Once opened, refrigerate and use within two weeks. Your canning salsa recipe will look darker after a few months of storage; this is normal oxidation and doesn’t affect safety or taste.
Common Problems Solved
If your salsa separates (liquid pools on top), you cooked it too long or didn’t leave enough headspace. Next batch, reduce cooking time by 10 minutes and measure headspace carefully. If jars didn’t seal, reprocess with new lids within 24 hours, or freeze the contents instead.
Cloudy liquid usually means mineral deposits from hard water—harmless, but you can use distilled water next time. Mold on top of a sealed jar means contamination during filling; discard it. If you’re canning for a campfire gathering, make extra batches—homemade salsa is always the star of the show.
Recipe Variations to Try
Corn salsa swaps half the tomatoes for fresh corn kernels and adds black beans. Mango salsa replaces some tomatoes with diced mango for a sweet-spicy profile. Roasted red pepper salsa uses charred peppers for deeper flavor. Pineapple salsa adds tropical brightness—perfect alongside grilled meats or served with caldo de pollo.
For a smoky version, char your tomatoes and peppers over a gas flame or under the broiler before cooking. Add smoked paprika and a pinch of chipotle powder. Experiment with cilantro swaps—mint, basil, or parsley each bring different character. Just remember: any recipe changes must maintain proper acid levels, so always include the full vinegar amount.
Frequently Asked Questions
Can I use a pressure canner instead of water bath?
Yes, pressure canners work fine for salsa and actually preserve more nutrients. Use 5 PSI for 15 minutes (pints) or 20 minutes (quarts) at sea level, adjusting for elevation. Many home canners prefer pressure canning for its speed and reliability.
What if I don’t have a canning pot?
You can improvise with a large stainless steel pot and a rack (even a folded kitchen towel works). The key is ensuring water circulates around jars. However, investing in a proper canning pot costs $20-30 and makes the process safer and easier.
Is it safe to can salsa in a slow cooker?
No. Slow cookers don’t reach the sustained high temperature needed for safe canning. Always use a water bath or pressure canner. Food safety isn’t worth the risk—botulism is serious business.
Can I reduce the vinegar in my recipe?
Not if you’re canning. The acid level is critical for safety. If you want less vinegar taste, use lime juice instead—it’s acidic enough and adds brightness. You can also increase spices to mask vinegar tang.
How do I know if my homemade salsa is safe to eat?
Check three things: the lid sealed (it’s concave and doesn’t flex), there’s no mold or cloudiness inside, and it smells normal when you open it. If anything seems off, throw it out. Trust your instincts—when in doubt, don’t eat it.
Can I water bath can in my oven?
No. Ovens don’t maintain consistent temperatures and heat distribution is uneven. Stick with stovetop water bath or pressure canning methods. According to the National Center for Home Food Preservation, these are the only safe methods for home canning.
What’s the difference between canning and freezing salsa?
Canning creates shelf-stable jars that last 12-18 months without refrigeration. Freezing preserves salsa for 8-12 months but requires freezer space and thawing before use. Canning is better for long-term storage and gifting; freezing is faster and requires no special equipment.
Final Thoughts
Making a canning salsa recipe isn’t complicated—it’s methodical. Follow the process, respect the safety guidelines, and you’ll have jars of delicious salsa that taste infinitely better than anything on a store shelf. Your first batch might feel intimidating, but by jar three you’ll be moving like a pro. Keep notes on what you like, adjust seasonings next time, and build your own signature recipe.
The beauty of home canning is that you’re not just making food—you’re creating something to share. A jar of your homemade salsa makes a thoughtful gift that says you spent time, effort, and care. That’s something no store-bought jar can match. Get your jars ready, pick your tomatoes, and start preserving.


