
A cake recipe minecraft is one of the most rewarding food items you can craft in the game, and honestly, it’s easier than you’d think once you know the exact steps. Whether you’re building your first survival base or running a full-blown Minecraft kitchen, knowing how to whip up cakes fast will keep your hunger bar happy and your crafting bench productive.
Table of Contents
Gather Your Ingredients First
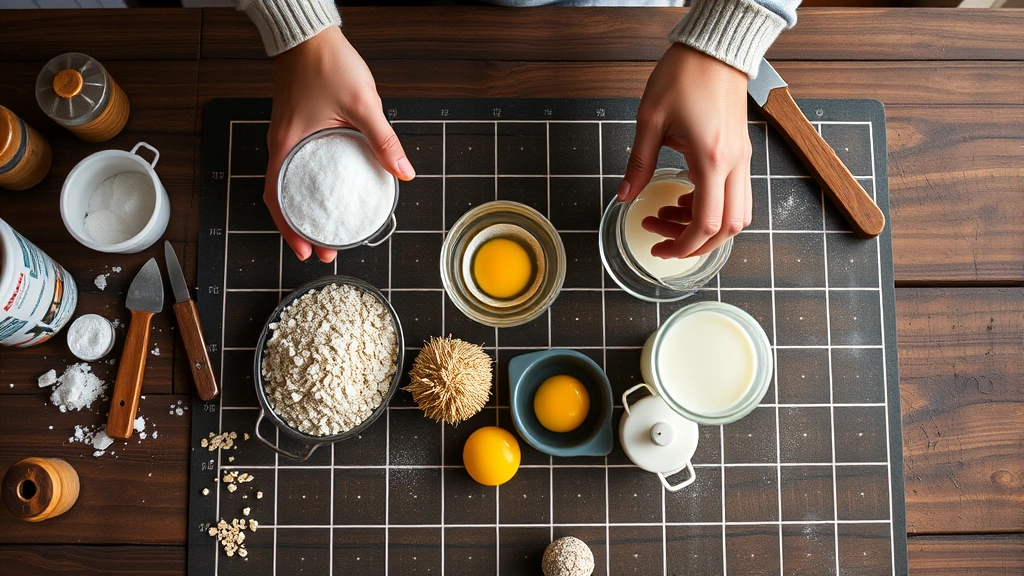
Before you even think about hitting that crafting table, you need to round up the exact ingredients for your cake recipe minecraft. This is where most players waste time running back and forth. You’ll need three wheat, two sugar, one egg, and three milk buckets. Yeah, milk buckets—not just milk. This matters because you’ll need actual buckets filled with milk from cows.
The wheat is straightforward; plant seeds and harvest when they’re golden. Sugar comes from sugar cane, which grows like crazy next to water. Eggs drop from chickens, so keep a small chicken farm running. But here’s the real bottleneck: milk. You need three full buckets, which means three separate interactions with cows. Grab an empty bucket, right-click a cow, and boom—you’ve got milk. Do this three times and you’re golden.
Pro move: set up your farms close to your main base. The less running around you do, the faster you’ll complete your cake recipe minecraft workflow. I like to keep a dedicated ingredient staging area near my crafting station so everything’s within arm’s reach.
Setting Up Your Crafting Grid
The 3×3 crafting grid is your best friend here. You need to arrange your ingredients in a specific pattern or it won’t work. This isn’t like real-world baking where you can throw stuff in any order—Minecraft’s crafting grid is strict about placement.
Here’s the exact layout: put sugar in the top-left and top-right corners. Egg goes in the center middle. Then place your three milk buckets along the bottom row. Your wheat fills in the remaining spots: top-center, middle-left, and middle-right. If you mess up the pattern, you won’t get a cake, so double-check before you click craft.
The good news? Once you’ve done it a few times, muscle memory kicks in. You’ll be able to set up your cake recipe minecraft without even thinking about it. Speed runners can do this in seconds flat.
Step-by-Step Crafting Process
Let’s break down the actual crafting sequence so you nail it every single time. First, open your crafting table. Make sure you’ve got all nine ingredient slots visible. Now, grab your sugar and place it in the top-left square. Move to the top-right and place your second sugar.
Next, click on the center square of the middle row and place your egg. This is the heart of your cake recipe minecraft—the egg is what binds everything together. Now for the milk buckets: place one in the bottom-left, one in the bottom-center, and one in the bottom-right. Your three wheat pieces go in the remaining spots: top-center, middle-left, and middle-right.
Once everything’s positioned, look at the output slot on the right side of the crafting grid. You should see a cake appear. Click it and drag it into your inventory. The buckets don’t disappear—they stay in your crafting grid because buckets are reusable. This is clutch because you can immediately use those same buckets for your next cake.
The whole process takes about 15 seconds once you’re practiced. We’re talking serious efficiency gains here.
Pro Tips for Speed Crafting
Want to become a cake-crafting machine? Here are the insider moves that separate casual players from the grinders. First, keep your ingredients in organized hotbar slots. I use slots 1-4 for sugar, egg, wheat, and milk buckets respectively. This means you can grab each ingredient without hunting through your inventory.
Second, set up multiple crafting tables in your base. I’m not joking. If you’ve got three crafting tables side-by-side, you can rotate between them while the first batch finishes. You’re not actually speeding up individual crafts, but you’re maximizing your throughput. This is especially useful when you need cakes for a big build project or feeding a group of players.
Third, use a double chest right next to your crafting station to store bulk ingredients. Keep at least 64 wheat, 32 sugar, and 12 milk buckets on hand at all times. This prevents those annoying moments where you’re one ingredient short and have to run back to your farm.
Fourth, consider setting up a simple recipe organization system where you label your ingredient storage with signs. Yeah, it’s extra, but when you’re in crafting mode, you don’t want to waste mental energy figuring out which chest holds what.
Common Mistakes to Avoid
Even experienced players mess up their cake recipe minecraft occasionally. The most common mistake? Using the wrong crafting grid. You absolutely cannot make a cake in your personal 2×2 inventory crafting grid. You need a proper crafting table. I’ve seen players waste minutes trying to figure out why their cake won’t craft, only to realize they’re using the wrong grid.
Second mistake: forgetting that you need milk buckets, not just milk. Some players think they can use milk from a bucket in a different form. Nope. It has to be an actual bucket filled with milk. If you’re stuck, this is probably why.
Third: ingredient placement errors. The pattern matters. If you put wheat where sugar should go, nothing happens. Always double-check your grid before clicking craft. A quick visual scan takes two seconds and saves you from redoing the whole thing.
Fourth: not having enough cows. If you only have two cows and need milk buckets constantly, you’re going to bottleneck your production. Build a cow farm with at least 10-15 cows so you can milk them on rotation without waiting for respawns.
Automating Your Ingredient Farm
Once you’ve got the basic cake recipe minecraft down, it’s time to level up with automation. You can’t fully automate cake crafting in vanilla Minecraft, but you can automate ingredient production, which is 80% of the battle.
For wheat: set up an automatic farm with water channels and bone meal dispensers. You can use a simple redstone clock to dispense bone meal on crops, speeding up growth. Collect the drops with hoppers and funnels into a chest. You’ll have stacks of wheat without lifting a finger.
For sugar cane: plant it in rows next to water and use a piston-based harvester. Every 15 minutes or so, activate the pistons and they’ll knock the cane into a collection system. It’s hands-off farming at its finest.
For eggs: build a chicken farm with a grinder or collection system. Chickens lay eggs randomly, so you just need enough chickens in one space and a hopper system to collect them. A decent chicken farm produces hundreds of eggs per hour.
For milk: this is trickier because you need player interaction. However, you can build a cow farm with a central platform where cows are funneled in, and you can milk them all in one spot. Much more efficient than running around the map.
Storage and Organization Hacks
Here’s what separates organized builders from chaos agents: proper storage systems. When you’re crafting cakes regularly, you need your ingredients accessible and countable at a glance.
Use labeled double chests for each ingredient. Put a sign on the front that says “WHEAT 64” or “SUGAR 32.” This tells you at a glance whether you need to restock. Use a separate chest for your milk buckets since those are bulkier and you only need three at a time.
Consider using a sorting system if you’re playing on a server or long-term world. Hoppers and item filters can automatically sort your harvested ingredients into the correct chests. It sounds complicated, but once it’s built, you’ll never manually sort again.
Keep your crafting table in a dedicated kitchen or crafting room. I like to have a small workshop area with my crafting table, furnace, and ingredient storage all within three blocks of each other. Minimize walking distance, maximize efficiency.
Hunger Management Strategy
So you’ve got your cake recipe minecraft dialed in and you’re producing cakes like a factory. Now what? Use them strategically. A single cake slice restores 1.5 hunger points and 0.3 saturation. That’s not amazing compared to steak or other foods, but cakes are easy to produce in bulk.
The real advantage of cakes is that they stack differently than other foods. You can place a cake block in the world and multiple players can eat from it, each getting one slice. This makes cakes perfect for communal bases or multiplayer servers where you want to feed a group without using up 64 individual food items.
Keep a cake or two in your hotbar when you’re exploring or building. If you get low on hunger, place the cake block and eat a few slices. Then break it and pick it back up. It’s efficient and saves inventory space compared to carrying 20 pieces of meat.
For long expeditions, consider bringing a bucket of milk instead of cakes. Milk removes all status effects, which is clutch when you’re dealing with poison or other debuffs. This is why having multiple food options in your rotation makes sense.
Frequently Asked Questions
Can you make a cake in a 2×2 crafting grid?
No, you absolutely cannot. Cakes require a full 3×3 crafting table. Your personal inventory crafting grid won’t work for this recipe. You must use a proper crafting table block.
What happens if I use water buckets instead of milk buckets?
Nothing. The recipe specifically requires milk buckets. Water buckets won’t substitute, and the craft won’t go through. You’ll just be stuck staring at your ingredients wondering why it’s not working.
How many cakes can I make with one set of ingredients?
One cake per craft. Each time you complete the recipe, you get exactly one cake block. If you want multiple cakes, you need to repeat the process multiple times. This is why automation and bulk ingredient storage matter so much.
Do cakes spoil or expire in Minecraft?
No. Cakes don’t have an expiration date. You can store them indefinitely in chests without them going bad. They’re stable food items, so stockpile away.
Is there a faster way to get milk than milking cows?
Not in vanilla Minecraft. You have to manually milk cows with buckets. However, if you build a large cow farm and milk them all at once, it’s much faster than hunting individual cows across your world.
Can you use the same bucket for multiple cakes?
Yes! The buckets stay in your crafting grid after you craft a cake. You don’t consume them. So three buckets can be used indefinitely for making cakes. Just grab new milk when they’re empty.
What’s the best food to pair with cakes?
Cakes work best as a supplementary food. Pair them with protein-rich foods like steak or fish for better saturation. For pure efficiency, combine cakes with golden carrots or other high-saturation foods.
How do I know if my farm is producing enough ingredients?
Simple math: if you’re crafting cakes faster than you’re harvesting ingredients, you need a bigger farm. Aim to have at least one week’s worth of ingredients stored at all times. If you’re constantly running out, expand your farm setup.
Wrap-Up: Master Your Cake Recipe Minecraft
You’ve got everything you need to become a cake-crafting expert. The cake recipe minecraft is straightforward: three wheat, two sugar, one egg, and three milk buckets in the right pattern on a crafting table. The real skill is setting up efficient farms, organizing your storage, and developing the muscle memory to craft quickly and repeatedly.
Start by building basic farms for each ingredient. Once those are running smoothly, optimize your crafting station setup. Keep your ingredients organized and accessible. Then, practice the crafting pattern until you can do it without thinking. Within a week, you’ll be producing cakes faster than you can eat them.
The beauty of mastering the cake recipe minecraft is that it teaches you the fundamentals of efficient farming and crafting that apply to everything else in the game. You’re not just learning how to make cakes—you’re learning how to be a better builder and farmer overall. Now get out there and start crafting. Your hunger bar will thank you.
For more creative food-based projects, check out our guides on specialty recipes and advanced cooking techniques. And if you want to explore bread-making beyond Minecraft, we’ve got you covered with real-world baking too.


