
Making a burrata cheese recipe at home sounds intimidating, but honestly? It’s one of the most rewarding cheese projects you can tackle in your kitchen. If you’ve ever bitten into that creamy, dreamy center of store-bought burrata and thought, “I could do this,” you absolutely can. This guide walks you through everything from sourcing ingredients to plating your homemade masterpiece.
Table of Contents
What Is Burrata Cheese?
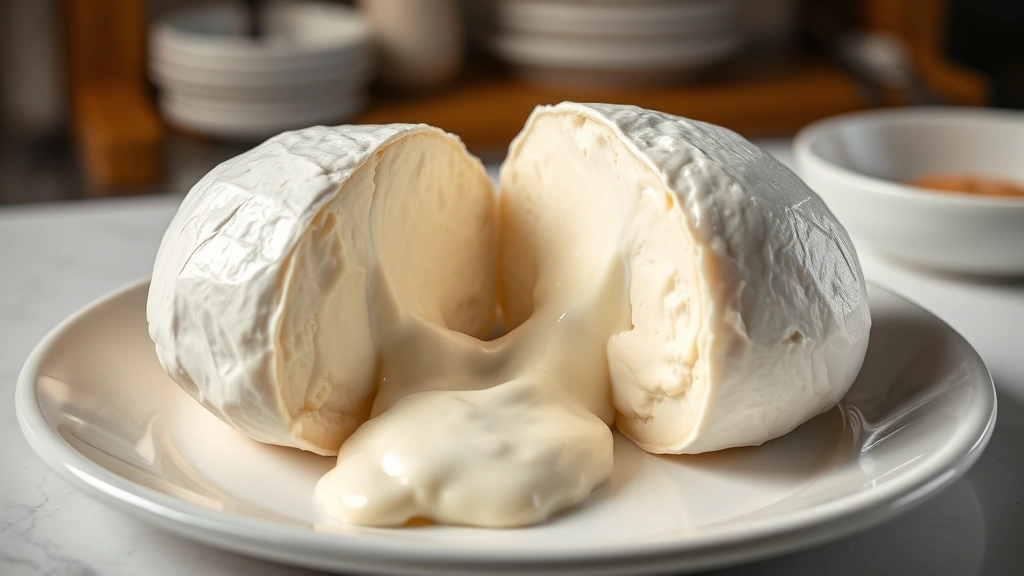
Burrata is an Italian cheese that’s basically a work of edible art. The name literally means “buttered” in Italian, and once you taste it, you’ll understand why. It’s a fresh pasta filata cheese (stretched curd cheese like mozzarella) with a hollow center stuffed with a creamy mixture of shredded mozzarella and fresh cream. The outer shell is smooth and delicate, while the inside is pure indulgence.
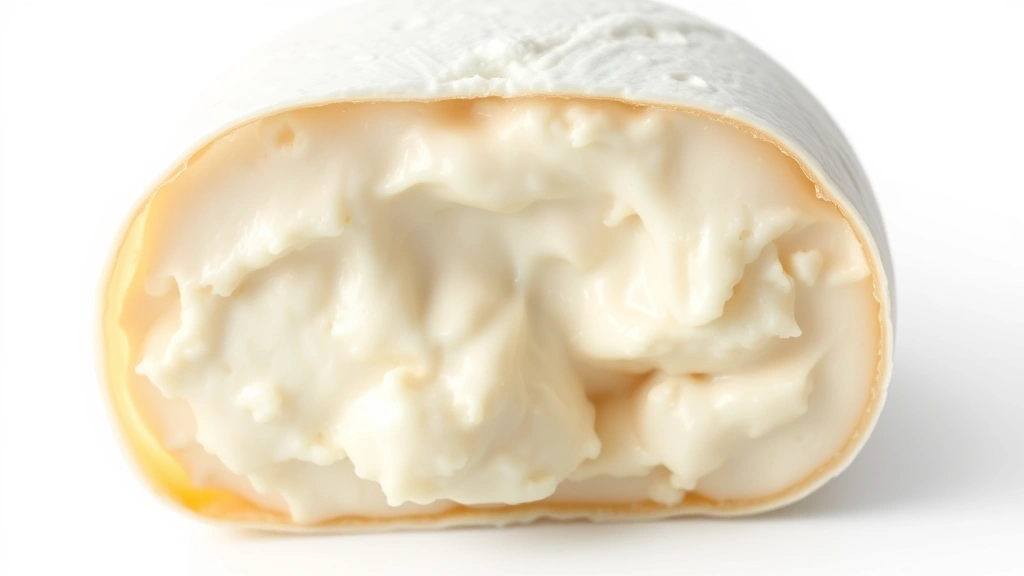
Unlike aged cheeses, burrata is meant to be eaten fresh—usually within a day or two of making it. This makes it perfect for home cheesemakers because you don’t need special aging caves or equipment. The texture should be soft enough that when you cut into it, the filling oozes out slightly. That’s the magic moment.
Ingredients You’ll Need
Here’s what goes into making authentic burrata cheese recipe at home:
- Whole milk (1 gallon, preferably not ultra-pasteurized)
- Lipase powder (dissolved in cool water 10 minutes before use)
- Liquid rennet (or tablet rennet diluted)
- Salt (non-iodized kosher salt)
- Heavy cream (for the filling)
- Cheese salt (for finishing)
The quality of your milk matters tremendously. Ultra-pasteurized milk won’t set properly because the heat treatment damages the protein structure. Hunt down local dairy milk or standard pasteurized milk from the grocery store. Lipase powder gives burrata that subtle tangy flavor that makes people ask, “What’s your secret?”
Step-by-Step Making Process
Step 1: Heat and Acidify Your Milk
Pour your gallon of milk into a large stainless steel pot. Heat it slowly to 90°F, stirring occasionally to maintain even temperature. This gentle approach prevents scorching and ensures proper curd development. Once you hit 90°F, add your dissolved lipase powder and stir for one minute. Let the milk rest for five minutes so the lipase can start working its magic on the milk proteins.
Step 2: Add Rennet and Cut Curds
Add your diluted rennet and stir for exactly one minute. Stop stirring and let the milk sit undisturbed for 5-10 minutes until it reaches a custard-like consistency. This is your “clean break” moment—insert a knife at a 45-degree angle and lift. If the curd breaks cleanly, you’re ready.
Cut the curds into rice-sized pieces using a long knife, making vertical and horizontal cuts. This is meditative work. Stir gently for 5 minutes, then let them settle for 2 minutes. Slowly heat to 105°F over 30 minutes, stirring occasionally. This gradual temperature increase helps the curds firm up without becoming rubbery.
Step 3: Drain and Prepare Curds
Line a colander with butter muslin and carefully pour the curds through. Save the whey—you’ll need it hot for stretching. Let the curds drain for a few minutes, then transfer them to a bowl. They should hold together but still be slightly moist.
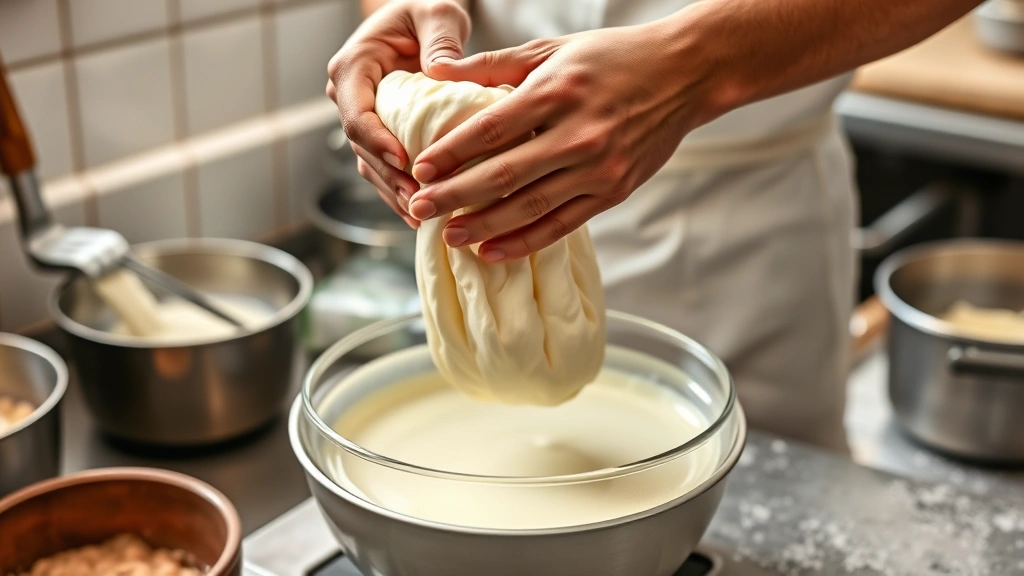
Step 4: Stretch the Curds
Heat your reserved whey to 90°F. Take a handful of curds and submerge them in the hot whey for 30 seconds until they become stretchy. Carefully pull and fold the curds like taffy, working quickly. When they’re smooth and glossy (usually after 3-4 stretches), you’ve got your mozzarella base. This is where the magic happens—you’re literally transforming curds into smooth, elastic cheese.
Step 5: Form and Fill
While the mozzarella is still warm, shape about 4 ounces into a thin-walled ball. Gently stretch the center thin enough that you can almost see through it. Spoon in your cream-and-shredded-mozzarella filling (about 1 tablespoon), then carefully fold the edges up and seal. The key is not overfilling—you want just enough that it oozes slightly when cut, not gushes everywhere.
Mastering the Filling Technique
This is where most home cheesemakers stumble. The filling needs to be prepared while your mozzarella is still warm, ideally around 90°F. Take some of your freshly made mozzarella and shred it finely. Mix it with cold heavy cream (about 2 parts mozzarella to 1 part cream by volume) and a pinch of salt.
The temperature contrast is crucial—warm outer shell, cool filling. This temperature difference creates that signature creamy texture when you cut into it. If your filling is warm, it’ll blend into the outer shell. If it’s too cold, it won’t incorporate properly into the cheese structure.
Work quickly but gently. Your mozzarella is only workable for a few minutes before it cools and becomes impossible to stretch. Some cheesemakers keep a bowl of hot whey nearby to briefly re-warm their mozzarella if it gets too firm.
Storage and Serving Tips
Fresh burrata is best enjoyed within 24 hours of making it, though it’ll keep for up to three days in the refrigerator. Store it in a container with a light brine solution (1 tablespoon salt per cup of water) to maintain moisture. The brine prevents the cheese from drying out while keeping the texture perfect.
Serve burrata at room temperature for maximum flavor. Remove it from the fridge 15-20 minutes before serving. Drizzle with quality olive oil, crack some black pepper over it, and add fresh basil. That’s all you need. The cheese should speak for itself.
Troubleshooting Common Issues
Curds Won’t Stretch
This usually means your milk was ultra-pasteurized or your curds are too cool. Make sure your whey stays at 90°F and your curds reach proper firmness before stretching. If they’re grainy, you’ve likely overheated them.
Filling Leaks Out Immediately
Your outer shell wasn’t sealed properly. Practice your folding technique—make sure the edges meet completely. Also check that your filling isn’t too warm or too runny. The consistency should be similar to ricotta.
Cheese Tastes Bland
You might have skipped the lipase or used ultra-pasteurized milk. Lipase is essential for burrata’s characteristic tangy flavor. Also, don’t undersalt—cheese needs proper seasoning to taste vibrant.
Perfect Pairings and Dishes
Burrata shines in simple preparations that let its creaminess take center stage. Try it with Amatriciana Recipe for an Italian-inspired pasta night. The richness of burrata complements the tomato-guanciale sauce beautifully.
Layer it with heirloom tomatoes, fresh basil, and quality olive oil for a classic caprese. Use it as a finishing element on warm pasta—the heat slightly melts the outer shell while the filling stays creamy. Serve it alongside crusty bread and a simple salad. You could even incorporate it into Bibimbap Sauce Recipe variations for fusion dishes.
For a heartier meal, pair burrata with roasted vegetables and Black Beans and Rice Recipe as a vegetarian plate. The creamy cheese balances the earthiness of the beans perfectly.
Advanced Variations to Try
Once you’ve mastered basic burrata, experiment with flavored fillings. Try mixing fresh herbs like chives, dill, or tarragon into your cream filling. Some cheesemakers add a touch of truffle oil for luxury versions, though this gets expensive quickly.
You can also create smoked burrata by smoking your mozzarella before stretching, though this requires additional equipment. Another approach is making smaller burrata balls for individual appetizers or larger ones for sharing platters.
For Best Fall Recipes, consider making butternut squash-infused burrata by adding roasted squash puree to your filling. It’s seasonal, impressive, and absolutely delicious.
Frequently Asked Questions
Can I make burrata without lipase powder?
Technically yes, but you’ll lose the characteristic tangy flavor that makes burrata distinctive. It won’t taste wrong, just less interesting. Lipase powder is inexpensive and worth ordering online.
What temperature should my kitchen be?
Ideally 68-72°F. Cold kitchens make temperature control harder because you’ll need to work faster. Warm kitchens make it easier to keep your whey at proper temperature, but you risk overheating curds.
Why does my burrata feel grainy?
Graininess usually means you overheated your curds or stretched them too much. Each stretch should be gentle and brief. If they’re grainy, they’ve already begun to break down.
Can I use pasteurized milk?
Yes, standard pasteurized milk works great. Just avoid ultra-pasteurized milk, which has been heated too high and won’t set properly with rennet.
How long does burrata last?
Fresh burrata is best within 24 hours but will keep up to three days in brine in the refrigerator. After that, the texture degrades and it becomes more like regular mozzarella.
What’s the difference between burrata and mozzarella?
Mozzarella is solid throughout. Burrata has a creamy, liquid-like filling in the center made from shredded mozzarella and cream. The texture and eating experience are completely different.
Can I freeze burrata?
Not recommended. Freezing damages the delicate structure and changes the texture dramatically. Burrata is meant to be fresh.
Final Thoughts
Making a burrata cheese recipe at home transforms you from a cook into a cheesemaker. The first time you cut into your homemade burrata and that creamy filling spills out, you’ll understand why people get obsessed with cheesemaking. It’s not actually difficult—it just requires patience, attention to temperature, and a willingness to practice.
Start with one batch. Don’t stress about perfection. Your first burrata might not look like it came from a fancy Italian dairy, but it’ll taste incredible because you made it. Each batch teaches you something new. By your third or fourth attempt, you’ll be making burrata that rivals anything you can buy.
The beauty of homemade burrata is that you control everything—the milk quality, the filling ratio, the salt level. You can make it exactly how you like it. That’s worth the effort every single time.
For more kitchen projects and recipes, check out Banana Bars Recipe for dessert inspiration. And if you’re looking for authoritative cheesemaking resources, the University of Wisconsin’s cheesemaking program and the American Cheese Society both offer excellent guidance for home cheesemakers.


