
Making a blueberry jelly recipe at home is way easier than you’d think, and honestly, it beats anything you’ll find on store shelves. I’m talking fresh, vibrant flavor packed into jars in about half an hour, no fancy equipment required. This isn’t some complicated canning project—it’s a straightforward kitchen technique that’ll have you wondering why you didn’t start making your own preserves years ago.
Table of Contents
Ingredients & Supplies You’ll Need
Here’s the beautiful part: you need almost nothing. Grab 2 pounds of fresh blueberries (frozen works too), 2 cups of sugar, 2 tablespoons of lemon juice, and a pinch of salt. That’s genuinely it. The lemon juice is crucial—it brightens the flavor and helps the jelly set properly.
For equipment, you’ll want a large stainless steel pot (not aluminum), a wooden spoon for stirring, a candy or instant-read thermometer, and some clean jars. I use mason jars because they’re reliable and you probably have them lying around. You’ll also need cheesecloth or a fine mesh strainer for getting that crystal-clear jelly. Don’t skip this step; it’s what separates cloudy jam from jewel-like jelly.
Prep Work Matters
Rinse your blueberries and pick out any stems or damaged ones. You don’t need to peel them—the skins break down during cooking and add color and nutrients. If using frozen berries, let them thaw at room temperature first; this actually helps release their juice naturally.
Clean your jars with hot soapy water and rinse them well. Some folks sterilize them in boiling water, but for short-term storage in the fridge, regular washing is fine. Have everything within arm’s reach before you start cooking—this process moves fast once the heat’s on.
The Cooking Process
Pour your blueberries into the pot and crush them lightly with your wooden spoon. You want to break them up enough to release juice, but you’re not making a smoothie. Add the lemon juice and salt, then turn the heat to medium-high. Stir occasionally as the berries warm up and release their liquid.
Once the mixture reaches a rolling boil, add your sugar all at once. This might seem like a lot, but sugar is the preservative and the setting agent—it’s not just for sweetness. Stir constantly for about 2-3 minutes until the sugar dissolves completely. You’ll notice the mixture becoming glossier and more vibrant as it heats.
Keep the heat at medium-high and let it bubble away. This is where patience pays off. You’re looking for the mixture to reach 220°F (104°C) on your thermometer—that’s the magic temperature where pectin in the berries gels properly. This usually takes 15-20 minutes depending on your stove and the exact water content of your berries.
Setting & Testing
Don’t just trust the thermometer—do the wrinkle test too. Drop a small spoonful of jelly onto a cold plate (keep one in your freezer beforehand), let it cool for 30 seconds, then push it with your finger. If it wrinkles and doesn’t flow back, you’re done. If it’s still loose, keep cooking and test again in 2-3 minutes.
Remove the pot from heat once you hit that sweet spot. Let it cool for about 5 minutes—this prevents the fruit from floating to the top when you jar it. While it’s cooling, line your strainer with cheesecloth and set it over a bowl.
Jarring & Storage
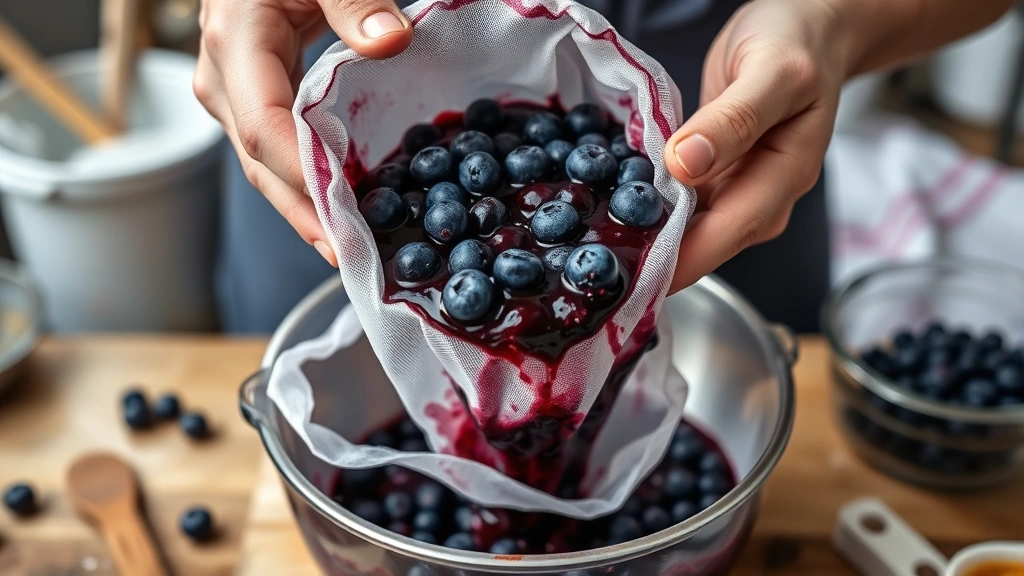
Pour the cooked mixture through the cheesecloth-lined strainer. Don’t squeeze or press the solids—just let gravity do the work. This takes patience, maybe 20-30 minutes, but you’ll end up with that gorgeous, clear jelly instead of cloudy jam. What’s left in the cheesecloth? That’s blueberry fruit leather territory, but that’s another project.
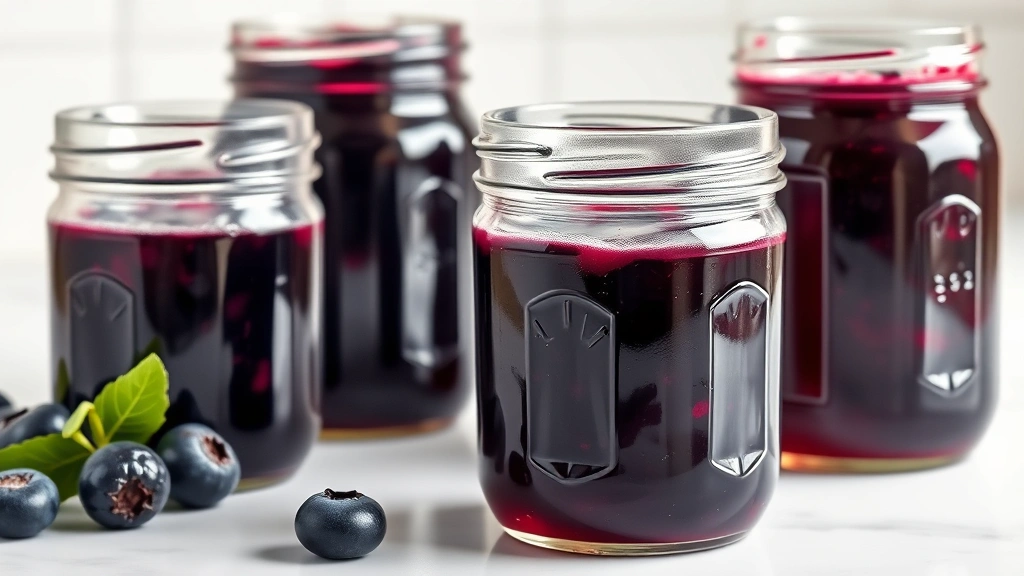
Pour your strained jelly into clean jars while it’s still warm. Leave about a quarter-inch of headspace at the top. Wipe the rims clean with a damp cloth, then cap them. As they cool, the lids will seal with a satisfying pop. Store in the fridge for up to three weeks, or freeze for longer storage.
Flavor Variations Worth Trying
Once you nail the basic blueberry jelly recipe, start experimenting. A tablespoon of fresh thyme during cooking adds sophistication. Vanilla extract (just a teaspoon) deepens the flavor. Some folks add a splash of bourbon or brandy for something special—add it after cooking, never during, so the alcohol doesn’t cook off if you want that kick.
Lemon zest is a game-changer too. Add it right with the juice for a brighter, more complex profile. You could also blend in a few raspberries or blackberries for a mixed-berry version, though you’ll need to adjust cooking time slightly since different berries have different pectin levels.
Common Issues & Fixes
If your jelly didn’t set, it happens. You either didn’t reach temperature or your berries were lower in natural pectin. Next time, add a tablespoon of powdered pectin mixed with sugar at the start, or cook a bit longer. If it set too firm and became rubbery, you cooked past 220°F—aim for 218-220°F next time for that perfect spreadable consistency.
Crystallization sometimes happens with jelly, especially if you used too much sugar or it sat too long. This is purely cosmetic and doesn’t affect taste, but if it bothers you, warm the jar gently in hot water to dissolve the crystals. Some people actually prefer this texture—it’s traditional for certain preserves.
Best Ways to Use It
Obviously, this goes on toast and biscuits. But think bigger: swirl it into yogurt, layer it in parfaits, or use it as a filling for thumbprint cookies. It’s incredible on vanilla ice cream, mixed into cocktails, or brushed onto roasted duck. I’ve even seen it used as a glaze for roasted vegetables—the tartness cuts through richness beautifully.
If you’re making bread, try the Almond Flour Banana Bread Recipe and top it with a generous dollop. Or check out the Amish Cinnamon Bread Recipe for a classic pairing. For something completely different, pair it with 4 Ingredient Guacamole Recipe on a cheese board for sweet-savory contrast.
Frequently Asked Questions
Can I use frozen blueberries for this blueberry jelly recipe?
Absolutely. Frozen berries work just as well as fresh, sometimes better because freezing breaks down cell walls and releases juice. Thaw them first and drain off excess liquid if there’s more than a tablespoon or two, or your cooking time might extend slightly.
Do I need special canning equipment?
Nope. This quick-set method doesn’t require a water bath canner or special jars. Regular mason jars and your kitchen pot are all you need. If you’re making larger batches for long-term storage, then proper canning techniques matter, but this 30-minute version is fridge-friendly.
What if my jelly is too runny?
It didn’t reach proper temperature or your berries were very juicy. Recook it: pour it back into the pot, bring it to 220°F again, and test with the wrinkle method. You can also stir in a tablespoon of powdered pectin mixed with a tablespoon of sugar, bring it to a boil, and cool again.
How long does homemade blueberry jelly last?
In the fridge, three to four weeks easily. The sugar acts as a preservative. For longer storage, freeze it in jars or ice cube trays for up to a year. Thaw at room temperature before using.
Can I reduce the sugar?
You can cut it back to 1.5 cups, but your jelly won’t set as firmly and won’t keep as long. The sugar is doing double duty here. If you want lower-sugar jelly, use powdered pectin and follow its instructions—you can reduce sugar significantly that way.
Why is my jelly cloudy instead of clear?
You pressed the fruit through the cheesecloth or used a blender. Patience is the secret to clear jelly—let gravity strain it slowly without forcing anything through. Next batch, just let it drip naturally.
Bottom line: Making a blueberry jelly recipe at home is genuinely simple, takes less time than a trip to the store, and tastes infinitely better. Once you’ve made it once, you’ll be making it constantly. It’s one of those kitchen skills that feels fancy but is actually bulletproof. Get some fresh blueberries, follow these steps, and you’ll have something special in your pantry by dinner time.


