
A blank recipe book is one of those projects that feels fancier than it actually is—the kind of thing that makes you look like you’ve got your kitchen life together, even if you’re just organizing the chaos. Whether you’re collecting family heirloom recipes, documenting your culinary experiments, or building a gift that’ll actually get used, creating your own recipe book is straightforward and deeply satisfying.
Table of Contents
Gather Your Materials First
Before you start building your blank recipe book, you need the right supplies. Head to your local craft store or order online—you’ll want cardstock for the cover (heavier weight, around 110 lb), regular copy paper or specialty recipe paper for the interior pages, and a binding method. This is where most people get stuck, so let’s break it down: you can use brass brads, spiral binding, comb binding, or even just staples and duct tape if you’re feeling rustic.
Don’t skimp on paper quality here. Thin, flimsy paper tears when you’re flipping through recipes with sticky fingers, and that defeats the whole purpose. I recommend cardstock that’s at least 65 lb for interior pages if you want durability. Grab scissors, a ruler, a pencil, and a hole punch while you’re at it. If you’re feeling ambitious, pick up a paper cutter—it’ll save your sanity when you’re dealing with multiple pages.
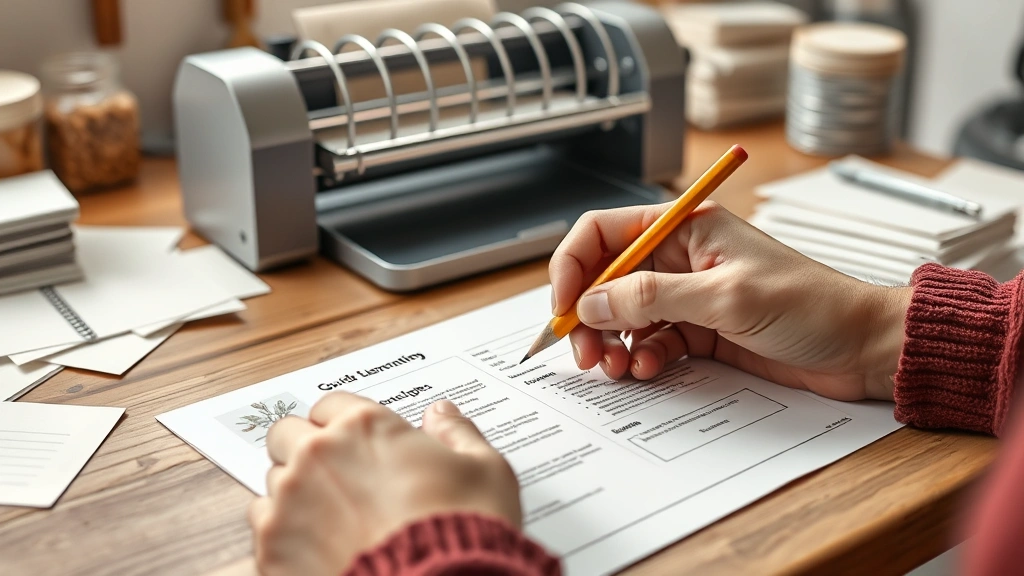
Choose Your Binding Style
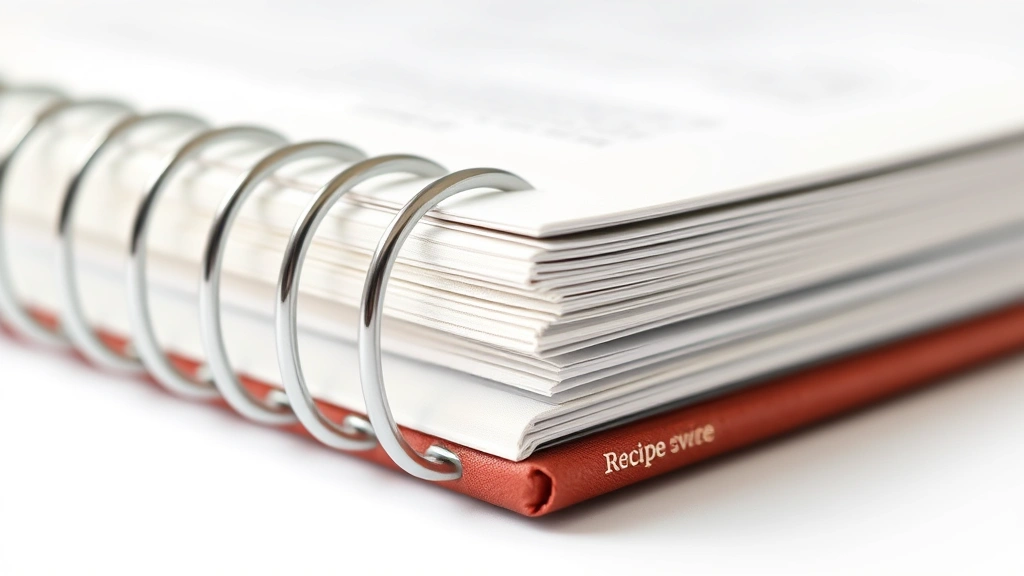
Your binding method determines how professional your blank recipe book looks and how long it’ll last. Spiral binding is the gold standard—it lies flat, pages turn smoothly, and it screams “I know what I’m doing.” You’ll need a spiral binding machine, which runs $20-40 for a basic model. Comb binding is similar and uses plastic combs instead of metal spirals; also solid and nearly as durable.
If you want something simpler, brads and fasteners work great for smaller books. Just punch two holes on the left side and thread brass brads through—it’s quick, looks intentional, and costs almost nothing. For the ultimate DIY vibe, use a saddle stitch (basically sewing the spine with thread), which gives you that handmade cookbook feel. Whatever you choose, test your binding method on scrap paper first. Nothing worse than punching holes in your final pages and realizing the spacing is off.
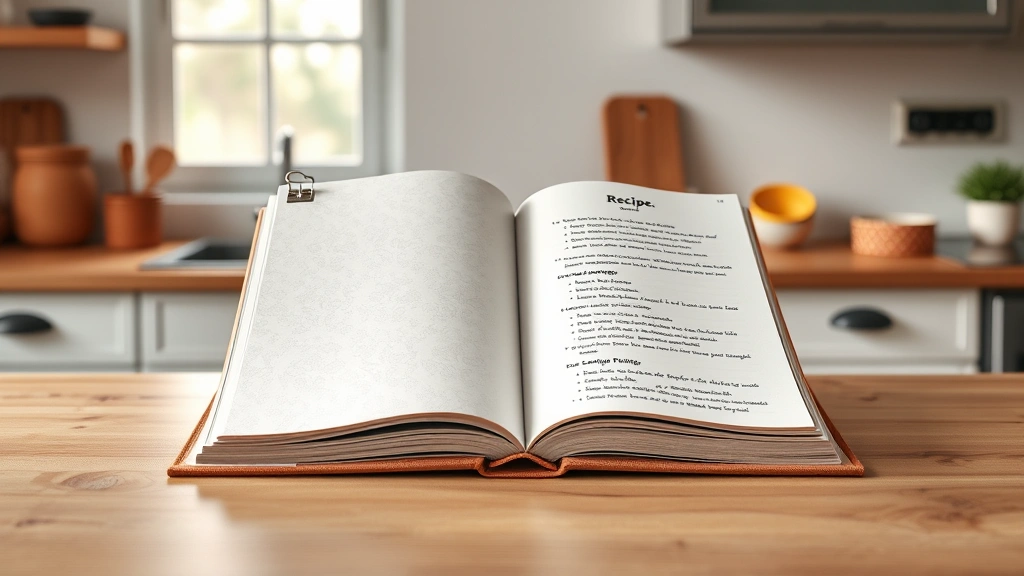
Design Your Page Layout
Before you print or write a single recipe, decide on your page layout. A typical recipe page should include spaces for: recipe name, ingredients list, instructions, prep time, cook time, servings, and notes. Leave generous margins—at least 0.75 inches on all sides—so your pages don’t look cramped and you have room for handwritten notes.
Consider whether you want one recipe per page or two per page. One per page gives you breathing room and looks more professional; two per page saves paper and works if you’re doing quick reference cards. Create a template in Word or Google Docs, then print it out to test. Hold it in your hands, imagine using it while cooking, and adjust spacing if needed. This step takes 20 minutes but saves you from reprinting everything later.
Organize Recipes Logically
Don’t just throw recipes in randomly. Organize your blank recipe book by category: appetizers, soups, salads, main dishes, sides, desserts, and so on. This makes finding recipes infinitely easier when you’re standing in front of your stove at 6 PM wondering what to make for dinner. Add a table of contents at the front—it doesn’t need to be fancy, just page numbers and recipe names.
Consider adding divider pages between sections. You can use cardstock in different colors or just labeled cardstock tabs. This is also where you can sneak in some personality—maybe your appetizers section has a fun header design, or your desserts page is decorated with little drawings. If you’re collecting family recipes, group them by which family member contributed them. It adds sentimental value and makes the book feel like a real heirloom.
Add Personal Touches
This is where your blank recipe book stops being generic and becomes something you’ll actually treasure. Add a decorative cover—watercolor, hand-lettering, photos, whatever speaks to you. Include a dedication page if it’s a gift. Sprinkle in blank pages for notes, shopping lists, or kitchen tips. You might even add pages for meal planning or pantry inventory.
Consider including a page of kitchen conversions (cups to tablespoons, Celsius to Fahrenheit), common substitutions, or your favorite cooking hacks. If you’re into specific cuisines, add cultural context or history for certain recipes. These touches transform your book from a utilitarian collection into something with character. Plus, they fill space naturally if you don’t have enough recipes yet.
Assemble and Bind Everything
Now comes the actual assembly. Stack your pages in order—cover, table of contents, dividers, recipe pages, back cover. Double-check that everything’s in the right sequence before you start binding. If you’re using a spiral or comb binding machine, follow the manufacturer’s instructions carefully. Punch your holes, insert the binding, and you’re done.
For brads or saddle stitch, mark your hole locations with a pencil first. Use a hole punch or drill (carefully!) to create clean holes. If you’re sewing, use a needle and thread—waxed thread works best because it’s stronger and less likely to fray. Make sure your stitches are tight and even; this is the spine of your book, so it needs to hold up.
Protect Pages for Kitchen Use
Here’s the thing nobody tells you: recipe books live in kitchens, where they get splashed, stained, and generally abused. Protect your pages by laminating them or using clear page protectors. Lamination is permanent and gives pages a nice slick finish that wipes clean; page protectors are removable and let you write in them with dry-erase markers.
If you’re going the lamination route, use a home laminator (around $30) or take pages to a print shop. For page protectors, just slide your printed pages into clear plastic sleeves. This step adds maybe 30 minutes to your project but extends your book’s lifespan by years. Trust me—the first time you spill tomato sauce on a protected page and it wipes right off, you’ll be grateful.
Test Functionality Before Finalizing
Before you declare your blank recipe book done, actually use it. Pick a recipe, stand at your stove, and cook something. Does the page layout work? Can you read it from arm’s length? Do the pages turn easily? Is the binding sturdy? Are there any typos or formatting issues you missed? This real-world test catches problems that seem invisible when you’re just looking at pages on a table.
If you’re making this as a gift, have someone else test it too. Fresh eyes catch things you’ve looked at a hundred times. Make notes of any adjustments needed, then create your final version. This might seem like overkill, but it’s the difference between a good project and one you’re genuinely proud of.
Frequently Asked Questions
What size should a blank recipe book be?
Standard 8.5 x 11 inches is the sweet spot—it’s easy to print, fits standard binding supplies, and provides enough space for recipes without being unwieldy. Some people prefer 5 x 8 inches for a more compact, portable book, but you lose some writing space.
Can I use regular paper instead of cardstock?
You can, but cardstock is worth the extra cost. Regular paper tears easily, especially around binding holes, and it feels flimsy. Cardstock (65-110 lb) feels substantial and lasts longer, especially in a kitchen environment.
How many pages should I include?
Start with 50-75 pages. That gives you room for 40-50 recipes plus dividers, table of contents, and blank pages for notes. You can always add more later if you’re using a binding method that allows page insertion.
Should I handwrite or print recipes?
Print them for readability and consistency, but leave space for handwritten notes and modifications. Handwritten family recipes are special—scan them, print them at a readable size, then add them to your book. Best of both worlds.
What’s the best binding method for beginners?
Brass brads or saddle stitch. Both are forgiving, require minimal tools, and look intentional. Spiral binding is more professional but requires a machine. Comb binding is the middle ground.
Can I laminate handwritten pages?
Yes, but laminate them before you write on them if possible. If you’re adding handwritten notes after lamination, use permanent markers or dry-erase markers on page protectors.
How do I add photos to my recipe book?
Print photos on photo paper, then glue them to pages with repositionable adhesive (like photo mounting squares) so you can adjust placement. Or print photos directly on cardstock if your printer handles it.
Final Thoughts
Creating a blank recipe book is genuinely one of those projects where the effort-to-payoff ratio is ridiculous. You’ll spend maybe three to four hours total, and you’ll end up with something you use constantly and actually enjoy. Whether you’re organizing your own recipes, preserving family traditions, or making a gift that’ll actually get used (unlike that decorative thing you bought last year), a homemade recipe book hits different.
The best part? You don’t need fancy skills or expensive equipment. You need patience, decent materials, and a little planning. Start with the materials, choose your binding method, design your layout, organize your recipes, and assemble everything carefully. Add those personal touches that make it yours. Want to see how to preserve other meaningful items? Check out our guide on how to frame a puzzle—same principle of turning something meaningful into something displayable.
If you’re cooking from your new book, you might want to try some new recipes. Our air fried tofu recipe and aebleskiver recipe are solid starters, and if you’re feeling adventurous, our dalgona cookie guide is worth the effort. For gift-giving occasions, you might also want to learn how to wrap presents so your homemade recipe book looks as good as it functions.
Your blank recipe book will become one of those kitchen staples you reach for constantly. Make it count.


