
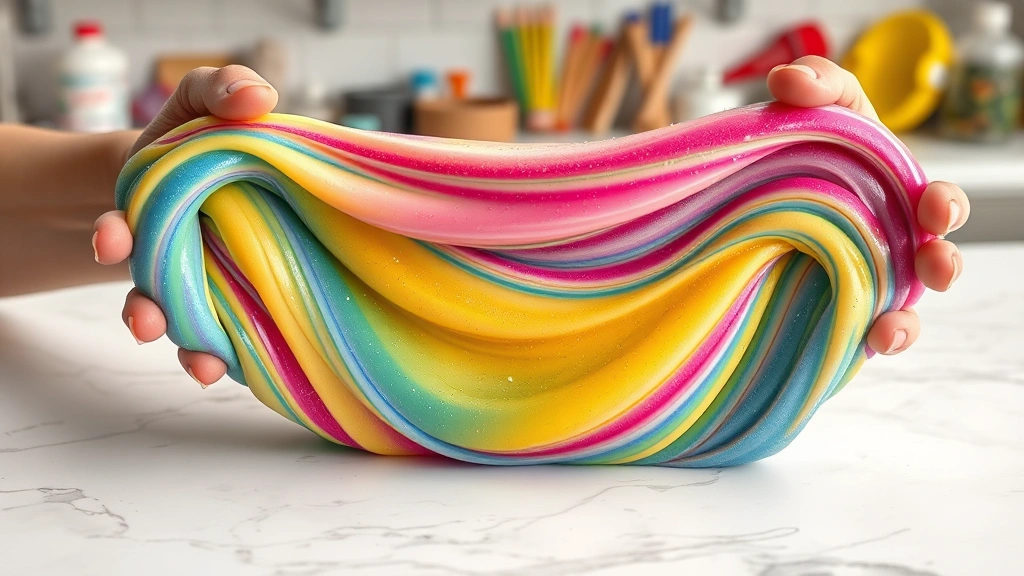
The best slime recipe doesn’t require fancy chemicals or hours of prep work—just five minutes, a few household items, and you’re making slime that stretches, bounces, and satisfies that tactile craving we all have. Whether you’re making this for kids, a stress-relief toy, or just because it’s fun, I’m going to walk you through exactly how to nail it every single time.
Table of Contents
Classic Slime Base Recipe
Here’s what you need for the best slime recipe that works every single time. This is the foundation—the reliable, foolproof version that’s been tested by countless DIYers.
Ingredients:
- 4 oz white school glue (like Elmer’s)
- ½ teaspoon baking soda
- 1-2 tablespoons contact lens solution (must contain boric acid)
- Food coloring (optional, but recommended)
- Glitter, beads, or mix-ins (optional)
That’s it. Five ingredients maximum, and most of them you probably already have sitting around. The magic happens when the baking soda and contact lens solution react with the glue’s polymers, creating that perfect stretchy-yet-stable texture.
Understanding Your Ingredients
Let me break down why each component matters, because understanding the science makes you better at adjusting the recipe when things don’t go perfectly.
White Glue: This is your base polymer. The glue provides the structure and stretchiness. Don’t use gel glue or wood glue—stick with standard white school glue. It’s got the right viscosity and polymer chain length for slime.
Baking Soda: Acts as a buffer and helps activate the reaction. It also gives the slime a slightly firmer texture than using the activator alone. Think of it as the prep work—like sanding before painting.
Contact Solution: This is your activator. The boric acid in the solution causes the polymer chains in the glue to cross-link, transforming liquid into that satisfying slime texture. This is non-negotiable—you need actual contact solution, not saline solution.
Food Coloring: Purely aesthetic, but it makes the slime way more appealing. Add it before you mix in the activator so it distributes evenly.
Step-by-Step Instructions
This is where precision matters. Follow these steps and you’ll get consistent results.
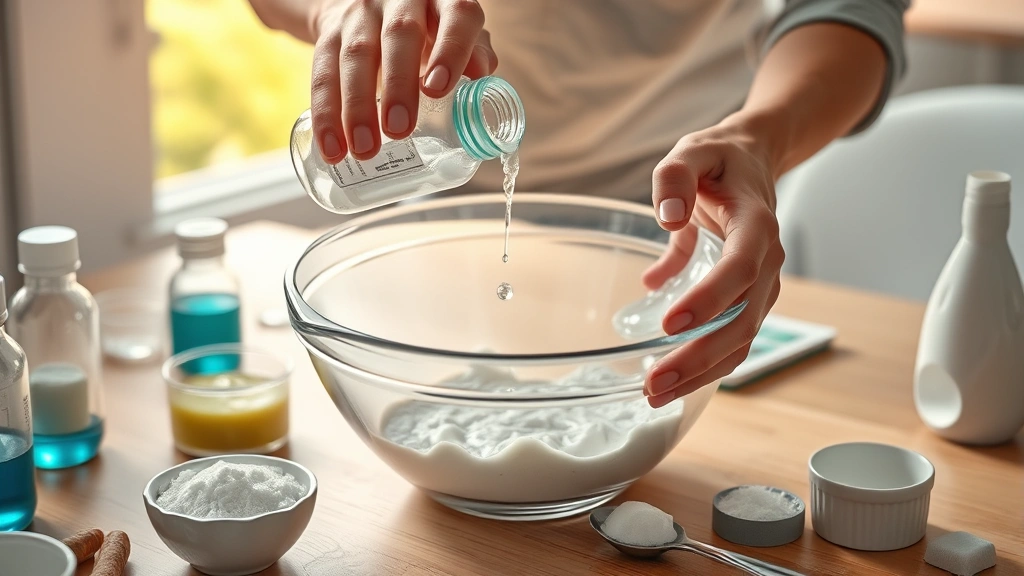
Step 1: Pour and Color Pour your 4 oz of white glue into a mixing bowl. If you want colored slime, add 2-3 drops of food coloring now and stir thoroughly until the color is even. No streaks, no variations—just uniform color throughout.
Step 2: Add the Baking Soda Sprinkle in the ½ teaspoon of baking soda. Stir it in completely. This step takes about 30 seconds. You’ll notice the glue gets slightly thicker and loses some of its glossiness.
Step 3: Add Your Mix-Ins If you’re using glitter, beads, or foam pieces, add them now while the mixture is still liquid. It’s way easier to distribute them before the slime sets up. Stir for about 10 seconds.
Step 4: Activate with Contact Solution Pour in 1 tablespoon of contact solution and stir immediately. You’ll see the mixture start to pull away from the bowl’s sides within seconds. Keep stirring for another 30 seconds. If it’s still too sticky, add another ½ tablespoon of contact solution and stir again.
Step 5: Knead It Once the slime pulls together into a blob, take it out and knead it with your hands for about 1-2 minutes. It’ll feel sticky at first, but as you work it, it becomes less tacky and more stretchy. This is the satisfying part.
Texture Troubleshooting Tips
Not every batch turns out perfect on the first try, and that’s completely normal. Here’s how to fix common issues.
Too Sticky? Add ¼ tablespoon more contact solution and knead for another minute. The slime will firm up as you work it. If it’s still tacky after two minutes of kneading, add another small splash of contact solution.
Too Stiff? This means you added too much activator. Add a tiny bit of lotion or a drop of glue and knead it in. The lotion helps relax the polymer chains without adding more glue, which keeps your ratios balanced.
Lumpy or Grainy? Usually means the contact solution wasn’t distributed evenly. Knead it more aggressively for another 2-3 minutes. The heat from your hands helps smooth out the texture.
Lost Its Stretch? This happens when slime gets old or sits exposed to air. Store it properly (see below) to prevent this. If it happens, a tiny bit of lotion mixed in can restore some elasticity.
Creative Slime Variations
Once you’ve mastered the basic recipe, you can experiment. The best slime recipe is really just the foundation for endless variations.
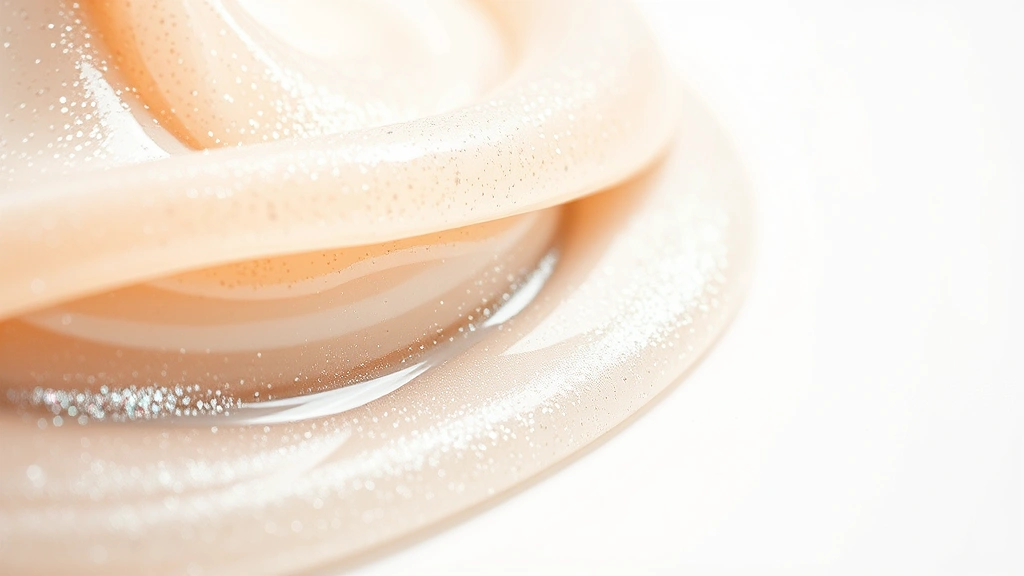
Glitter Slime: Add ½ teaspoon of fine glitter before activating. Holographic glitter looks absolutely stunning and catches light beautifully.
Clear Slime: Use clear glue instead of white glue, and skip the food coloring. Add glitter or small beads suspended inside for that premium look. You can also check out how to make paper mache for other fun tactile craft projects.
Fluffy Slime: Add 2-3 pumps of shaving cream before the contact solution. This creates an airy, cloud-like texture that’s incredibly satisfying to squish. The activation process takes a bit longer, but the result is worth it.
Scented Slime: Add 2-3 drops of essential oil before activating. You can explore how to make essential oils if you want to create custom scents. Lavender, peppermint, and vanilla work beautifully.
Glow-in-the-Dark Slime: Use glow-in-the-dark paint instead of food coloring. The effect is mesmerizing, especially in a dark room.
Storage and Maintenance
Proper storage keeps your slime fresh and stretchy for weeks.
Container Choice: Use an airtight container—plastic bags work, but a sealed plastic tub is better. Air exposure is the enemy of slime longevity.
Storage Location: Keep it at room temperature, away from direct sunlight. Heat causes it to get stickier; cold makes it brittle.
Shelf Life: A well-stored batch lasts 2-4 weeks before it starts degrading. You’ll notice it getting stickier or losing elasticity as it ages.
Reviving Old Slime: If your slime has been sitting for a while and feels stiff, add a tiny drop of contact solution and knead it thoroughly. If it’s too sticky, add a drop of lotion and work it in.
Safety Precautions Matter
This is important, especially if kids are involved. The best slime recipe is also a safe one.
Contact Solution Selection: Use only solutions that contain boric acid as an active ingredient. Check the label. Some solutions don’t have boric acid and won’t activate properly or safely.
Skin Sensitivity: Some people react to boric acid on their skin. If anyone making or playing with slime has sensitive skin, do a patch test first or wear gloves during preparation.
Eye Safety: Keep slime away from eyes. If it gets in eyes, flush immediately with water and seek medical attention if irritation persists.
Ingestion: This isn’t edible. Make sure kids understand not to eat it. Supervise young children during slime-making.
Surface Protection: Slime can stain some fabrics and surfaces. Work on a protected surface like a cutting board or plastic mat.
Frequently Asked Questions
Can I make slime without contact solution?
Not with this recipe. Contact solution with boric acid is the activator that makes slime work. You could try borax-based recipes, but they’re messier and require more ingredients. Stick with contact solution for the best slime recipe.
Why isn’t my slime stretching?
You likely added too much contact solution, making it too stiff. Add a drop of lotion and knead it for 2-3 minutes. The slime should become more elastic as you work it.
Is slime safe for toddlers?
Not really. Slime contains boric acid, which can irritate skin and is unsafe if ingested. Slime is best for kids 6 and up, with adult supervision. For younger kids, look for commercial slime marketed specifically for toddlers.
Can I use liquid starch instead of contact solution?
Liquid starch creates a different texture—more like putty than slime. It’s not the best slime recipe alternative because the consistency is off. Stick with contact solution for authentic slime texture.
How do I get slime out of carpet?
Let it dry completely, then pick or vacuum it up. For residue, use a damp cloth and work it gently. If it’s really stuck, a small amount of rubbing alcohol on a cloth can help break it down. Prevention is easier—always work on protected surfaces.
Can I make slime with food coloring alternatives?
Absolutely. Acrylic paint works great and gives more vibrant colors. Liquid watercolor is another option. Just add a tiny amount—you want color, not a watery mess.
Why does my slime smell weird?
The contact solution has a chemical smell, and that carries into the slime. Adding essential oils or a drop of vanilla extract masks it beautifully. The smell fades as the slime ages.
Can I make slime without glue?
No. Glue is the polymer base that makes slime possible. Without it, you just have colored water and boric acid. The glue is non-negotiable for the best slime recipe.
Final Thoughts
The best slime recipe is the one you can make consistently, adjust when needed, and enjoy without stress. This five-minute version checks all those boxes. You’ve got the base recipe, troubleshooting tips for when things go sideways, and creative variations to keep things interesting. Whether you’re making this for stress relief, entertainment, or just to say you made slime, you’ve got everything you need. Start with the classic recipe, master the technique, then experiment with colors, scents, and textures. That’s how you become a slime expert.
For other hands-on craft projects, explore how to make apple sauce or American chop suey recipe for kitchen-based creativity. And if you want to branch into other DIY crafts, jasmine rice recipes offers another avenue for hands-on learning.


