
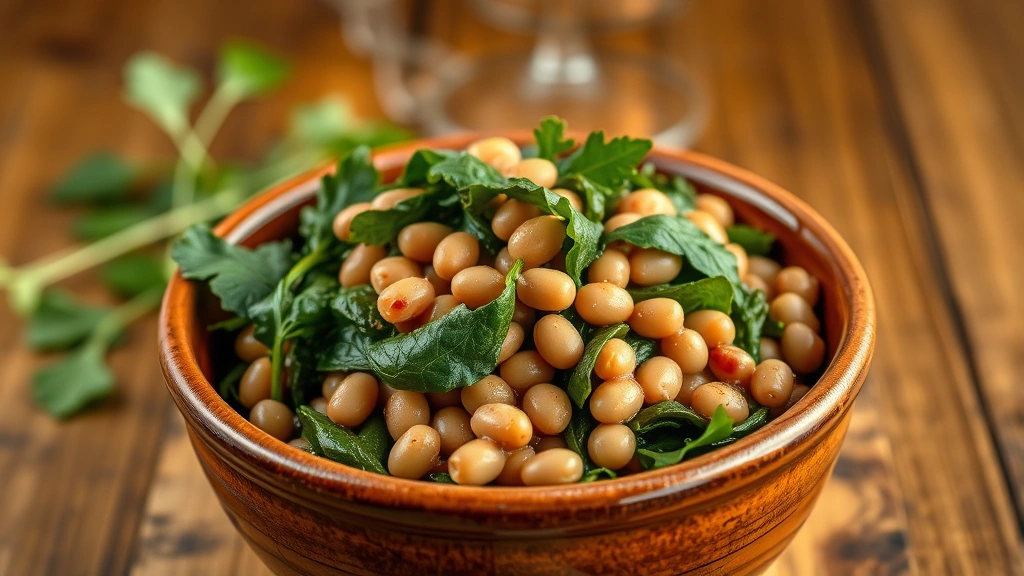
A beans and greens recipe is one of those kitchen workhorses that’ll change how you eat. It’s simple, nutritious, and honestly, it tastes better than anything you’d order out. Whether you’re throwing together a weeknight dinner or meal-prepping for the week, this combination hits different—and I’m going to walk you through exactly how to nail it every single time.
Table of Contents
Choosing Your Beans Right
The foundation of any solid beans and greens recipe starts with understanding your bean options. You’ve got dried beans, canned beans, or even frozen—each brings something different to the table. Dried beans give you control over texture and flavor absorption, but they require planning. Canned beans? They’re the real MVP for weeknight cooking. They’re already cooked, you just need to rinse them and go.
Black beans, cannellini, kidney beans, or chickpeas all work beautifully. I tend to rotate depending on what I’m pairing with the greens. Black beans have an earthiness that plays well with spicy seasonings. Cannellini beans are creamy and mild, perfect if you want the greens to shine. The key is picking beans that won’t fall apart during cooking—you want them holding their shape while the flavors meld together.
If you’re using dried beans, soak them overnight, then simmer for about an hour until they’re tender but not mushy. If you’re short on time, the quick-soak method works: boil them for two minutes, let them sit for an hour, then drain and cook. Either way, don’t salt the water until they’re almost done—salt can toughen the skins.
Selecting the Perfect Greens
This is where you can get creative. Kale, collards, spinach, Swiss chard, mustard greens—they all work in a beans and greens recipe, but they cook differently. Tender greens like spinach wilt in minutes. Tougher greens like collards and kale need more time to break down and become tender.
I usually go with a mix. If you’re using heartier greens, strip them from the stems and chop them roughly. The stems take longer to cook, so give them a head start if you’re including them. Tender greens can go in near the end—they don’t need much time. One bunch of greens (about 8-10 ounces) works well for a four-person batch.
Fresh is always better than frozen for this dish. You want that bright color and texture. Check your greens before buying—they should be vibrant, not wilted or yellowing. Store them in a damp paper towel in the fridge, and they’ll last about a week.
Prep Work That Matters
Don’t skip the prep work—it’s where the quality difference happens. For your greens, rinse them thoroughly. Greens hide dirt and sand like you wouldn’t believe. Fill a bowl with water, submerge the greens, swish them around, then lift them out. Do this twice if they’re particularly sandy. Pat them dry with paper towels.
Strip the leaves from the stems if you’re using kale or collards. The stems are tough and need separate handling. Chop your greens into bite-sized pieces—not too small, or they’ll disappear during cooking. For beans, if you’re using canned, drain and rinse them under cold water. This removes excess sodium and the starchy liquid that can make your dish gummy.
Prep your aromatics next. Dice your onion, mince your garlic, and have everything ready before you start cooking. This is called mise en place, and it’s the difference between smooth cooking and scrambling around your kitchen.
Building Your Flavor Foundation
The magic in a beans and greens recipe happens in the first few minutes. Heat olive oil in a large pot or Dutch oven over medium heat. Don’t skimp on the oil—it carries flavor. Once it’s shimmering, add your diced onion and a pinch of salt. The salt helps draw out moisture and speeds up the cooking. Cook for about 5 minutes until the onion softens and turns translucent.
Add minced garlic—about 4-6 cloves for a four-person batch—and cook for another minute until it’s fragrant. This is critical: don’t let garlic burn. If it does, start over. Burnt garlic tastes bitter and will ruin your whole dish. If you’re using spices like cumin, coriander, or red pepper flakes, add them now and toast them for 30 seconds in the hot oil. This wakes up their flavors.
This flavor foundation is your base. Everything else builds on it. Some recipes skip this step and throw everything in at once. Don’t be that person. This is where you’re creating the depth that makes people ask for your recipe.
Cooking Technique Breakdown
Once your aromatics are ready, add your beans and a cup of broth (vegetable or chicken, your call). Stir everything together and let it heat through for a couple of minutes. If you’re using tougher greens like collards or kale, add them now. They need 15-20 minutes to become properly tender. If you’re using tender greens like spinach, wait and add them near the end.
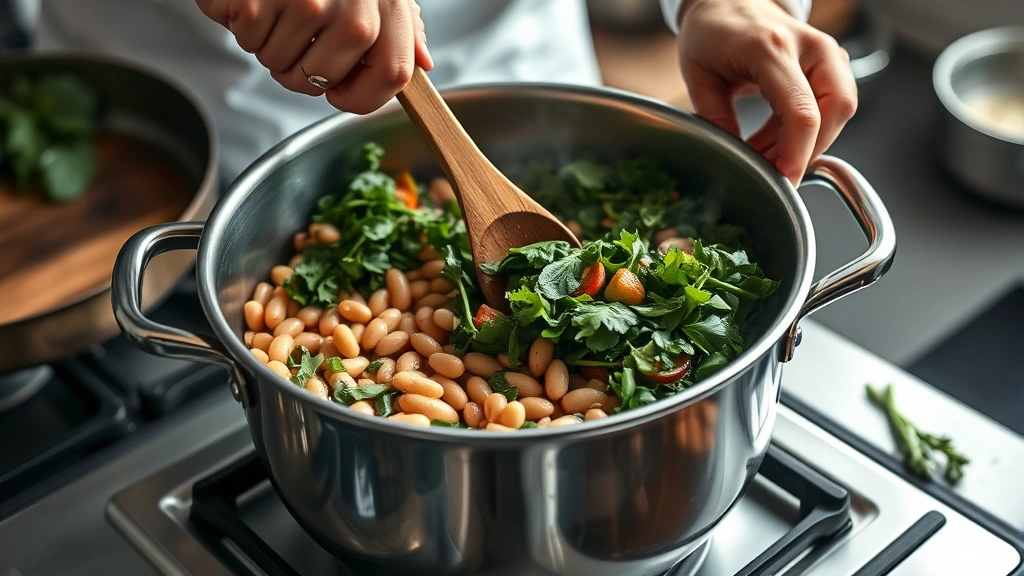
Bring everything to a simmer and reduce your heat to medium-low. You want a gentle bubble, not a rolling boil. Boiling will break apart your beans and turn your greens to mush. Simmer for about 15 minutes, stirring occasionally. The greens will wilt dramatically—don’t panic, that’s normal.
Check the texture of your greens. They should be tender but still have some body. If they’re still tough, give them another 5 minutes. Beans should be heated through and starting to absorb the flavors around them. This is also a good time to check your seasoning and adjust as needed.
Seasoning Strategy for Depth
Seasoning is where most home cooks mess up. They either underseason completely or dump salt in all at once. The right approach is layered seasoning. You already salted your onions at the beginning. Now, taste your dish and add salt gradually—about a quarter teaspoon at a time. Stir, taste, repeat.
Beyond salt, think about acid and heat. A squeeze of fresh lemon juice or a splash of vinegar at the end brightens everything up. Red wine vinegar works great. For heat, a pinch of red pepper flakes or a dash of hot sauce adds complexity. If you want earthiness, add a pinch of smoked paprika. Fresh herbs at the end—parsley, cilantro, or dill—add life.
The goal is balance. You want to taste the beans, the greens, and the seasoning equally. Nothing should overpower. If something tastes flat, it’s usually missing acid or salt. If it tastes one-dimensional, it needs a spice or herb. Taste as you go—this is your quality control.
Timing Everything Perfectly
Timing is the difference between a great beans and greens recipe and a mediocre one. If you’re using canned beans, they’re already cooked, so your total cooking time is about 20-25 minutes. If you’re using dried beans you’ve already cooked, same timeline. If you’re cooking dried beans from scratch, you’re looking at 90 minutes total.
Here’s the sequence: Start with your aromatics (5 minutes). Add beans and broth, then tough greens (15-20 minutes). Add tender greens in the last 2-3 minutes. Season throughout. This way, everything finishes at roughly the same time—beans are warm and flavorful, greens are tender but not mushy, and seasonings have time to meld.
One trick: if you’re using a mix of greens, add them in stages based on how tough they are. Collards first, then kale, then spinach. This ensures even cooking. It takes a little planning, but it’s worth it. You can also check out how long to steam asparagus for timing reference on other greens cooking methods.
Finishing Touches That Count
The last 2 minutes are where you elevate your dish from good to restaurant-quality. Taste one final time and adjust seasoning. Add your fresh herbs. A squeeze of lemon juice or a splash of vinegar at the very end adds brightness. A drizzle of good olive oil on top adds richness and carries flavor.
If your dish seems too thick, add a splash of broth or water. If it’s too thin, let it simmer uncovered for a few minutes to reduce. The consistency should be somewhere between a soup and a stew—saucy enough to coat a spoon but not swimming in liquid.
Consider serving options. This dish works over rice, with crusty bread, or on its own. A dollop of sour cream or Greek yogurt on top adds creaminess. Grated cheese—Parmesan or crumbled feta—adds richness. Toasted nuts or seeds add crunch. These finishing touches let people customize their bowl.
Storage and Reheating Tips
One of the best things about a beans and greens recipe is that it gets better the next day. Flavors continue to develop and meld overnight. Store it in an airtight container in the fridge for up to 5 days. You can also freeze it for up to 3 months, though the greens will lose some texture.
To reheat, use a pot over medium heat rather than the microwave. Add a splash of broth or water to loosen it up. Stir occasionally and taste as it heats through. If it’s been frozen, thaw it in the fridge overnight first. Reheating on the stovetop takes about 10 minutes and lets you adjust seasoning if needed.

If you’re meal-prepping, portion it into containers before storing. This makes grabbing lunch or dinner ridiculously easy. You could also pair this with how to make apple sauce for a complete side dish strategy, or explore how long to steam carrots for additional vegetable timing knowledge.
Variations and Adaptations
The beauty of a beans and greens recipe is how adaptable it is. If you want it spicier, add jalapeños or increase the red pepper flakes. If you want it creamier, stir in coconut milk or a splash of cream at the end. If you want it heartier, add diced potatoes or sweet potatoes early on so they have time to cook through.
You can also swap proteins. Add sausage, ground meat, or keep it vegetarian—it works either way. Some people add tomatoes for brightness. Others add a splash of soy sauce for umami depth. The core technique stays the same; you’re just adjusting flavors and ingredients to your taste.
For inspiration on other flavor combinations, check out auju recipe for traditional flavor pairings, or explore how to make a caramel macchiato if you’re thinking about beverage pairings for your meal.
Frequently Asked Questions
Can I use frozen beans instead of canned or dried?
Absolutely. Frozen beans are already cooked and work just like canned. Thaw them first, then add them at the same point you would canned beans. They’re actually a great middle ground—better quality than canned, faster than dried.
How do I prevent my greens from turning brown or gray?
Don’t overcook them. Add tender greens near the end of cooking, and even tough greens shouldn’t simmer for more than 20 minutes. Acid also helps—that squeeze of lemon juice at the end brightens the color and flavor.
What’s the best broth to use?
Vegetable broth is the most neutral choice and lets your other flavors shine. Chicken broth adds slight richness. Avoid beef broth—it overpowers the delicate flavors of greens. Low-sodium broth gives you control over final salt levels.
Can I make this in a slow cooker?
Yes, but with adjustments. Sauté your aromatics on the stovetop first, then transfer everything to the slow cooker with beans and broth. Cook on low for 4-6 hours. Add greens in the last 30 minutes so they don’t turn to mush. The slow cooker method is great for dried beans.
Is this dish vegan?
Yes, if you use vegetable broth and skip any animal products. It’s naturally plant-based and packed with protein from the beans. Many cultures have vegetarian versions of beans and greens dishes.
How much should I make for a crowd?
This recipe scales easily. A basic ratio is one can of beans per person, one bunch of greens per two people, and one cup of broth per can of beans. Double or triple the aromatics proportionally. The cooking time stays roughly the same.
Final Thoughts
Mastering a beans and greens recipe is one of those kitchen skills that pays dividends forever. It’s nutritious, affordable, flexible, and honestly delicious. The technique is straightforward—build your flavor foundation, cook your beans and greens properly, season thoughtfully, and finish with intention. Once you nail the basics, you can adapt it a thousand different ways.
The real secret isn’t some fancy ingredient or complicated technique. It’s paying attention. Taste as you cook. Adjust seasoning gradually. Don’t rush the aromatics. Give your greens the time they need. Respect your ingredients. Do those things, and you’ll have a dish that tastes like you actually know what you’re doing in the kitchen. And honestly, that’s what cooking is really about.


