
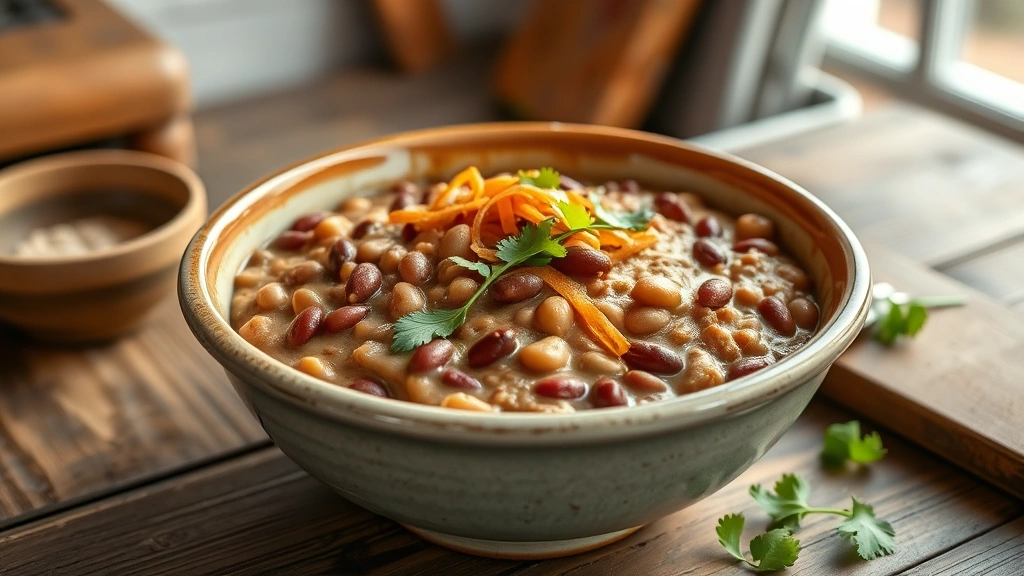
An authentic Mexican refried beans recipe is one of those kitchen staples that separates homemade Mexican cooking from the canned stuff sitting on grocery store shelves. I’m going to walk you through making refried beans that taste like they came straight from a family kitchen in Mexico, with that perfect creamy texture and deep, savory flavor that’ll make you wonder why you ever bought the canned version.
Table of Contents
Why Homemade Matters
Look, I get it—canned beans are convenient. But making refried beans from scratch changes everything. The flavor depth is incomparable. When you start with dried beans and build the dish layer by layer with onions, garlic, and proper seasoning, you’re not just cooking; you’re creating something that tastes authentically Mexican. The texture becomes silky and rich, not gluey like some canned versions. Plus, you control exactly what goes into your food. No weird additives, no mystery ingredients. Just honest, delicious beans.
Ingredients Breakdown
Here’s what you’ll need for a proper batch of authentic Mexican refried beans recipe:
- 2 cups dried pinto beans (or black beans if you prefer)
- 1 medium white onion, halved
- 6-8 garlic cloves, minced
- 4-5 tablespoons lard or bacon fat (this is the secret)
- 1-2 jalapeños, finely diced (optional but recommended)
- 1 teaspoon cumin
- Salt and black pepper to taste
- 2-3 cups chicken or vegetable broth
The lard is non-negotiable if you want authentic flavor. If you’re vegetarian, use quality olive oil or vegetable oil, but lard gives you that traditional richness. You can also render bacon fat if you’ve got it on hand—that adds a smoky dimension that’s fantastic.
Bean Selection & Prep
Start with dried beans, never canned. Pinto beans are traditional, but black beans work beautifully too. Rinse your dried beans thoroughly under cold water, then spread them on a clean counter and pick through them carefully. You’re looking for any shriveled beans, stones, or debris. This takes five minutes and prevents biting down on something unexpected.
Soak your beans overnight in plenty of cold water. This isn’t just about softening them—it helps reduce cooking time and makes them easier to digest. If you’re in a rush, use the quick-soak method: bring beans and water to a boil for two minutes, then let them sit covered for an hour. Either way, drain and rinse before cooking.
The Cooking Process
Add your soaked beans to a large pot with fresh water, the halved onion, and a pinch of salt. Bring to a boil, then reduce heat and simmer gently. This is where patience matters. Depending on your beans and altitude, cooking takes 1.5 to 2.5 hours. You want them completely tender—they should break apart easily between your fingers.
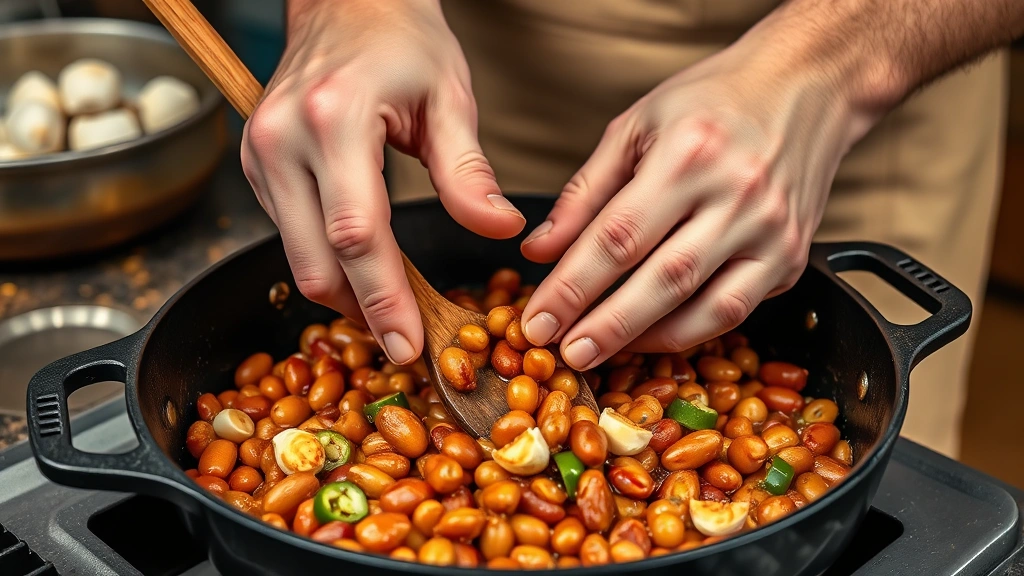
About 30 minutes before the beans finish cooking, heat your lard in a separate skillet over medium heat. Add your minced garlic and diced jalapeños. Let them soften and become fragrant, about 3-4 minutes. This is where the magic starts. The garlic shouldn’t brown—keep the heat moderate.
When the beans are tender, drain them (save that cooking liquid—you’ll need it). Add the cooked beans to your garlic-lard mixture in the skillet. Now you’re ready to mash.
Mashing Technique
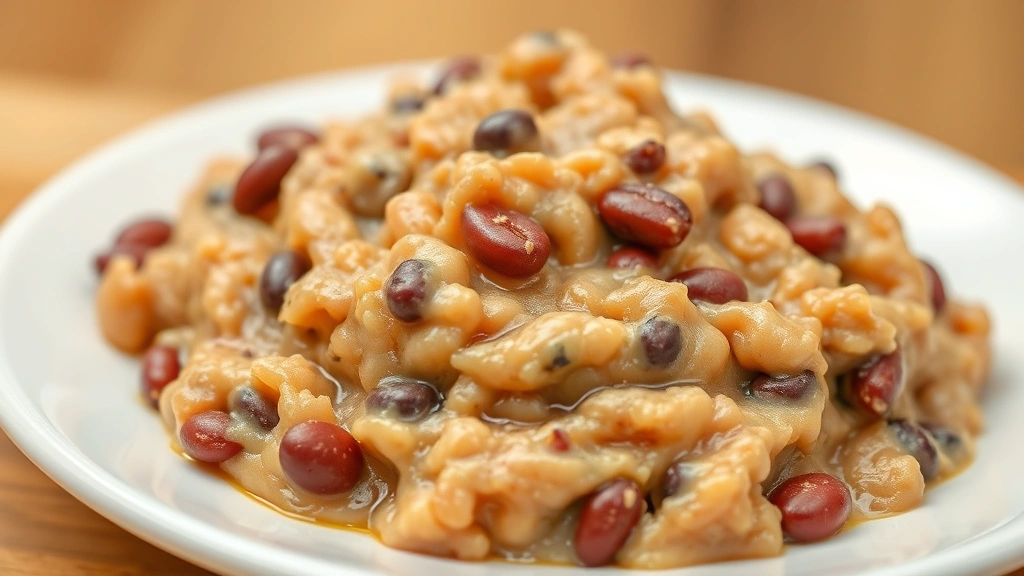
This is where technique matters. You’re not making bean paste; you’re creating a creamy, chunky texture with personality. Use a potato masher or the back of a wooden spoon. Work in batches if needed, mashing some beans completely while leaving others chunky. Add your reserved bean cooking liquid gradually as you mash—this keeps everything creamy without making it soupy.
The key is finding that sweet spot: thick enough to hold its shape on a plate, but creamy enough to spread easily. Start with a cup of liquid and add more as needed. Keep tasting and adjusting. This process takes about 5-10 minutes of steady work.
If you want ultra-smooth beans, use an immersion blender, but honestly, the rustic texture with some whole beans is more authentic and more interesting to eat.
Flavor Adjustments
Now comes the seasoning. Add your cumin, salt, and black pepper. Start conservative—you can always add more. Taste after each addition. Some people like a squeeze of fresh lime juice at the end, which brightens everything. Others add a pinch of dried oregano or a bay leaf during cooking.
If your beans taste flat, they need salt. If they taste one-dimensional, they might need a touch more cumin or a tiny pinch of chili powder. The best refried beans hit a balance between savory, slightly spicy, and deeply comforting. Think about what you’re pairing them with—if they’re going alongside something rich, keep them a bit brighter with lime and cilantro.
Storage & Reheating
Refried beans actually improve after sitting overnight as flavors meld together. Store them in an airtight container in the refrigerator for up to five days. You can also freeze them for up to three months—they thaw beautifully.
To reheat, add a splash of water or broth to a skillet over medium heat and warm your beans gently, stirring occasionally. Microwaving works too, but the stovetop keeps the texture better. If they’ve thickened too much in storage, just thin them with a bit more broth.
Variations & Twists
Once you master the basic authentic Mexican refried beans recipe, you can experiment. Add crispy bacon pieces for depth. Stir in roasted poblano peppers for complexity. Some cooks add a splash of beer—usually a light lager—which adds an interesting savory note. You could even try incorporating ingredients from air fryer vegetable recipes if you want to serve them alongside roasted vegetables.
For a lighter version, use less fat and more broth. For a spicier kick, add more jalapeños or a pinch of cayenne. Some families swear by adding a bit of chorizo for smokiness, though that technically makes them something different.
Want to pair them with something refreshing? Consider serving alongside agua fresca recipe drinks for an authentic Mexican meal experience.
Pro Tips
Start cooking your beans early in the day or the night before. They’re not something to rush. Use filtered water if your tap water is heavily chlorinated—it can affect flavor. If you’re cooking for a crowd, double the batch; refried beans freeze beautifully and you’ll appreciate having them on hand.
The onion you cook the beans with should be removed before mashing—it’s there to flavor the cooking liquid, not the final dish. And here’s something many recipes skip: let your finished beans rest for 10 minutes before serving. This helps them set slightly and improves texture.
Frequently Asked Questions
Can I use canned beans for this recipe?
Technically yes, but you’ll lose a lot of the authentic flavor and texture. If you must use canned, use about five cans of beans (drained and rinsed) instead of two cups dried. The cooking time drops to about 20 minutes, and you’ll skip the initial bean cooking step. The result won’t be quite the same, but it’s better than store-bought refried beans.
What’s the difference between refried and regular beans?
Refried beans are cooked, mashed, and cooked again (hence “refried,” though the name is actually a mistranslation—it means “well-fried” in Spanish). They’re creamy and rich. Regular beans are just cooked whole. Refried beans have a completely different texture and purpose—they’re more of a spread or side dish base.
Do I really need lard?
For authentic flavor, yes. Lard gives refried beans their traditional richness and taste. That said, good bacon fat or quality olive oil works as substitutes. Butter can work too, though it’s less traditional. Avoid vegetable shortening—it doesn’t add flavor.
How do I know when beans are done cooking?
The bean should break apart easily between your fingers when pressed. If it’s still firm or chalky inside, keep cooking. Undercooked beans are unpleasant; overcooked beans are fine and actually easier to mash. Better to go a bit long than stop too early.
Can I make this in a slow cooker or instant pot?
Absolutely. For a slow cooker, cook soaked beans on low for 6-8 hours. For an Instant Pot, use high pressure for 25-30 minutes with a natural release. The mashing and seasoning steps remain the same. Some people find Instant Pot beans cook more evenly, but slow cooker versions develop deeper flavor.
What if my beans turned out too thick?
Add more broth or water and stir well. There’s no such thing as too thin—you can always cook it down more. What you can’t fix is beans that are too thick and gluey, so it’s better to err on the creamy side.
Should I add cilantro?
Fresh cilantro is excellent stirred in at the end, though it’s not strictly traditional in refried beans themselves. Consider it a garnish or flavor boost rather than a core ingredient. Some families do it, others don’t.
Conclusion
Making an authentic Mexican refried beans recipe from scratch is genuinely simple once you understand the process. It’s about quality ingredients, proper technique, and patience. Start with dried beans, cook them low and slow, then mash them with fat and seasonings until you hit that perfect creamy texture. The whole process takes a couple of hours of mostly hands-off cooking, then 15 minutes of active work.
Once you’ve made these once, you’ll never look at canned beans the same way again. They’re perfect alongside how long to steam crab legs for a surf-and-beans meal, or as a base for countless Mexican dishes. Store them in the fridge or freezer, and you’ll always have authentic refried beans ready to go. That’s the kind of kitchen skill that pays dividends—once you learn it, it becomes second nature, and your meals taste noticeably better.
Start with the basic recipe, taste as you go, and adjust to your preferences. Mexican cooking isn’t about following rules rigidly; it’s about building flavors you love. Your version of authentic Mexican refried beans recipe will reflect your taste, your ingredients, and your kitchen. That’s exactly how it should be.


