
The anvil recipe is one of the most essential crafting blueprints in Minecraft, giving players a crucial tool for repairing gear, combining enchantments, and renaming items without losing their magical properties. Whether you’re a survival mode veteran or just starting your mining adventures, understanding how to craft and use an anvil will transform your gameplay experience and keep your best equipment in top shape.
Table of Contents
What Is an Anvil?
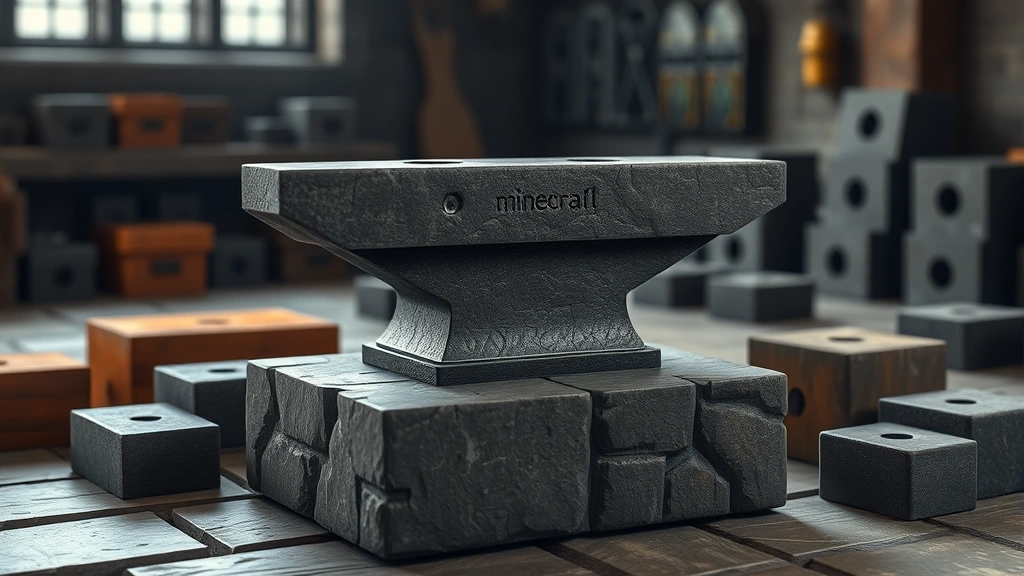
An anvil is a solid block workstation that serves as your personal repair shop in Minecraft. Think of it as a blacksmith’s forge where you can fix up damaged swords, pickaxes, and armor without needing a crafting table. This block-based tool lets you combine two damaged items into one fully repaired version, merge enchanted books onto your gear, or simply rename items for organizational purposes. Unlike the crafting table, which has limited repair capabilities, the anvil gives you precision control over your equipment maintenance.
The anvil recipe has been a game-changer since its introduction because it solves a major problem in survival mode: what do you do when your favorite diamond pickaxe gets damaged? Before anvils, you’d have to scrap it and start over. Now, you can keep your best tools forever by combining them strategically.
Anvil Recipe Breakdown
Here’s the exact anvil recipe you need to memorize:
Materials Required:
- 3 Blocks of Iron (top row)
- 4 Iron Ingots (middle and bottom rows)
- Total: 31 Iron Ingots worth of resources
The crafting grid arrangement looks like this:
- Top Row: Iron Block | Iron Block | Iron Block
- Middle Row: Iron Ingot | Iron Ingot | Iron Ingot
- Bottom Row: Iron Ingot | (empty) | Iron Ingot
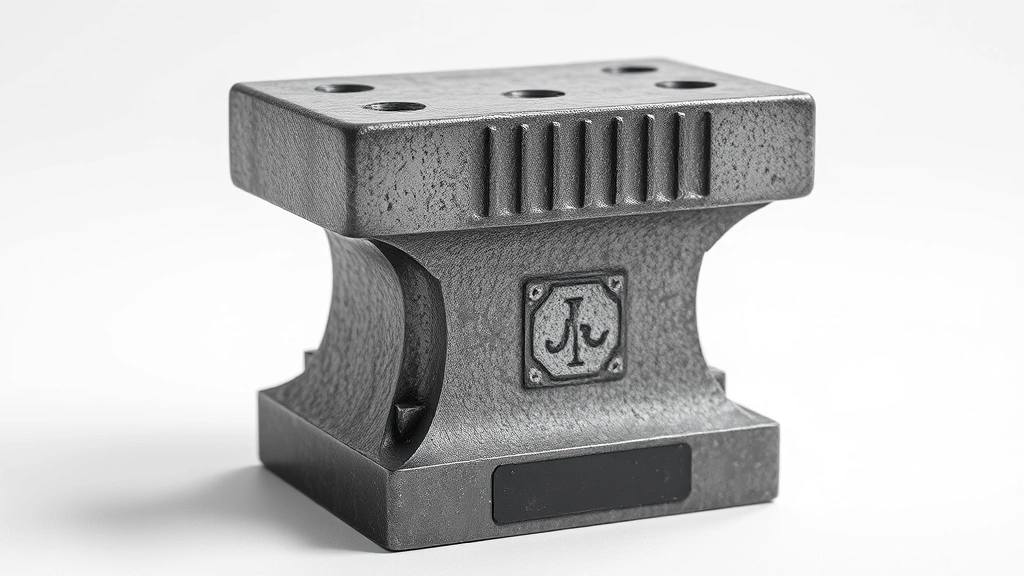
This recipe yields one anvil, and it’s worth every bit of iron you’ll spend mining. The anvil recipe is straightforward once you have the materials, but gathering 31 iron ingots can take some serious mining effort, especially early in your survival world.
Gathering Your Materials
Before you can use the anvil recipe, you need to mine iron ore and smelt it into usable ingots. Iron is typically found between Y-levels -64 and 72 in newer Minecraft versions, though it’s most common around Y-level 0. You’ll need a stone pickaxe or better to mine iron ore effectively.
Here’s your material gathering checklist:
- Mine at least 31 iron ore blocks (accounting for smelting loss)
- Gather fuel for your furnace (coal, charcoal, or wood)
- Smelt your ore into 31 iron ingots
- Craft 3 blocks of iron from 27 of those ingots (9 ingots per block)
This process might seem tedious, but it’s a one-time investment that pays dividends throughout your entire playthrough. Once you have your first anvil, you can use it to maintain all your tools indefinitely, making it one of the best early-game crafting goals to pursue.
Step-by-Step Crafting
Once you’ve gathered your materials, the actual crafting is simple. Head to any crafting table and follow these steps:
- Open your crafting table interface
- Place 3 iron blocks in the top row (slots 1, 2, 3)
- Place 4 iron ingots in the middle and bottom rows (slots 4, 5, 7 – leaving slot 6 empty)
- Grab your anvil from the result slot
- Place it in your world by right-clicking on a solid block
The anvil will drop into place with a satisfying thunk sound. Make sure you place it on a solid surface—it can’t float in mid-air. Once placed, you can right-click on it to open the anvil interface and start repairing your gear. The anvil recipe execution is genuinely one of the easiest crafting operations you’ll do, but the payoff is massive.
What You Can Do With It
Your new anvil opens up three main gameplay features that transform how you manage your equipment:
Item Repair: Combine two damaged items of the same type to create one repaired version. For example, two half-broken diamond pickaxes become one full-health pickaxe. This is your primary use for the anvil recipe’s result.
Enchantment Merging: Place an enchanted book on top of an item to transfer that enchantment permanently. You can stack multiple enchantments on a single tool or weapon, creating god-tier equipment that would be impossible to get through normal mining alone.
Item Renaming: Click the name field in the anvil interface to give your items custom names. This is purely cosmetic but incredibly useful for organizing your storage and marking special items for different purposes.
Understanding Repair Mechanics
The anvil repair system uses an experience point cost that scales with item durability and enchantment levels. Here’s how it works:
When you combine two items, the anvil adds their durability together and throws in a 5% bonus. So two pickaxes at 50% durability each become one at 105% durability (capped at 100%). The experience cost depends on how damaged the items are and how many enchantments they carry. A simple iron pickaxe repair might cost 1-2 experience levels, while enchanted diamond gear could cost 10+ levels.
Keep in mind that anvils have a limit: if an item has been repaired or enchanted too many times, it becomes “too expensive” and the anvil won’t accept it. This is the game’s way of preventing infinite durability on single items, so plan your repairs strategically.
Combining Enchantments
This is where the anvil recipe truly shines in advanced gameplay. You can take enchanted books (found in loot chests, fishing, or created through an enchanting table) and layer them onto your tools.
For example, you could take a diamond sword with Sharpness III and add an enchanted book with Knockback II to create a sword with both enchantments. Stack enough books and you’ll have equipment that’s practically unstoppable. The experience cost increases with each enchantment added, but the power boost is absolutely worth it.
This mechanic is particularly useful when combined with other crafting goals—check out our guide on how to make end portal if you’re planning a late-game boss fight and need perfectly enchanted gear for the challenge.
Anvil Damage and Durability
Here’s something many players don’t realize: anvils themselves take damage and eventually break. Each time you use an anvil, there’s a small chance (roughly 12% per use) that it will degrade to the next damage state. After four damage states, the anvil becomes completely unusable and disappears.
To maximize your anvil’s lifespan, try to consolidate your repairs into fewer sessions. Instead of repairing one item at a time, gather several damaged tools and do multiple repairs in one sitting. This reduces the total number of anvil uses and extends its life significantly.
If your anvil breaks, you’ll need to craft another one using the same anvil recipe. This is why building a dedicated repair station with multiple anvils is a smart long-term strategy for serious players.
Pro Tips for Success
Here are some advanced strategies to maximize your anvil effectiveness:
Plan Your Enchantments: Before dumping books onto your gear, organize them by type. Apply all Sharpness books first, then Knockback, then Looting. This reduces the “too expensive” penalty buildup.
Use Grindstones Strategically: A grindstone removes enchantments from items without the experience penalty, letting you reset gear if needed. This pairs perfectly with anvil repairs for ultimate flexibility.
Create Multiple Anvils: Build several anvils in different locations—one at your base, one near your mining operation, one at your combat arena. This spreads out the damage and keeps tools maintained everywhere you play.
Farm Experience Efficiently: Since anvil use costs experience, set up an experience farm (mob grinder) to keep your levels topped up. You’ll need constant experience for serious repair work.
Combine Items Wisely: Don’t waste anvil durability on cheap repairs. Save your anvil for high-value items like enchanted diamond gear. Use crafting tables or grindstones for basic repairs when possible.
Frequently Asked Questions
Can I repair enchanted items with the anvil?
Absolutely! The anvil is the only way to repair enchanted items while keeping their enchantments intact. Combining two enchanted items of the same type preserves and merges their enchantments on the result.
How much experience does anvil use cost?
Experience costs vary based on item type, damage level, and enchantments. Simple repairs cost 1-5 levels, while heavily enchanted gear can cost 15-40 levels. The game will show you the cost before you confirm the repair.
Can anvils be moved with pistons?
No, anvils are too heavy for pistons to push or pull. If you need to relocate an anvil, you’ll need to break it (drops as an item) and place it elsewhere. Breaking an anvil requires a pickaxe.
What’s the difference between an anvil and a grindstone?
Grindstones remove enchantments and repair items without experience cost, but you lose the enchantments in the process. Anvils preserve enchantments and merge them, making anvils superior for valuable gear.
How do I prevent my anvil from breaking?
Minimize the number of times you use it by combining multiple repairs into single sessions. Build multiple anvils to spread usage across different blocks. Consider using grindstones for non-enchanted item repairs to preserve anvil durability.
Can I repair tools in survival mode without an anvil?
Technically yes, but not effectively. You can combine items in a crafting table, but this removes all enchantments. The anvil recipe exists specifically to solve this problem and is essential for keeping enchanted gear alive.
Is the anvil recipe worth the iron investment?
Absolutely. Spending 31 iron ingots on an anvil saves you hundreds of hours of re-mining and re-enchanting tools throughout your playthrough. It’s one of the best early-game investments you can make.
Final Thoughts
The anvil recipe is more than just a crafting blueprint—it’s a gateway to serious progression in Minecraft. Once you understand how to gather materials, craft your anvil, and use it effectively, your entire gameplay experience elevates. You’ll stop losing sleep over damaged tools, start combining powerful enchantments, and build equipment that lasts forever.
Start mining that iron, gather your 31 ingots, and craft your first anvil today. Your future self will thank you every single time you repair a favorite tool instead of scrapping it. And if you’re planning other ambitious Minecraft projects, remember that a well-maintained toolkit from your anvil will serve you perfectly for whatever challenge comes next.
For more Minecraft crafting guides and gameplay tips, explore our other resources and keep building toward your ultimate survival world goals.


