
An aeropress recipe is your ticket to cafe-quality coffee at home without the complicated espresso machine or steep learning curve. Whether you’re a morning coffee junkie or someone who appreciates a solid cup, the AeroPress delivers consistency, speed, and genuine flavor that’ll make you wonder why you waited so long to try it.
Table of Contents
Why AeroPress Matters
The AeroPress isn’t just another coffee gadget collecting dust on your shelf. This little brewer combines immersion and pressure in a way that extracts clean, smooth coffee without bitterness. Unlike traditional drip coffee makers, you’ve got real control over every variable—water temperature, brew time, grind size, and pressure. That control is what separates mediocre morning coffee from something you actually look forward to.
What makes an effective aeropress recipe so valuable is repeatability. Once you dial in your preferred method, you can make the same delicious cup day after day. The device itself is durable, affordable (usually under $40), and works on any heat source. Whether you’re at home, camping, or in a tiny apartment, the AeroPress adapts to your lifestyle.
Basic Setup Essentials
Before jumping into recipes, let’s talk gear. You’ll need the AeroPress itself (comes with a plunger, chamber, and cap), paper or metal filters, a grinder, a gooseneck kettle (or any kettle with pour control), a kitchen scale, and freshly roasted beans. Yes, a scale matters—eyeballing coffee and water leads to inconsistent results.
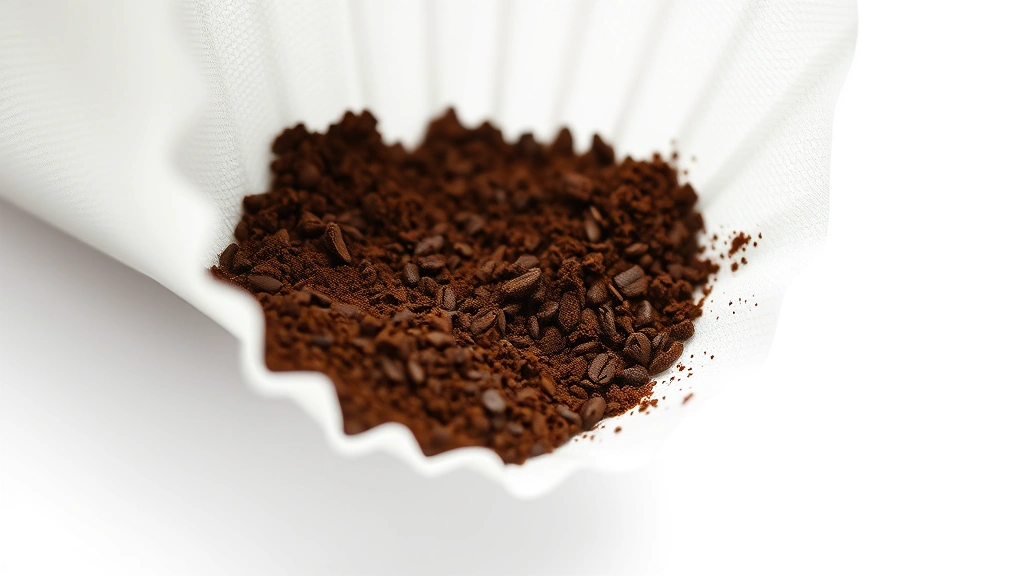
Grind size is your first control point. For most aeropress recipes, you’re aiming for a medium-fine grind, similar to table salt but slightly coarser. Invest in a burr grinder; blade grinders produce uneven particles that mess with extraction. Water temperature typically sits between 195-205°F (90-96°C). If you don’t have a thermometer, let boiled water cool for about 30 seconds.
Paper filters require a quick rinse with hot water before use—this removes paper dust and preheats your chamber. Metal filters skip this step but allow slightly more oils through, creating a fuller body. Choose based on your preference.
Classic Brewing Method
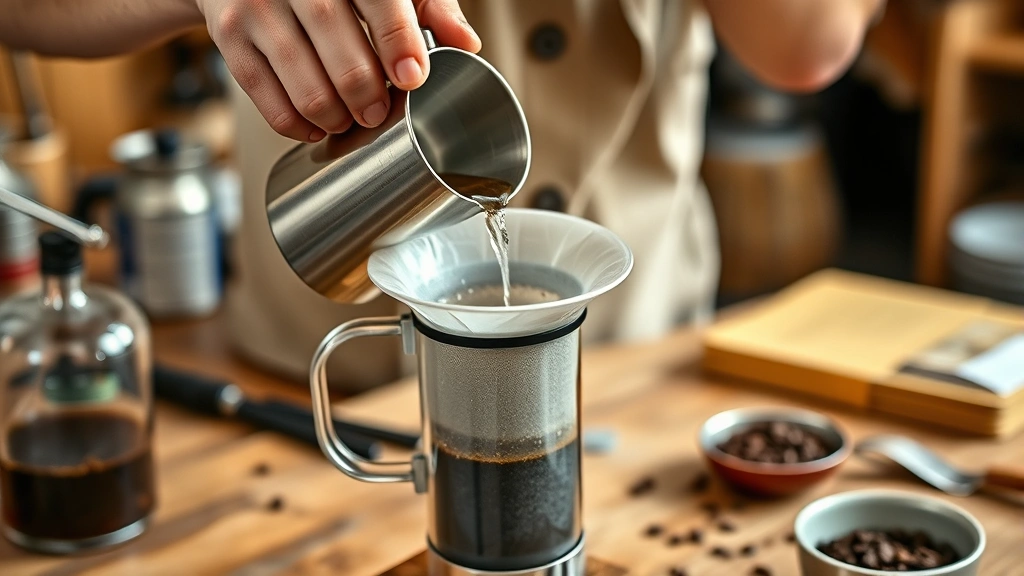
The standard aeropress recipe is your foundation. Start with a 1:16 coffee-to-water ratio—if you’re using 17 grams of coffee, you’ll add 272 grams of water. Place a paper filter in the cap, rinse it, and attach it to the chamber. Set the AeroPress on your mug or server.
Add your ground coffee and pour just enough hot water to saturate the grounds (about 50 grams). Wait 30 seconds—this bloom phase lets CO2 escape and improves extraction. Then slowly pour the remaining water, aiming to complete your pour by the 1-minute mark. Stir gently for 10 seconds.
At 1:30 total time, place the plunger on top and press slowly. A full press should take 25-30 seconds. You’ll hear a hissing sound as air pushes through—that’s your cue you’re almost done. Stop when you hear a crackling sound; that’s the paper filter collapsing. Your total brew time is roughly 2 minutes, and you’ll have a clean, balanced cup with excellent clarity.
Inverted AeroPress Technique
The inverted method flips your brewing approach—literally. Instead of the chamber sitting upright on your mug, you invert it so the plunger faces down. This lets you brew longer without water dripping through prematurely, giving you more control over immersion time and extraction.
Here’s the inverted aeropress recipe: Place the plunger into the chamber about an inch, creating an air-tight seal. Add your medium-fine grounds (still using a 1:16 ratio). Pour hot water to saturate, wait 30 seconds for bloom, then add remaining water. Stir for 10 seconds around the 1-minute mark.
Steep for a full 3-4 minutes. This extended contact time pulls out more complexity and sweetness. When ready, flip the entire assembly onto your mug or server in one smooth motion. Press gently for 20-30 seconds. The longer brew time means you can use a slightly coarser grind and still achieve full extraction. Many coffee enthusiasts prefer this method for its body and smoothness.
Cold Brew Concentrate
Want cold coffee without the wait? The AeroPress cold brew concentrate aeropress recipe delivers in minutes. Use a 1:4 coffee-to-water ratio—25 grams coffee to 100 grams cold water. Use a medium grind, slightly coarser than your standard recipe.
Add grounds to an inverted AeroPress, pour cold water, stir well, and let it sit for 12-24 hours at room temperature (or even faster in the fridge). When ready, flip onto a cup and press. You’ll get a concentrated shot. Dilute with equal parts water or milk for a refreshing cold drink. This concentrate keeps in the fridge for two weeks, making batch brewing incredibly practical for busy mornings.
Espresso-Style Extraction
If you want something closer to espresso, try the concentrated aeropress recipe. Use a fine grind (finer than your standard recipe, but not espresso-fine) and a 1:10 ratio—18 grams coffee to 180 grams water. Use hot water around 200°F.
Place your chamber on your cup, add grounds, pour water slowly, and stir gently. At 1 minute, press hard and fast—this increased pressure mimics espresso extraction. You’ll get a syrupy, concentrated shot in about 30 seconds of pressing. This works beautifully as a base for lattes, cappuccinos, or Americanos. The body is heavier, the crema-like layer more prominent, and the intensity punches above its weight class.
Travel-Friendly Recipe
The beauty of the AeroPress is portability. For travel, simplify: bring pre-ground coffee in a sealed container, grab a few paper filters, and pack the AeroPress in your luggage. The entire device weighs under a pound and takes minimal space.
Your travel aeropress recipe stays simple—1:16 ratio, medium-fine grind, 195°F water (boiled in a hotel kettle works fine). Brew directly into your mug using the classic method. No scales needed; just eyeball roughly two tablespoons of ground coffee per cup and add water until it looks right. After a few brews, your hands know the proportions. The whole process takes 2 minutes, and you’ve got legitimate coffee anywhere on Earth.
Troubleshooting Common Issues
Bitter, over-extracted coffee? Your water’s too hot, brew time’s too long, or your grind’s too fine. Drop water temperature to 195°F, reduce steep time by 30 seconds, or grind coarser. Sour, under-extracted coffee means the opposite—hotter water, longer brew, finer grind.
Pressing feels stuck or too easy? Stuck usually means too fine a grind or too much coffee. Too easy means your grind’s too coarse or you’ve used too little coffee. Weak coffee typically results from a coarse grind, short brew time, or not enough coffee. Experiment with one variable at a time so you understand what’s actually changing your cup.
If your filter keeps tearing, you’re pressing too hard. The AeroPress doesn’t require aggressive pressure—steady, controlled pressing at a medium pace is all you need. If water’s leaking around the plunger, your seal isn’t tight; make sure the rubber seal is clean and properly seated.
Frequently Asked Questions
What’s the best grind size for an aeropress recipe?
Medium-fine, similar to table salt. This works for most standard recipes. Finer grinds suit longer brew times; coarser grinds work better with quick pressing or cold brewing. Experiment within this range to find your preference.
Can I reuse paper filters?
Technically yes, but they degrade quickly. A single filter might handle 2-3 brews before falling apart. Metal filters last indefinitely and are more eco-friendly, though they allow slightly more oils through, creating a fuller body.
How much coffee should I use per cup?
The 1:16 ratio is your baseline—roughly 17 grams coffee per 8-ounce cup. If you don’t have a scale, one heaping tablespoon of medium-fine grounds is approximately 15-17 grams. Adjust up or down based on strength preference.
Is the inverted method really better?
Not objectively better—just different. It allows longer steeping, which extracts more sweetness and body. The classic method is faster and cleaner. Try both and decide what tastes better to you.
Can I make cold brew in an AeroPress?
Absolutely. Use cold water, a 1:4 ratio, and let it steep 12-24 hours. You’ll get a concentrate that’s smoother and less acidic than hot-brewed coffee, perfect for diluting or using as a latte base.
What water temperature works best?
195-205°F is the sweet spot for most recipes. Too hot (above 205°F) over-extracts and creates bitterness. Too cool (below 190°F) under-extracts and tastes sour. A simple instant-read thermometer takes the guesswork out.
How long does an AeroPress last?
Years, easily. The rubber seal eventually hardens, but replacement kits are cheap. The chamber and plunger are durable plastic that handles daily use without issue. Many people use the same AeroPress for 5+ years without problems.
Can I use pre-ground coffee?
You can, but freshly ground tastes noticeably better. Pre-ground coffee loses aromatic compounds quickly. If you must use pre-ground, use it within a week of opening and store it in an airtight container away from light and heat.
Your Next Perfect Cup
An effective aeropress recipe isn’t complicated—it’s about understanding the variables and tweaking them to match your taste. Start with the classic 1:16 method, dial in your grind and temperature, and taste what happens when you adjust one thing at a time. Within a few brews, you’ll have a repeatable process that delivers genuinely excellent coffee.
The AeroPress teaches you coffee fundamentals in a forgiving, affordable way. You can explore immersion brewing with the standard method, experiment with pressure by adjusting plunge speed, or play with brew time using the inverted technique. Each approach reveals something different about your beans.
Whether you’re crafting something as precise as perfume or simply chasing that perfect morning cup, the AeroPress rewards attention to detail. Grab some fresh beans, dial in your grind, and start brewing. Your next great cup is just two minutes away.
For more on precision in everyday tasks, check out resources like Family Handyman for detailed how-to guides, or explore This Old House for broader DIY wisdom. And if you’re interested in sourcing quality ingredients for your kitchen projects, Bob Vila offers excellent product reviews and recommendations.


