

An ahi tuna recipe doesn’t need fancy credentials or a Michelin-star kitchen to taste like it came straight from your favorite seafood restaurant. I’ve spent enough time in the kitchen to know that restaurant-quality fish comes down to three things: quality ingredients, proper technique, and knowing when to stop messing with it. This guide walks you through five straightforward steps that’ll have you searing ahi tuna like a pro, with a crust that crackles and a center that stays buttery and rare.
Table of Contents
Choosing Quality Ahi Tuna
The foundation of any great ahi tuna recipe starts at the fish counter. You need sushi-grade or sashimi-grade ahi, which means it’s been frozen to kill parasites and handled with care. Don’t settle for regular “ahi steaks”—those are often lower quality and won’t give you that restaurant feel.
Look for deep red color with minimal browning around the edges. The flesh should be firm and smell like the ocean, not fishy. If your local fish counter doesn’t have sushi-grade options, ask when they’re restocking or order ahead. Fresh ahi makes all the difference between mediocre and memorable.
Buy your fish the same day you plan to cook it. Even sushi-grade ahi deteriorates quickly. A typical serving is 4-6 ounces per person, so plan accordingly. If you’re making this as a main course with sides, grab a pound for two people.
Prep Work Matters Most
Pat your ahi completely dry with paper towels—this is non-negotiable. Moisture is the enemy of a good sear. Spend a solid minute getting every surface dry. Wet fish steams instead of sears, and you’ll end up with a gray, rubbery exterior instead of that beautiful golden crust.
Remove the ahi from the fridge 10-15 minutes before cooking. Cold fish won’t sear properly. You want it to reach room temperature so the heat penetrates evenly. While it’s coming up to temperature, prep your other ingredients and get your pan screaming hot.
If your ahi has a darker bloodline running through it, trim that out with a sharp knife. It’s safe to eat but has a stronger, more metallic flavor that most people don’t enjoy. A clean, uniform piece looks better and tastes better.
Seasoning Strategy
This is where simplicity wins. Season your ahi generously with kosher salt and freshly ground black pepper right before it hits the pan—not earlier. Salt draws out moisture, so timing matters. Some people add a light dusting of sesame seeds or a touch of garlic powder, but honestly, quality ahi doesn’t need much.
If you’re feeling adventurous, a light coating of black and white sesame seeds adds texture and looks professional. Press the seeds onto the top and sides so they stick during searing. Avoid heavy spice blends or marinades at this stage—save those for sauces.
The key is letting the fish’s natural flavor shine. You’re not trying to mask anything here; you’re enhancing it. Think of seasoning like background music in a restaurant—it should support the main act, not overshadow it.
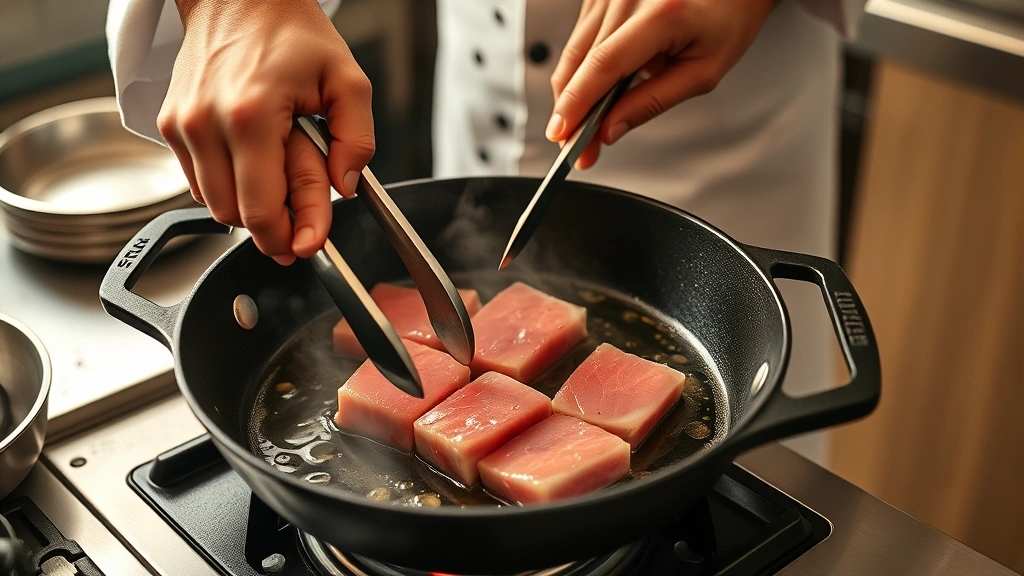
Searing Technique Breakdown
Heat your skillet (cast iron or stainless steel work best) over high heat for 2-3 minutes until it’s properly hot. You want it so hot that a drop of water immediately sizzles and evaporates. This is step one of creating that restaurant-quality crust.
Add a high-heat oil like avocado or vegetable oil—about a tablespoon. Swirl it around and let it smoke slightly. Now place your ahi in the pan. Don’t touch it. This is hard for people, but moving the fish prevents crust formation. Let it sear for 90 seconds to 2 minutes on the first side.
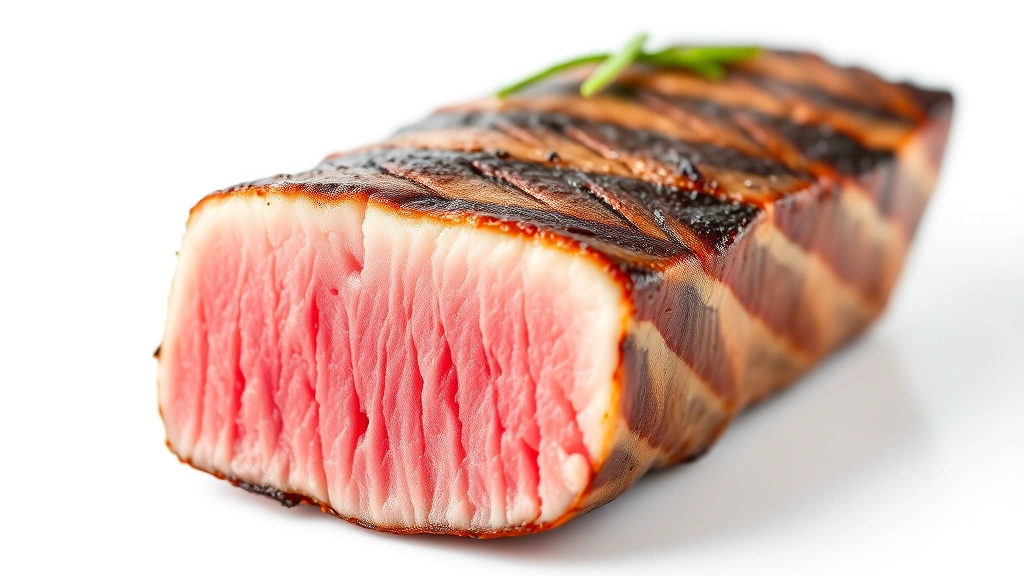
Flip once and sear the other side for 90 seconds to 2 minutes. The edges should be seared on all four sides, so if you have thin edges, stand the fish on its side for 30 seconds on each edge. The center stays rare while the exterior develops that gorgeous crust. For a 1.5-inch-thick steak, this timing gives you a perfect sear-rare result.
The internal temperature should hit 110-115°F for rare, 120-125°F for medium-rare. Use an instant-read thermometer if you’re unsure. Better to check than to overcook—you can’t reverse it.
Resting and Serving Right
Transfer your seared ahi to a cutting board and let it rest for 2-3 minutes. This allows carryover cooking to finish gently and helps the juices redistribute. Don’t skip this step—it’s the difference between a dry fish and a juicy one.
Slice against the grain into quarter-inch strips if you’re plating it for presentation. Arrange the slices slightly overlapping on a warm plate. The warmth of the plate keeps the ahi at the perfect temperature while you finish plating.
Serve immediately with your chosen sauce or accompaniments. Ahi waits for no one—it’s best enjoyed right out of the pan while the crust is still crispy and the center still warm.
Sauce Pairings That Work
A simple ponzu sauce elevates ahi without overwhelming it. Mix equal parts soy sauce and rice vinegar, add a squeeze of fresh lemon juice, and a pinch of sugar. Drizzle it around the plate, not over the fish, so the crust stays crispy.
Wasabi mayo is another winner—combine mayo with a small amount of wasabi paste and a touch of lime juice. The heat and creaminess complement the delicate fish beautifully. Fresh pineapple also pairs surprisingly well with ahi; a quick pineapple glaze adds sweetness and tropical flair.
For something lighter, try a citrus beurre blanc or simply finish with a squeeze of fresh lemon and a drizzle of good olive oil. The key is letting the fish remain the star—sauces should enhance, not dominate.
Common Mistakes to Avoid
Overcooking is the biggest killer of ahi tuna recipes. People get nervous and cook it through, turning it into a dry, gray disappointment. Ahi is meant to be rare to medium-rare. Trust the process and use a thermometer if you’re unsure.
Using low-quality fish is another deal-breaker. Don’t try to save money here—you’ll taste the difference immediately. Sushi-grade ahi costs more but delivers results that justify the price.
Crowding the pan or flipping too early prevents proper crust formation. Give each piece space and let it develop that golden exterior undisturbed. Patience pays off in the kitchen.
Forgetting to pat the fish dry is surprisingly common. People pull it straight from the package and expect a sear. Moisture ruins everything. Dry it thoroughly every single time.
Storage and Leftovers
Cooked ahi keeps in the fridge for 2-3 days in an airtight container. It’s actually delicious cold the next day, sliced thin and served over a salad. Prevention of oxidation matters—store it in an airtight container to prevent it from drying out or absorbing fridge odors.
Raw ahi should be cooked the same day you buy it. If you need to store it, keep it in the coldest part of your fridge, usually the back of the bottom shelf. Don’t freeze sushi-grade ahi at home—it’s already been frozen commercially, and refreezing damages the texture.
Leftover ahi works great in poke bowls, sushi rolls, or served cold with steamed sides. Get creative with it rather than letting it go to waste.
Frequently Asked Questions
Can I cook ahi tuna well-done?
Technically yes, but why would you? Ahi is a delicate fish that becomes dry and rubbery when cooked through. The whole point of this fish is the buttery, rare center. If you’re uncomfortable with rare fish, choose a different protein or start with medium-rare and work your way to rare as you gain confidence.
What’s the difference between ahi and other tuna?
Ahi (yellowfin tuna) has a firmer texture and milder flavor than bluefin, making it perfect for searing. It’s also more affordable and widely available. Bluefin is richer but overkill for a simple sear. Albacore is too delicate. Ahi is the Goldilocks of tuna for this application.
How thick should my ahi steak be?
Aim for 1.5 inches thick. This gives you enough surface area for a good crust while maintaining a rare center. Thinner cuts cook through too quickly and won’t give you that contrast. Thicker cuts are harder to get right without overcooking the exterior.
Do I need a special pan?
Cast iron or stainless steel work best because they retain heat and develop good crust. Nonstick pans don’t get hot enough and won’t give you the sear you want. A 10-12 inch skillet is ideal for standard ahi portions.
Can I marinate ahi before cooking?
Light marinades (30 minutes max) are fine, but avoid acidic marinades that “cook” the fish. If you marinate, pat it completely dry before searing. Most restaurants skip marinating entirely and rely on quality fish plus proper technique.
What temperature should my oil be?
Hot enough to smoke slightly when the ahi hits the pan. If it’s not smoking, your pan isn’t hot enough. You want aggressive heat—this isn’t the time to be timid. The pan should be so hot that the sear happens fast.
Why is my crust not forming?
Three likely culprits: wet fish, not-hot-enough pan, or moving it around. Dry the fish thoroughly, let the pan get smoking hot, and leave it alone for 90 seconds. Don’t fidget with it. Trust the process.
Can I use frozen ahi?
Yes, as long as it’s sushi-grade frozen ahi. Thaw it in the refrigerator overnight, not at room temperature. Thawed ahi works just as well as fresh and is often safer since it’s been commercially frozen to eliminate parasites.
Final Thoughts
Mastering an ahi tuna recipe is one of those kitchen wins that feels fancy but requires minimal effort once you understand the fundamentals. Quality fish, a hot pan, proper timing, and the discipline to leave it alone—that’s genuinely all you need. The first time you pull a perfectly seared piece of ahi off the stove with a golden crust and a buttery rare center, you’ll understand why restaurants charge premium prices for this dish.
Start with this method, nail it a few times, then experiment with different preparation techniques and sauce pairings. But honestly, once you’ve made it right, you might find you prefer the simplicity of salt, pepper, and a squeeze of lemon. That’s when you know you’ve truly mastered it.


