
Learning how to wrap a car is one of the most rewarding DIY projects you can tackle, transforming your vehicle’s appearance without permanent paint damage. Whether you’re protecting your car’s original finish, changing colors, or adding custom designs, vinyl wrapping offers flexibility and professional results when done right. This guide walks you through everything from materials to finishing touches, so you can wrap your car like a pro.
Table of Contents
Materials and Tools Needed
Before you start any car wrapping project, gather the right equipment. You’ll need premium vinyl wrap material (3M, Avery, or HEXIS brands work great), a heat gun or heat source, squeegees or application tools, a sharp utility knife, isopropyl alcohol, clean microfiber cloths, and masking tape. Don’t cheap out on tools—a quality squeegee prevents bubbles and ensures smooth adhesion. A spray bottle with slip solution (water mixed with a few drops of dish soap) makes the application process infinitely easier. Having a clean workspace, preferably indoors or under cover, prevents dust and debris from ruining your finish.
Prep Work and Surface Cleaning
Proper preparation determines 80% of your success. Start by thoroughly washing your entire vehicle with soap and water, removing all dirt, bird droppings, and grime. Dry completely with clean towels. Next, use isopropyl alcohol and a microfiber cloth to wipe down every surface you’ll be wrapping—this removes wax, polish residue, and oils that prevent vinyl adhesion. Pay special attention to seams, trim pieces, and recessed areas where contamination hides. Some pros use clay bar detailing for stubborn contaminants. Let the alcohol dry completely before touching the surface again. This tedious step separates amateur jobs from professional-looking results.
Choosing the Right Vinyl
Vinyl wrap quality varies dramatically. Cast vinyl (used by professionals) is thinner, more conformable, and lasts 5-7 years, while calendered vinyl is thicker but less flexible and typically lasts 3-5 years. For beginners, cast vinyl is actually easier to work with because it stretches without tearing. Color choices range from matte, gloss, satin, and metallic finishes to carbon fiber and textured options. Consider your climate—UV exposure in sunny regions demands premium vinyl with better fade resistance. If you’re wrapping a full vehicle, expect to need 50-60 feet of material. Buy slightly extra for mistakes and practice sections. Measure your vehicle’s dimensions carefully before ordering.
Measuring and Cutting Vinyl
Accurate measurements prevent wasteful mistakes. Use a measuring tape to map out each panel, adding 2-3 inches overlap on all sides for trimming. Mark measurements on the vinyl backing with a dry erase marker—don’t cut the vinyl yet. Lay out your vinyl on a clean, flat surface with the adhesive side facing down. Use a straightedge and sharp utility knife to cut your first panel. Make slow, controlled passes rather than pressing hard once; multiple light cuts are safer and more accurate. For complex curves and corners, cut slightly larger than needed, then trim precisely during application. Practice on scrap vinyl before cutting your actual panels.
Application Technique Basics
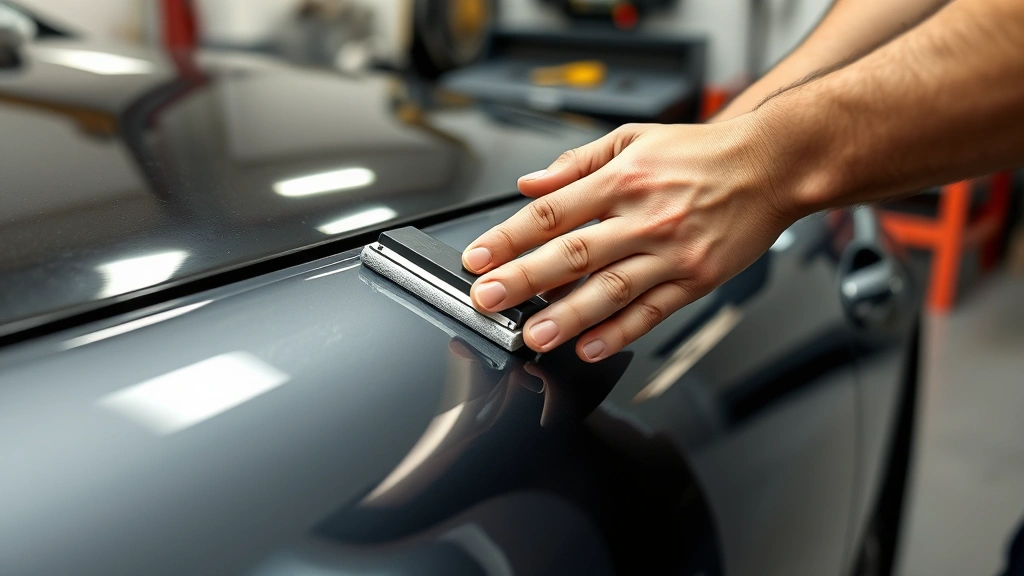
Start with smaller, flat panels before tackling complex curves. Peel back a few inches of the backing and spray the exposed adhesive and car surface with slip solution. Position the vinyl and use your squeegee to press it down, working from the center outward in straight lines to push out air bubbles. Continue peeling backing and applying section by section. Work methodically—rushing causes wrinkles and bubbles that are hard to fix. For curved sections, use the slip solution generously; it allows repositioning before the adhesive sets. Keep your squeegee at a 45-degree angle and use firm, consistent pressure. Avoid aggressive scrubbing that damages the vinyl.
Using Heat Guns Properly
Heat is your secret weapon for conforming vinyl to complex shapes and seams. Set your heat gun to 250-300°F (not maximum heat, which damages vinyl). Hold it 6-8 inches from the surface and move it constantly to avoid hot spots. Heat the vinyl until it becomes pliable, then use your squeegee to press it into place. For door handles, mirrors, and curves, heat small sections and stretch the vinyl gently while pressing. Don’t overheat—the vinyl should feel warm, not hot to the touch. Allow heated sections to cool slightly before moving to the next area; this helps the adhesive set properly. Patience with heat application prevents creasing and ensures professional conformity.
Trimming and Edge Work
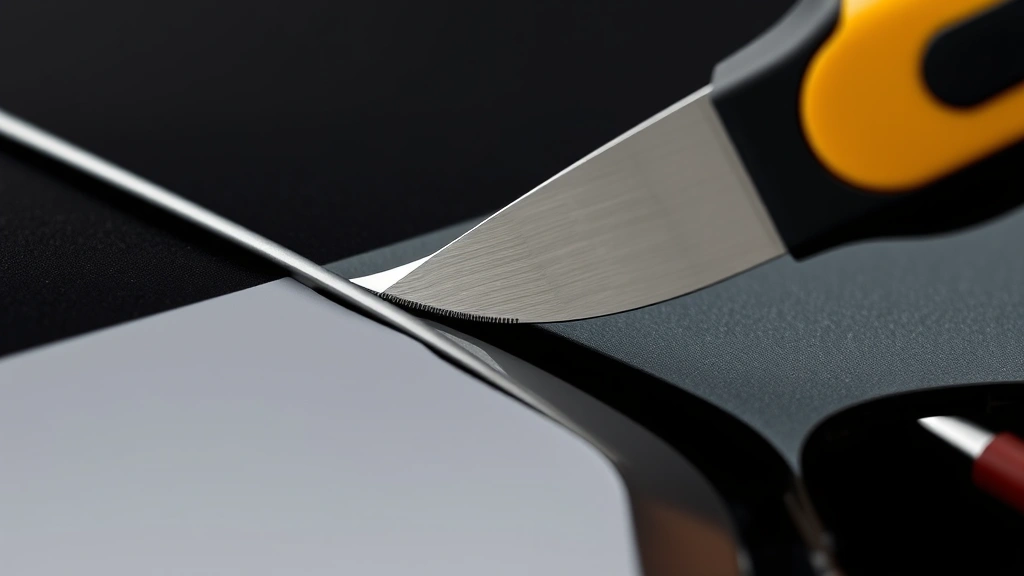
Once the main vinyl is applied and cooled, trim excess material using a sharp utility knife. Use a straight edge as your guide and make shallow cuts—you’re cutting vinyl, not the car’s paint. For door edges and panel seams, use a trim stick to tuck vinyl into gaps without tearing. Work slowly around corners and curves. If you’re wrapping windows, use a heat gun to soften the vinyl, then carefully cut along the glass edge with a fresh blade. For professional-looking results, wrap edges underneath panels when possible. This hidden edge technique looks cleaner than edge trim. Take your time here—rushed trimming ruins otherwise perfect wraps.
Curing and Setting Time
Don’t drive your wrapped vehicle immediately. Vinyl needs 24-48 hours to fully cure and achieve maximum adhesion strength. During this time, keep the car in a garage or covered area, away from direct sunlight and moisture. Avoid washing, rain, or extreme temperature changes. The adhesive continues bonding to the surface throughout this period. Some professionals recommend waiting 72 hours before exposing wrapped vehicles to harsh conditions. Temperature matters—cold weather slows curing, while warm conditions speed it up. Once fully cured, your vinyl wrap can handle normal driving, though you should still avoid automatic car washes with brushes for at least a week.
Avoiding Common Mistakes
Beginners often skip proper surface preparation, resulting in premature peeling. Others apply vinyl in cold weather (below 50°F) when adhesive doesn’t set properly. Rushing the application creates bubbles and wrinkles that multiply over time. Using low-quality squeegees leaves trapped air and poor adhesion. Many DIYers apply too much heat, which shrinks and damages vinyl. Not measuring accurately wastes expensive material. Applying vinyl in direct sunlight makes it difficult to position correctly. The biggest mistake? Expecting perfect results on your first try. Practice on smaller panels and learn from each section before tackling large areas. Professional installers spend years perfecting their technique.
Maintenance and Care
Your vinyl wrap lasts longer with proper care. Hand wash with mild soap and water, using soft microfiber cloths to avoid scratching. Avoid pressure washers and harsh chemicals. Wax and sealants aren’t necessary and can affect the vinyl’s appearance. Park in shade when possible—UV exposure gradually fades vinyl, though quality material resists this well. In winter, remove heavy snow gently rather than scraping. If bubbles form after installation, you can sometimes inject slip solution with a syringe and re-squeegee. Small tears can be sealed with clear vinyl repair tape. Most quality wraps last 5-7 years before needing replacement, depending on climate and care.
Frequently Asked Questions
Can I wrap my car myself without experience?
Yes, but expect a learning curve. Start with smaller sections like door handles or mirrors before tackling large panels. Watch tutorial videos, take your time, and be patient. Your first wrap won’t be perfect, but it’ll be functional and look decent if you follow proper technique.
How much does vinyl wrap material cost?
Quality cast vinyl runs $3-8 per square foot. A full vehicle wrap (50-60 square feet) costs $150-$500 in materials alone. Professional installation adds $2,000-$5,000 depending on complexity and location.
Will vinyl wrap damage my car’s paint?
No, vinyl wrap actually protects your original paint from UV damage and minor scratches. When removed properly, it leaves your paint underneath unchanged. This is why many people use wraps instead of repainting.
How long does a DIY car wrap take?
A full vehicle wrap typically takes 15-40 hours for beginners, depending on complexity. Professionals complete full wraps in 2-3 days. Start with realistic timelines and don’t rush the process.
Can I remove vinyl wrap myself?
Yes, but carefully. Heat the vinyl with a heat gun and peel slowly at a low angle. Use isopropyl alcohol to remove adhesive residue. Take your time to avoid damaging paint underneath. This process takes several hours for a full wrap.
What’s the difference between wrap and paint protection film?
Vinyl wrap is decorative and comes in countless colors and finishes. Paint protection film (PPF) is clear and protects against rock chips and scratches. Some people use both—PPF on vulnerable areas, vinyl wrap elsewhere.
Does vinyl wrap work on textured surfaces?
Vinyl adheres best to smooth, clean surfaces. Textured paint, rough trim, or weathered areas cause poor adhesion. Sand rough spots smooth or use primer on bare plastic before wrapping.
Final Thoughts
Learning how to wrap a car opens up creative possibilities while protecting your vehicle’s finish. The process demands patience, precision, and attention to detail, but the satisfaction of completing a professional-looking wrap yourself is unmatched. Start small, invest in quality materials, and don’t rush critical steps like surface preparation and curing time. If you’re considering other vehicle customizations, window tinting pairs perfectly with vinyl wraps for a complete aesthetic upgrade. Remember that even professionals make mistakes—what matters is learning from each panel and improving your technique. Your first wrap might not be showroom-perfect, but it’ll be yours, and you’ll know exactly how to do better next time.
External Resources: For additional professional guidance, check out Family Handyman’s vehicle customization guides, This Old House’s DIY automotive section, and Bob Vila’s comprehensive tool and technique reviews.


