
Knowing how long to bake chicken legs at 400 degrees is one of those kitchen skills that separates the “eh, it’s okay” meals from the “wow, this is actually delicious” dinners. I’ve been cooking chicken legs for years, and I’m going to walk you through exactly what works—no guessing, no dry chicken, no food safety surprises.
Table of Contents
Basic Timing and Temperature
Here’s the straightforward answer: chicken legs take approximately 40 to 50 minutes at 400°F. That’s your baseline. The exact time depends on the size of your legs—smaller ones might finish in 38 minutes, while larger drumstick-thigh combos could need the full 50.
I always preheat my oven to 400°F for a solid 15 minutes before the chicken goes in. Cold ovens are your enemy here because they extend cooking time unpredictably. The 400-degree temperature is the sweet spot: hot enough to render the fat and crisp the skin, but not so hot that the outside burns while the inside stays raw.
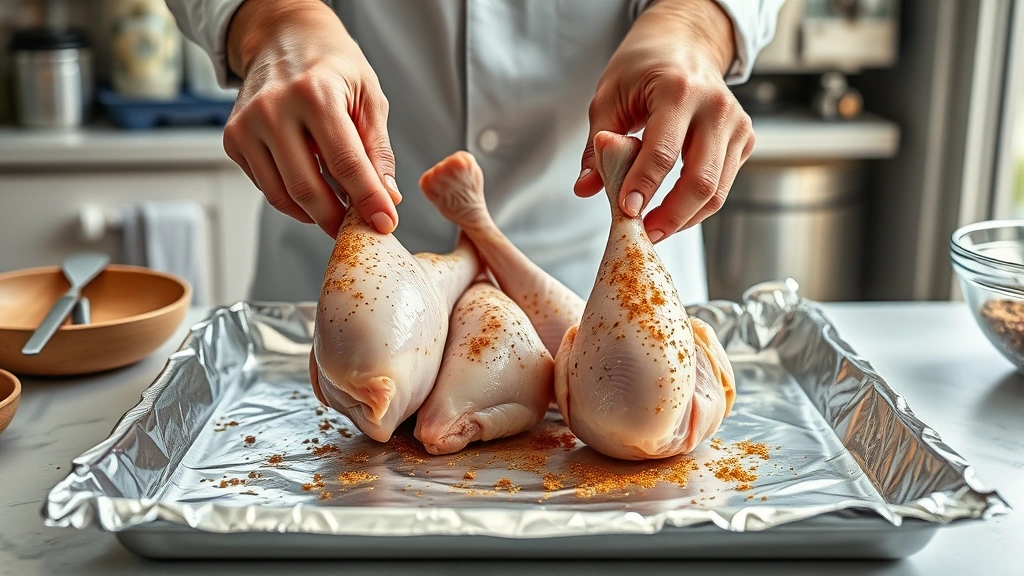
Place your chicken legs on a rimmed baking sheet lined with foil (trust me, cleanup matters). Arrange them skin-side up in a single layer with a bit of space between each piece. Don’t crowd the pan—that’s how you end up steaming instead of roasting.
Why Prep Actually Matters
Before those legs hit the oven, pat them completely dry with paper towels. Moisture is the enemy of crispy skin. I’m talking thoroughly dry—don’t skip this step because you’re in a hurry. Wet skin never crisps properly, and you’ll end up disappointed.
Remove the chicken from the fridge about 20 to 30 minutes before baking. Room-temperature chicken cooks more evenly than cold chicken straight from the refrigerator. The outside won’t overcook while waiting for the inside to catch up.
If your chicken legs are particularly large or you’ve got a mix of sizes, consider separating the drumsticks from the thighs. Drumsticks alone bake in about 35 to 40 minutes, while thighs might need closer to 45 to 50 minutes. Matching sizes means everything cooks at the same rate.
Seasoning and Flavor Building
Don’t just dump salt and pepper on there and call it a day. Real flavor happens when you build layers. I start with kosher salt and freshly ground black pepper—the good stuff, not the pre-ground powder that’s been sitting in your cabinet for three years.
Add garlic powder, paprika, and a pinch of cayenne if you want a little heat. Fresh herbs are even better: thyme, rosemary, or oregano rubbed directly onto the skin make a massive difference. If you’ve got time, make a simple paste with olive oil, minced garlic, and herbs, then rub it under and over the skin about 30 minutes before baking.
The seasoning should coat every surface—don’t just focus on the top. Flip each leg over and season the bottom side too. This takes an extra 30 seconds and completely changes the eating experience.
Checking for Doneness Properly
This is where most home cooks go wrong. Don’t cut into the thickest part and peek—that lets juices escape. Instead, use an instant-read meat thermometer. Insert it into the thickest part of the thigh without touching bone. You’re looking for 165°F minimum, though I prefer 170°F for chicken legs because the meat is darker and benefits from slightly higher temperature.
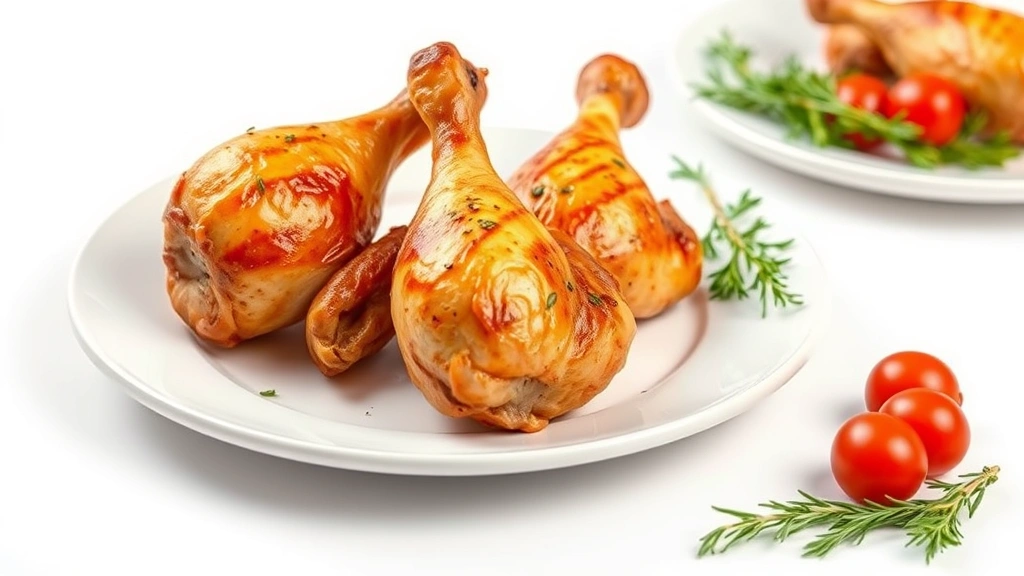
If you don’t have a thermometer (seriously, get one—they’re cheap and invaluable), look for these signs: the skin should be golden brown and crispy, the meat should pull away from the bone easily, and when you pierce the thickest part with a fork, the juices should run clear, not pink.
The bone itself should be slightly darkened where it meets the meat. If you see any pink in that area, give it another 5 minutes and check again.
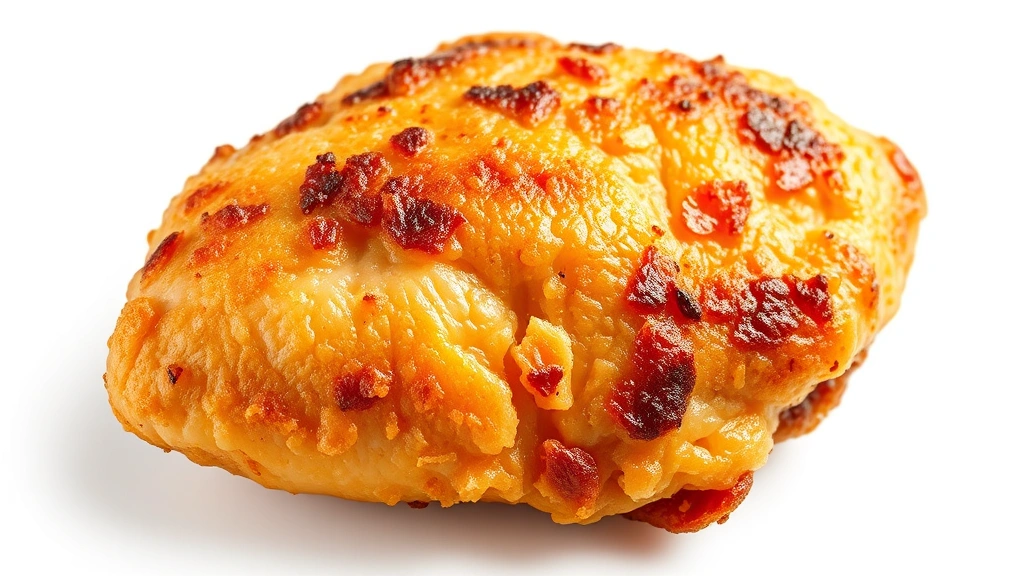
Getting That Crispy Skin
Crispy skin is non-negotiable. Start with dry chicken—we covered that. Then, brush the skin lightly with olive oil or melted butter about 10 minutes into baking. This helps render the fat and promotes browning.
If your chicken legs aren’t browning enough by the 35-minute mark, crank the oven up to 425°F for the final 10 to 15 minutes. Watch them carefully so they don’t burn, but that extra heat will crisp the skin beautifully.
Some cooks flip the chicken halfway through baking. I don’t usually bother—skin-side up the whole time works fine at 400°F. But if you want maximum crispiness and don’t mind the extra step, flip them at the 20-minute mark, then flip back skin-side up for the final 20 to 30 minutes.
Common Mistakes to Avoid
Overcrowding the pan is mistake number one. I see people stack chicken legs on top of each other or pack them so tightly there’s no air circulation. That creates steam, not roast. Space matters—give each leg breathing room.
Skipping the preheat is mistake number two. I cannot stress this enough. A preheated oven is non-negotiable for even cooking and proper browning.
Using cold chicken straight from the fridge is mistake number three. Those 20 to 30 minutes at room temperature make a real difference in cooking time consistency.
Not checking the temperature is mistake number four. Guessing whether chicken is done is how people end up with either rubbery overcooked chicken or undercooked chicken that makes them sick. Get a thermometer and use it.
Basting constantly is mistake number five. Every time you open that oven door, you lose heat and extend cooking time. Baste once, maybe twice, but not every 5 minutes.
Timing Your Side Dishes
Since your chicken legs need 40 to 50 minutes, plan your sides accordingly. Roasted vegetables like green beans and other vegetables can go in the same oven on a separate rack. Most roasted veggies need 25 to 35 minutes at 400°F, so add them about 15 minutes after the chicken starts baking.
Rice or pasta should be started about 20 minutes into the chicken’s baking time. Potatoes need longer—if you’re roasting potatoes alongside the chicken, cut them small and add them at the same time as the chicken.
This is where meal planning saves you. Get everything prepped and ready so you’re just timing the oven, not scrambling in the kitchen.
Storage and Leftover Ideas
Cooked chicken legs keep in the refrigerator for 3 to 4 days in an airtight container. Let them cool to room temperature first, then refrigerate. Don’t leave them sitting on the counter for more than 2 hours.
Shred the meat off the bones and use it for chicken salad, tacos, sandwiches, or soup. The bones themselves are gold—throw them in a pot with water, onion scraps, and celery to make homemade chicken stock. That’s the kind of real-world efficiency that separates good home cooks from great ones.
Frozen cooked chicken legs last about 3 months. Store them in freezer bags or airtight containers. Thaw in the refrigerator overnight before reheating.
Frequently Asked Questions
Can I bake chicken legs at a different temperature?
Absolutely. Higher temperatures (425 to 450°F) will cook them faster—around 35 to 40 minutes—but you risk burning the outside. Lower temperatures (375°F) take longer, about 55 to 65 minutes, but give you more control and less browning. 400°F is the Goldilocks zone.
Should I cover the chicken with foil while baking?
No. Covering traps steam and prevents skin from crisping. If the chicken is browning too fast, tent it loosely with foil for the first 20 minutes, then remove it for the rest of baking.
Why is my chicken skin not crispy?
Three reasons: the chicken wasn’t dry enough before baking, the oven temperature was too low, or there wasn’t enough air circulation. Make sure you pat it dry, preheat properly, and give each leg space on the pan.
Can I marinate chicken legs before baking?
Yes, but pat them dry thoroughly after marinating. Marinate for 2 to 8 hours in the refrigerator. The longer you marinate, the more flavor develops, but even 2 hours makes a difference.
What’s the difference between baking and roasting?
Technically, roasting is cooking in dry heat in an oven at higher temperatures with the food uncovered, which is exactly what we’re doing. Baking is the same process. The terms are basically interchangeable for chicken legs.
How do I know if my chicken is undercooked?
Use a meat thermometer—165°F is the safe minimum. If you see pink near the bone or the juices run pink when pierced, it needs more time. Don’t rely on color alone; some chicken stays slightly pink even when fully cooked.
Final Thoughts
Baking chicken legs at 400°F for 40 to 50 minutes is genuinely foolproof once you understand the variables. Dry the chicken, preheat your oven, space them properly, check the temperature with a thermometer, and you’ll nail it every single time. It’s the kind of basic cooking skill that becomes second nature after a few tries, and it opens up endless possibilities for weeknight dinners, meal prep, and impressing people at the table.
The real-world lesson here is that cooking isn’t mysterious—it’s just following basic principles and paying attention. Master this one technique and you’re already ahead of most home cooks.


