
Your computer won’t boot. You’ve tweaked some settings you don’t remember. Or maybe your system is running hot and unstable. The BIOS—that mysterious firmware layer between your hardware and operating system—might be the culprit. Resetting BIOS sounds intimidating, but it’s one of the most straightforward fixes you can do yourself. I’m going to walk you through exactly how to reset BIOS safely, whether you’re dealing with a desktop or laptop, and what to expect when you do.
Here’s the truth: most people fear what they don’t understand. BIOS resets aren’t dangerous if you follow the right steps. You’re not going to fry your motherboard or lose your files. What you’re doing is telling your computer to forget custom settings and go back to factory defaults. Think of it like clearing the cache on your browser—it clears clutter but doesn’t delete your data.
What Is BIOS and Why Reset It?
BIOS stands for Basic Input/Output System. It’s firmware that runs before your operating system loads. Think of it as your computer’s startup routine—it checks hardware, loads drivers, and hands control to Windows or Linux. The BIOS stores settings like boot order, CPU speed, RAM timing, and security features. When something goes wrong—overclocking gone bad, corrupted settings, forgotten passwords—a BIOS reset brings everything back to factory defaults.
Why would you need to reset BIOS? Common reasons include:
- Your PC won’t boot at all
- You overclocked and now the system is unstable
- You forgot your BIOS password
- Hardware isn’t being recognized properly
- You’re experiencing random crashes or freezes tied to power or boot issues
- You’re troubleshooting before a major hardware upgrade
The good news: resetting BIOS won’t touch your hard drive, SSD, or any installed software. Your files stay safe. You’re only resetting the firmware settings on your motherboard.
Before You Start: Preparation Checklist
Before you open your case or dive into menus, prepare properly. This takes five minutes and saves headaches.
Safety Warning: Power off your computer completely. Unplug the power cable from the back of the PSU (power supply unit). Wait 30 seconds. This discharges residual power and protects both you and your hardware from electrical damage.
What you’ll need:
- A Phillips head screwdriver (magnetic tip is helpful)
- An anti-static wrist strap (cheap on Amazon, worth it)
- A flashlight or headlamp (inside your case gets dark)
- Your motherboard manual (download from the manufacturer’s website if you don’t have it)
- Knowledge of your motherboard model—if you’re unsure, check what motherboard you have before opening anything
The motherboard manual is critical. Different boards have different CMOS battery locations, jumper positions, and BIOS menu layouts. You can find manuals on MSI, ASUS, Gigabyte, or ASRock’s websites—just search your exact motherboard model number.
Ground yourself before touching internal components. Static electricity can kill sensitive chips. Wear the anti-static strap, or touch a bare metal part of the case frame before handling anything inside.
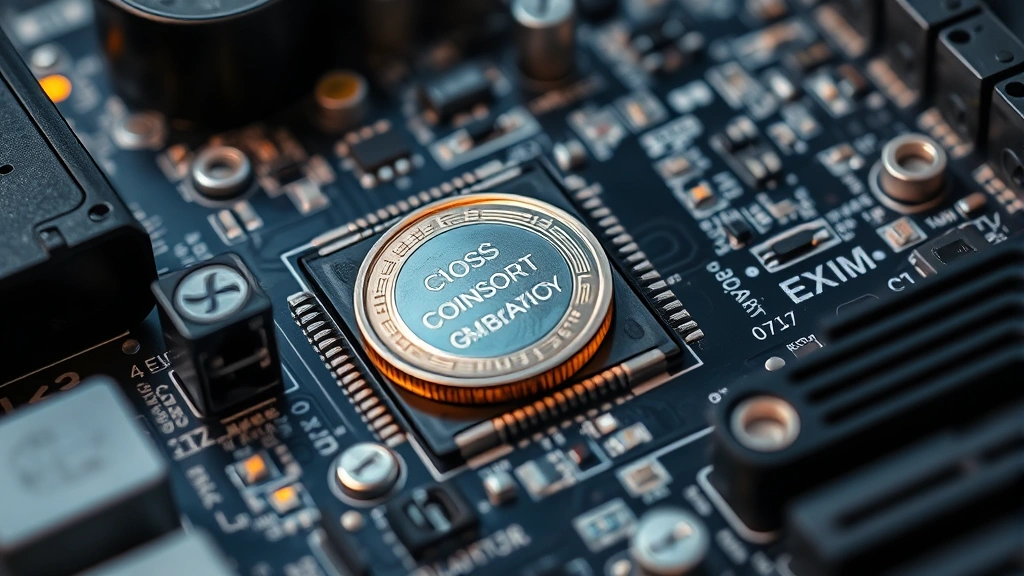
Method 1: Remove the CMOS Battery (Most Reliable)
This is the most straightforward way to reset BIOS safely. The CMOS battery maintains your BIOS settings when the computer is powered off. Remove it, and those settings vanish.
Step-by-step:
- Power down completely. Shut down Windows normally, then flip the PSU switch to OFF. Unplug the power cable. Wait 30 seconds.
- Open the case. Most desktop cases have a side panel held by two or three thumb screws. Remove them and slide the panel off.
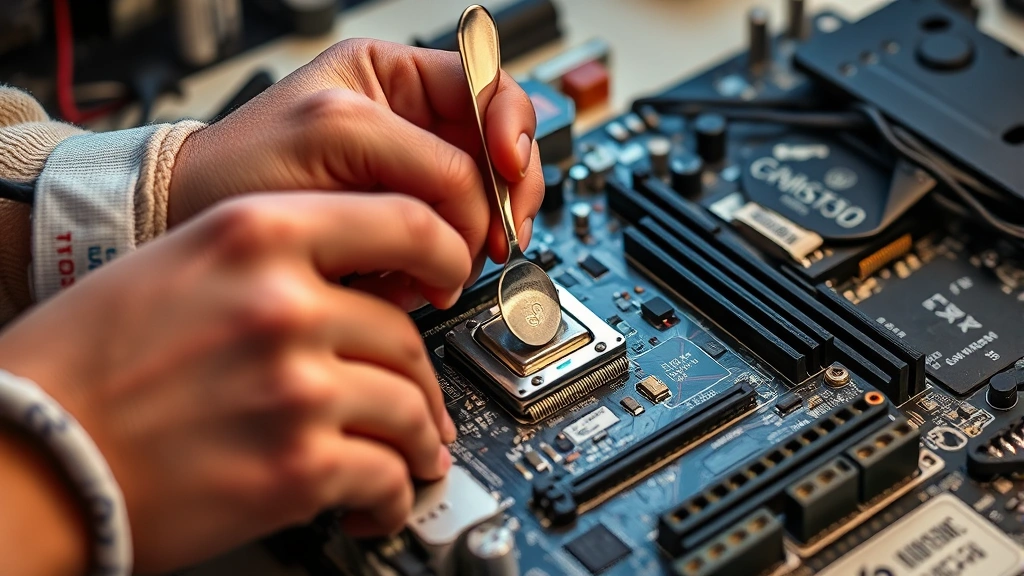
- Locate the CMOS battery. Look for a silver coin-shaped battery (usually CR2032 size) on the motherboard. It’s typically near the SATA ports or edge of the board. Check your manual for exact location.
- Remove the battery. Gently pry it out with a plastic spoon or battery removal tool. Don’t use a screwdriver—you might scratch the board. Note which side faces up so you reinstall it correctly.
- Wait 10-15 minutes. This gives the CMOS capacitors time to fully discharge. Longer is fine.
- Reinstall the battery. Pop it back in with the same side facing up. You’ll hear a tiny click when it seats properly.
- Close the case and reconnect power. Screw the side panel back on, plug in the power cable, and flip the PSU switch to ON.
- Boot up. Your computer should start normally. BIOS is now reset to factory defaults.
This method works on 99% of desktop motherboards. Laptops are trickier—see Method 4 below.
Pro Tip: If you can’t find the CMOS battery or it’s soldered to the board, don’t panic. Try Method 2 (jumper reset) or Method 3 (BIOS menu reset) instead. Modern high-end boards sometimes skip the removable battery.
Method 2: Use the CMOS Jumper
Some motherboards use a jumper instead of a battery for CMOS reset. A jumper is a tiny plastic cap that slides over two or three pins. Moving it triggers a reset.
How it works:
- Power down and unplug. Same as Method 1—full shutdown, PSU off, unplugged, 30-second wait.
- Open the case and locate the jumper. Look for a cluster of three pins labeled CLR_CMOS, CLEAR CMOS, or similar. Your motherboard manual will pinpoint it. It’s usually small and easy to miss.
- Remove the jumper cap. Use tweezers or a plastic spoon. Gently pull straight up. The cap is delicate but not fragile.
- Wait 10 seconds. This lets the capacitors discharge.
- Reinstall the jumper. Slide it back onto the pins in its original position. It should fit snugly.
- Close up and power on. Reconnect everything and boot normally.
This method is faster than removing a battery, but only works if your board has a jumper. Check your manual first.
Method 3: Reset from BIOS Menu
If you can still boot into BIOS, you can reset from inside the menu itself. This is the easiest method if your system is stable enough to reach BIOS.
Steps:
- Restart your computer. Shut down Windows normally.
- Enter BIOS during startup. As the computer boots, repeatedly press the BIOS key. Common keys are Delete, F2, F10, or F12—it depends on your motherboard. You’ll see a prompt on the first screen saying “Press [Key] to enter Setup” or similar.
- Navigate to the reset option. Once in BIOS, look for tabs or menus labeled “Save & Exit,” “Exit,” or “Restore Defaults.” The exact menu name varies by manufacturer.
- Select “Load Optimized Defaults” or “Reset to Default Settings.” ASUS calls it “Load Optimized Defaults.” MSI might call it “Load Default Settings.” Gigabyte uses “Load Optimized Defaults.” The function is the same.
- Confirm the action. Press Enter or select Yes. The BIOS will reset to factory settings.
- Save and exit. Choose “Save Changes and Exit” or “Exit and Save Changes.” Your computer will reboot with fresh BIOS settings.
This method is convenient because you don’t open the case. However, it only works if you can reach BIOS. If your system won’t boot at all, use Method 1 or 2 instead.
Pro Tip: Different manufacturers use different menu layouts. If you’re lost in BIOS, look for an “Exit” or “Help” menu. Most boards display control hints at the bottom of the screen (e.g., “F1 = Help, Esc = Exit”).
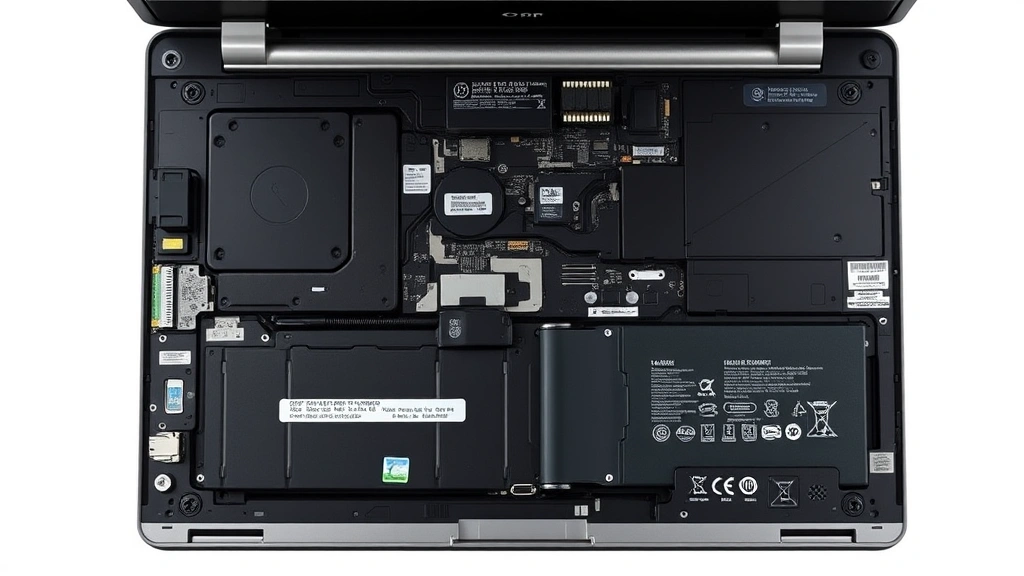
Method 4: Laptop BIOS Reset
Laptops are different animals. You can’t easily pop out a CMOS battery, and many don’t have jumpers. Your options depend on the manufacturer.
For most laptops:
- Power down completely. Shut down normally, then hold the power button for 10 seconds to drain power.
- Remove the battery if it’s removable. Older laptops had user-replaceable batteries. Newer ones are glued in. If yours is removable, take it out and set it aside for 30 seconds, then reinstall.
- Try BIOS menu reset (Method 3). Restart and enter BIOS (usually F2, F10, or Del during boot). Look for a “Reset” or “Restore Defaults” option.
- Contact manufacturer support. If neither works, the laptop might require a service tool or password reset from the maker. Dell, HP, Lenovo, and ASUS have specific procedures.
Laptop manufacturers often lock BIOS access to prevent tampering. If you’ve forgotten your BIOS password, you may need to contact support or visit a service center. HP, Dell, and Lenovo all offer BIOS recovery procedures on their support pages.
What to Do After You Reset BIOS
Your computer has reset BIOS to factory defaults. Now what?
First boot: Your system might take longer to start. This is normal—it’s detecting hardware and rebuilding settings. Be patient. Don’t force shut it down.
Check boot order: After reset, BIOS defaults to booting from the hard drive or SSD first. If you use an external drive or USB key regularly, you may need to adjust boot order in BIOS. Enter BIOS again and look for “Boot Order” or “Boot Priority.”
Update drivers: Some hardware might need fresh drivers after a BIOS reset. If something isn’t working—network, graphics, sound—download the latest drivers from the manufacturer’s website.
Reconfigure custom settings: If you had tweaked voltages, clock speeds, or other settings before the reset, you’ll need to redo them. But do it carefully this time. Overclocking is fun but risky if done wrong.
Update BIOS firmware: While you’re at it, check if a newer BIOS version is available for your motherboard. Visit the manufacturer’s support page, download the latest BIOS file, and follow their flashing instructions. New BIOS versions often fix bugs and improve stability.
Safety Warning: Never interrupt a BIOS update. Keep the power steady and don’t touch anything until it’s complete. A failed BIOS flash can brick your motherboard.
Troubleshooting Common Issues
Computer won’t boot after BIOS reset: This is rare but happens. Try reseating your RAM—power down, unplug, remove the RAM sticks, wait 10 seconds, and reinstall them. Then boot again. If that doesn’t work, try removing and reinstalling the CMOS battery again.
BIOS reset didn’t fix the problem: If your system was crashing before the reset and still crashes after, the issue might be hardware-related, not BIOS-related. Run a memory test (search “Windows Memory Diagnostic”) or check hard drive health with CrystalDiskInfo. Bad RAM or a failing drive causes crashes that BIOS can’t fix.
I forgot to note which way the CMOS battery faced: The positive side (marked with a +) should face up. If you installed it upside down, the computer won’t boot. Just power down, unplug, and flip it.
The CMOS battery is stuck: Don’t force it. Gently wiggle it side-to-side while applying light upward pressure. If it’s truly stuck, use a plastic spoon or guitar pick to gently pry underneath one edge. Metal tools risk scratching the board.
I can’t find the CMOS battery or jumper: Your motherboard manual is your best friend here. Download it from the manufacturer’s website and search for “CMOS” or “CLR.” If you still can’t locate it, try the BIOS menu reset (Method 3) instead.
For more detailed troubleshooting on system stability after reset, check Tom’s Hardware and Overclock.net for community support and diagnostic guides.
Frequently Asked Questions
Will resetting BIOS delete my files?
– No. BIOS is firmware on your motherboard. Your hard drive and SSD are separate. Resetting BIOS only affects startup settings and hardware configuration, not your operating system or data.
How long does a BIOS reset take?
– The actual reset takes seconds. The whole process—powering down, opening the case, removing the battery, waiting, reinstalling, and booting back up—takes about 15-20 minutes if you work carefully.
Can I reset BIOS without opening my computer?
– Yes, if you can boot into BIOS (Method 3). But if your system won’t boot at all, you’ll need to open the case and use Method 1 or 2.
Is it safe to reset BIOS myself?
– Absolutely, if you follow the steps and ground yourself. Millions of people reset BIOS every year without issues. The main risks are static electricity (wear a strap) and putting the CMOS battery in backwards (easy to fix).
What if my computer still won’t boot after resetting BIOS?
– Try reseating RAM (remove and reinstall). If that doesn’t work, the problem might be hardware failure, not BIOS. Run diagnostics on your RAM and hard drive. If those check out, consult a technician—you might have a failing motherboard or power supply.
Do I need to reset BIOS before upgrading my CPU?
– Not always, but it’s a good precaution. If you’re upgrading to a much newer generation, resetting BIOS ensures the new CPU starts with clean settings. Just update BIOS firmware to the latest version first to ensure compatibility.
Can I reset BIOS on a Mac?
– Macs don’t have traditional BIOS. They use EFI (Extensible Firmware Interface) or Apple Silicon firmware. To reset, restart and hold Command + Option + P + R until you hear the startup sound twice. This resets the NVRAM, which is similar to CMOS.
What’s the difference between BIOS and UEFI?
– UEFI (Unified Extensible Firmware Interface) is the modern replacement for BIOS. It does the same job but with a better interface and more features. The reset process is identical—you’re just resetting firmware either way.
Should I update BIOS after a reset?
– Yes, if an update is available. New BIOS versions fix bugs and improve hardware compatibility. Just be careful not to interrupt the update process.
Can a BIOS reset fix a slow computer?
– Sometimes. If slow performance is caused by incorrect power settings or overclocking gone wrong, a BIOS reset can help. But if it’s caused by malware, too many background programs, or a full hard drive, BIOS reset won’t fix it. Run antivirus scans and check your disk space first.


