
Formatting a micro SD card feels like it should be simple, but most people either overthink it or skip critical safety steps. The truth? It’s straightforward once you know what you’re doing—and more importantly, what NOT to do. Whether you’re repurposing an old card, fixing corruption issues, or prepping a new one for your phone, camera, or drone, this guide walks you through every method without the tech jargon.
A micro SD card is tiny but mighty. It stores your photos, videos, and files in devices from smartphones to gaming consoles. When you format a micro SD card, you’re essentially erasing everything and resetting it to a clean slate. But here’s the catch: do it wrong, and you could lose irreplaceable data or damage the card itself.
What Formatting Actually Means
Let’s be clear: formatting is NOT the same as deleting files. When you delete a photo from your phone, the data technically stays on the card—it’s just marked as “okay to overwrite.” Formatting, on the other hand, wipes the entire filing system and prepares the card to start fresh.
Think of your micro SD card like a library. Deleting a file is like removing one book from the shelf. Formatting is like clearing out the entire library, rearranging the shelves, and relabeling every section. The old books might still be in the building somewhere, but the organizational structure is completely gone.
There are different file systems your card can use—FAT32, exFAT, and NTFS are the most common. FAT32 works on almost everything (phones, cameras, older devices) but has a 4GB file size limit. exFAT is the modern sweet spot: compatible with most devices and no file size restrictions. NTFS is Windows-heavy and doesn’t play nice with phones or cameras.
Most micro SD cards come formatted as FAT32 straight from the factory. Unless you have a specific reason to change it (like working with massive video files), stick with what works.
Before You Start: The Critical Backup Step
This is non-negotiable. If there’s ANY data on that card you might need later—even photos you think are backed up elsewhere—copy everything to your computer first.
Here’s the safest approach:
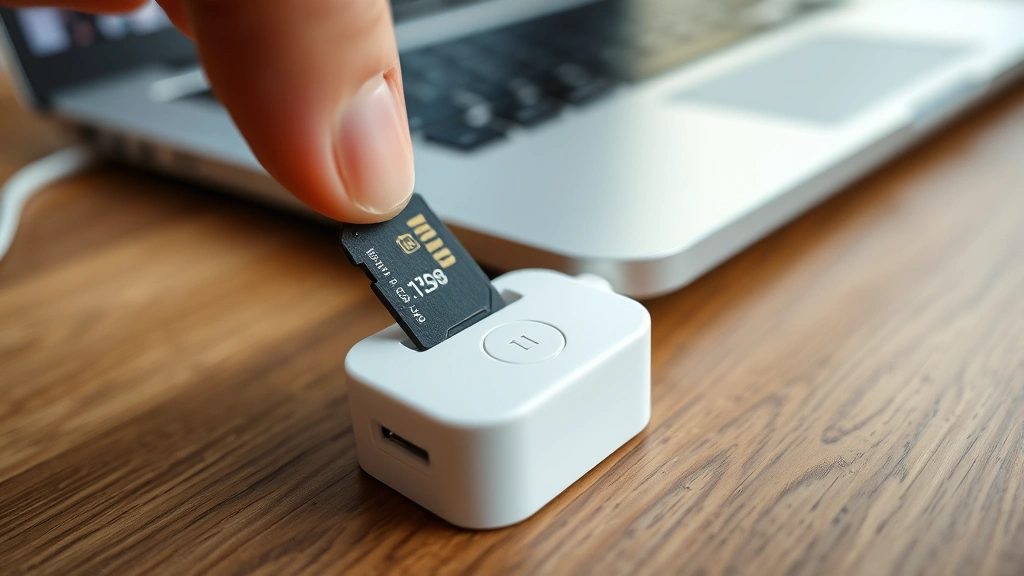
- Insert the micro SD card into a card reader (USB adapters are cheap and work great)
- Plug the reader into your computer
- Open File Explorer (Windows) or Finder (Mac)
- Select all files on the card (you can use multiple file selection on Mac or Ctrl+A on Windows)
- Copy everything to a folder on your hard drive
- Verify the files copied completely—check file counts and sizes
Don’t rush this step. I’ve seen people lose years of memories because they assumed “it’s just a backup card” and skipped this. Assume the data matters until proven otherwise.
Safety Warning: Once you format, recovery is possible but expensive and unreliable. Cloud services like Google Photos or iCloud might have your photos already, but don’t gamble on it. Back up first, format second.
How to Format a Micro SD Card on Windows
Windows makes this dead simple. Here’s the step-by-step:
- Insert the card: Use a USB card reader. Plug it in and wait for Windows to recognize it (usually 2-3 seconds).
- Open File Explorer: Press Windows key + E, or click the folder icon on your taskbar.
- Locate the card: You’ll see it listed under “Devices and drives.” It might say “Removable Disk” or show the card’s brand name.
- Right-click the card: A menu pops up. Look for “Format.”
- Set your preferences: A dialog box appears. Here’s what each field means:
- Volume label: Name your card whatever you want (e.g., “Backup,” “Camera,” “Phone”). This is just for organization.
- File system: Choose FAT32 unless you’re storing files larger than 4GB. Most people should stick with FAT32.
- Allocation unit size: Leave this on “Default.” Windows knows what it’s doing here.
- Quick Format: Check this box. It’s faster and works fine for most situations. Uncheck it only if the card is acting weird or corrupted.
- Click Start: Windows warns you that all data will be erased. Click OK if you’re sure.
- Wait: Quick format takes seconds. A full format (unchecked box) can take a few minutes.
- Eject safely: Right-click the card and select “Eject.” Wait for the “Safe to remove” message before unplugging.
That’s it. Your card is now formatted and ready to use.
Pro Tip: If you don’t see the card in File Explorer, try these fixes: (1) Reseat the card in the reader—sometimes contacts need a gentle reminder. (2) Try a different USB port on your computer. (3) Update your card reader drivers from the manufacturer’s website. (4) If the card still doesn’t show up, it might be write-protected—check for a tiny slider on the side of the reader.
How to Format a Micro SD Card on Mac
Mac users have a slightly different path, but it’s equally straightforward. Here’s how:
- Insert the card: Plug your USB card reader with the micro SD card into a Mac USB port.
- Open Disk Utility: Press Command + Space to open Spotlight, type “Disk Utility,” and hit Enter.
- Find your card: In the left sidebar, you’ll see your drives listed. The micro SD card usually shows up as “Untitled” or with a generic name. Click it once to select it.
- Click Erase: At the top of the window, you’ll see an “Erase” button. Click it.
- Configure settings: A dialog appears with these options:
- Name: Give your card a name (same as Windows’s “volume label”).
- Format: Choose “MS-DOS (FAT)” for FAT32 compatibility. If you need exFAT (for files over 4GB), select “ExFAT.” Avoid APFS—it’s Mac-specific and won’t work on phones or cameras.
- Scheme: Leave this as “Master Boot Record” unless you have a specific reason to change it.
- Click Erase: Mac asks for confirmation. Click again.
- Wait for completion: You’ll see a progress bar. Once it’s done, the card is formatted.
- Eject the card: Click the eject icon next to the card’s name in Disk Utility, or press Command + E.
Mac’s Disk Utility is more transparent than Windows’s formatter—you can see exactly what’s happening at each step.
How to Format a Micro SD Card on Android
If you want to format the card directly in your phone or tablet, Android makes it easy. This is especially useful if you’re recycling a card and want to do it all in one place.
- Insert the card: Power off your phone first. Open the SIM/SD card slot (usually on the side), insert the micro SD card, and power back on. Let the phone recognize it for a few seconds.
- Open Settings: Tap the Settings app (gear icon).
- Navigate to Storage: Look for “Storage” or “Device Storage.” On Samsung phones, it might be under “Device Care.” On Google Pixels, it’s under “Storage.”
- Find the SD card: You should see your micro SD card listed separately from internal storage. Tap it.
- Tap the menu (three dots): In the top-right corner, tap the three vertical dots to open options.
- Select Format: You’ll see “Format” or “Format as internal storage” (depending on your Android version). Tap it.
- Confirm the warning: Android warns you that all data will be erased. Read it, then confirm by tapping “Format SD Card” or “Erase and Format.”
- Wait for completion: This usually takes 30 seconds to 2 minutes. Your phone might restart.
One heads-up: some Android phones let you format the card as “internal storage,” which encrypts it and makes it usable only on that phone. If you want the card to work on multiple devices, choose “Format as portable storage” instead (if that option appears).
Pro Tip: Before formatting on Android, go to Settings > Storage and check the card’s capacity and used space. This gives you a final chance to back up anything important. Also, make sure your phone’s battery is above 50%—a format interrupted by a dead battery can corrupt the card.
How to Format a Micro SD Card in Your Camera
Many cameras and drones let you format cards directly in-device. This is actually the preferred method for cards you’ll use primarily in that camera—it ensures the card is formatted exactly how the device wants it.
For most digital cameras:
- Insert the micro SD card into the camera’s card slot.
- Power on the camera.
- Open the menu (usually a button labeled “Menu” or “MENU”).
- Look for “Format Card,” “Format Memory Card,” or “Setup.”
- Select it and confirm the warning.
- The camera handles the rest. Wait until the screen returns to normal.
For drones (DJI, etc.):
- Insert the card into the drone’s storage slot.
- Power on the drone and connect it to the DJI app (or your manufacturer’s app).
- Look for “Storage” or “SD Card” settings.
- Tap “Format.”
- Confirm and wait for completion.
Formatting in-device is smart because the camera optimizes the card for its specific needs. If you’re having performance issues (slow write speeds, dropped frames during video), formatting in-device often fixes it.
Troubleshooting Common Issues
The card won’t show up in File Explorer or Finder
This is frustrating, but usually fixable. First, try a different USB port on your computer—sometimes ports go bad. If that doesn’t work, try a different card reader. Card readers are cheap ($5-10) and sometimes fail. If you have access to another computer, try that too. If the card shows up on a different computer, your original computer’s USB ports might be the issue.
Windows says “The disk is write-protected”
Micro SD cards sometimes have a physical write-protect switch on the side of the card reader (not the card itself). Look for a tiny slider on the reader. If it’s in the “lock” position, slide it to “unlock.” If there’s no slider, try a different reader—yours might be defective.
The format starts but gets stuck at 99%
This is a sign the card might be corrupted. Try a full format instead of a quick format. On Windows, uncheck “Quick Format” before formatting. On Mac, try using Terminal for a more thorough format:
- Open Terminal (Command + Space, type “Terminal”)
- Type:
diskutil list(this shows all connected drives) - Find your SD card (usually labeled “disk2” or similar)
- Type:
diskutil secureErase freespace 0 /Volumes/YourCardName - Replace “YourCardName” with your card’s actual name
- Wait for completion
If the card still won’t format after a full format attempt, it might be failing hardware. Some cards have a limited lifespan, especially cheap ones. If you’ve had the card for 5+ years, it’s probably time for a replacement anyway.
The card formats but loses capacity afterward
Example: your 64GB card now shows only 32GB usable space. This usually means the card is partitioned—it has multiple sections. To fix this, format it again using your computer’s formatter (not the device’s), and make sure to format the entire card, not just one partition. On Windows, right-click the card and format the main drive letter. On Mac, make sure you’re erasing the card itself, not a partition.
The card works fine but is slow
If your card is slow during file transfers or video recording, try reformatting it. Over time, cards can develop fragmentation (scattered data) that slows them down. A fresh format clears this up. Also check the card’s speed rating—if it’s an old card with Class 4 or Class 6 speed, newer devices might outpace it. For 4K video, you want at least Class 10 or V30 rated cards. Check B&H Photo or Amazon for current recommendations.
Pro Tip: If you’re buying a new micro SD card, stick with reputable brands: SanDisk, Kingston, Samsung, or Crucial. Cheap knock-offs from unknown sellers often fail quickly or have inflated capacity claims (a card labeled 256GB might actually be 32GB).
Frequently Asked Questions
Can I recover data after formatting a micro SD card?
– Technically yes, but it’s complicated and expensive. Data recovery services charge $300-$1000+ and success isn’t guaranteed. Quick formats are easier to recover from than full formats because the data isn’t overwritten—just the file system index. However, once you start writing new files to the card, recovery becomes much harder. If you accidentally formatted a card with important data, stop using it immediately and contact a professional data recovery service. For everyone else: back up first, format second, and you’ll never need recovery.
What’s the difference between quick format and full format?
– A quick format erases the file system index (the “table of contents” telling your device where files are) but leaves the actual data intact. A full format overwrites all data with zeros, making recovery nearly impossible. Quick format is fine for most situations and takes seconds. Full format is for security (if you’re selling or recycling the card) or troubleshooting corrupted cards. It takes several minutes.
Do I need to format a brand-new micro SD card?
– Nope. New cards come pre-formatted and ready to use. However, some users format them anyway to ensure compatibility with their specific device. It doesn’t hurt, but it’s not necessary unless you’re having compatibility issues.
Is exFAT better than FAT32?
– For most people, FAT32 is fine and has better compatibility with older devices. exFAT is better if you’re storing files larger than 4GB (like 4K video files). Modern phones and cameras support both, so check your device’s manual to see which it prefers. When in doubt, FAT32 is the safe choice.
Can I format a micro SD card on my phone without a computer?
– Yes, absolutely. Android phones can format cards directly through Settings > Storage. iPhones don’t have this built-in feature, but some third-party apps can do it (though they’re less reliable). For iPhones, use a computer or a card reader instead.
What if my card is write-protected and I can’t unlock it?
– Check the card reader for a physical slider switch—that’s the most common cause. If there’s no slider, try a different reader. If the card itself has a lock switch (rare on micro SD cards), make sure it’s in the unlocked position. If none of that works, the reader might be defective. Replacement readers are cheap, so don’t waste time troubleshooting an old one.
How often should I format my micro SD card?
– There’s no set schedule. Format when you’re recycling the card, moving it between devices, troubleshooting issues, or preparing it for a new purpose. If a card is working fine, there’s no reason to format it. Formatting is a means to an end, not maintenance.
Will formatting a micro SD card damage it?
– No. Formatting is a safe, standard operation. You can format a card hundreds of times without harm. The only risk is data loss if you haven’t backed up first—but the card itself is fine.
What file system should I use for a camera card?
– FAT32 is the standard for cameras. Most cameras expect it and work best with it. Some newer cameras support exFAT, but check your manual. When in doubt, format the card IN the camera itself—it’ll use whatever format the camera wants.
Can I format a micro SD card on a Mac and use it on Windows?
– Yes, if you format it as FAT32 or exFAT. Both are cross-platform. If you format it as APFS (Mac’s native format), Windows won’t recognize it. Stick with FAT32 or exFAT for universal compatibility.
My card shows 0GB capacity after formatting. What happened?
– This usually means the card is corrupted or the formatting process failed. Try formatting again, this time using a full format instead of quick format. If that doesn’t work, try a different computer or card reader. If the problem persists, the card might be dead—it happens, especially with cheap or old cards.
Formatting a micro SD card is straightforward once you understand what’s happening under the hood. The key is backing up your data first, choosing the right file system for your device, and following the steps for your specific platform. Whether you’re using Windows, Mac, Android, or a camera, the process is quick and safe—as long as you’ve got your data protected beforehand. Now you’re ready to format with confidence.


