
Building your own table from scratch sounds intimidating if you’ve never done it. But here’s the truth: how to build a table is one of the most rewarding woodworking projects you can tackle, and you don’t need a fancy workshop or years of experience to pull it off. Whether you’re making a simple dining table, a sturdy workbench, or a sleek coffee table, the fundamentals are the same. This guide walks you through everything—from picking your wood to driving the final screw—in plain language that actually makes sense.
The biggest mistake people make? They overthink it. You don’t need perfect joints or museum-quality finishes to end up with a table that looks great and lasts decades. What you do need is a solid plan, the right tools, and the willingness to measure twice and cut once.
Choosing Your Wood
This is where most people get lost. Walk into a lumber yard and you’ll see pine, oak, maple, walnut, and a dozen others. Here’s what actually matters: hardness, grain pattern, and cost.
Softwoods vs. Hardwoods: Pine and fir are softwoods—cheap, easy to work with, but they dent and scratch easier. Hardwoods like oak, maple, and walnut are tougher and look better, but they cost more and are harder to cut. For a first table, pine or poplar is honest. You’ll spend less money and still end up with something solid.
Think of wood selection like choosing a car—you can buy used and reliable, or new and fancy. Both get you where you need to go. The difference is in the journey and the long-term durability.
One practical tip: buy lumber that’s already been surfaced and planed. Yes, it costs more than rough lumber, but you won’t need a planer or jointer. Most home centers sell S4S lumber (surfaced four sides), which is ready to use straight from the rack. Check the wood for warping by laying it flat and looking down its length. Twisted, cupped, or bowed wood will cause headaches later.
Lumber thickness matters too. For a tabletop, you want at least 3/4 inch thick material. Thinner wood feels flimsy and will flex under weight. Thicker wood (1.5 inches) feels premium but adds cost and weight.
Tools and Materials You’ll Actually Need
Here’s the good news: you don’t need a $10,000 tool collection to build a table. You need about a dozen basic tools and access to a few power tools.
Essential Hand Tools:
- Tape measure (25-foot minimum)
- Carpenter’s square and speed square
- Pencil (a sharp one, not a dull stub)
- Hammer and rubber mallet
- Screwdrivers (Phillips and flathead)
- Adjustable wrench
- Clamps—you can never have too many
- Chisel set (for mortises and cleanup)
- Handsaw or coping saw
- Sandpaper (80, 120, and 220 grit)
Power Tools (minimum):
- Circular saw or miter saw (for crosscutting)
- Drill-driver (for holes and screws)
- Random orbital sander (optional but saves your arms)
A table saw is nice but not required. Many woodworkers rent them for the day if they need rips. Same with a planer—rent if you’re buying rough lumber.
For materials, grab:
- Wood screws (2.5-inch for frame assembly)
- Wood glue (the yellow stuff, not white)
- Sandpaper assortment
- Stain or paint (if you want color)
- Polyurethane or oil finish
- Shims and shim stock
- Pocket hole jig (optional but makes assembly easier)
Pro Tip: Invest in good clamps early. A $15 bar clamp will save you hours of frustration. You’ll use them on every project after this.
Design and Planning Your Table
Before you cut a single board, you need a plan. Not a fancy CAD drawing—just a sketch with measurements.
Standard Table Dimensions:
- Dining table height: 30-31 inches
- Coffee table height: 16-18 inches
- Desk height: 28-30 inches
- Work table height: 36-40 inches
These aren’t laws—they’re guidelines based on what feels comfortable. If you’re short, you might want a 28-inch dining table. If you’re tall, 32 inches might feel better. Test it by sitting at a regular table and measuring from the floor to the top of your thighs. That’s your magic number.
Sketch your design on paper. Include:
- Overall length, width, and height
- Leg thickness and spacing
- Apron (the frame pieces connecting the legs)
- Any shelves or drawers
- Where you’ll join pieces together
A simple rectangular table is your best bet for a first build. Four legs, four apron pieces, one tabletop. That’s it. Once you master that, you can get fancy with curves, tapers, or decorative details.
According to Family Handyman’s guide to building a dining table, proper spacing between legs prevents wobble and improves appearance. A good rule: keep legs 12-18 inches from the corners of the table. Too close and it looks cramped; too far and the table feels unstable.
Building the Base and Frame

The base is the skeleton. Get this right and everything else falls into place.
Step-by-step:
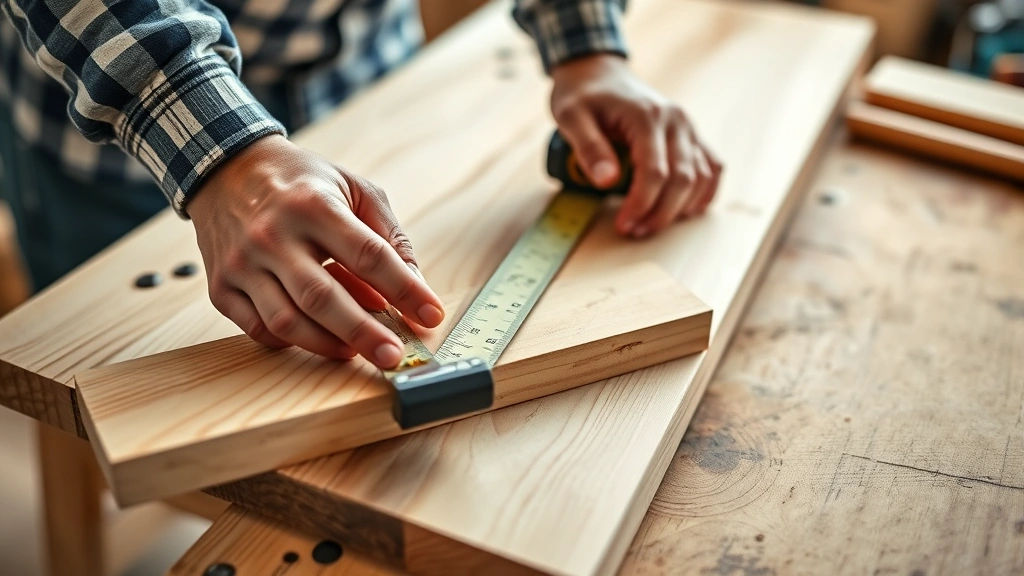
- Cut your leg stock to length. If you’re making a 30-inch table, cut legs to 29.5 inches (you’ll add the tabletop thickness later). Use a miter saw or circular saw with a guide. Mark a line, double-check it, then cut. Cut all four legs at once if possible—they’ll be identical.
- Cut your apron pieces. These are the horizontal boards that connect the legs. Measure the distance between the inside faces of the legs. If your table is 36 inches wide and your legs are 1.5 inches thick, your apron pieces are about 33 inches long. Cut four pieces—two for length, two for width.
- Dry fit everything. Lay it out on the floor without glue. Check for square using a carpenter’s square at each corner. The diagonal measurements should be equal (measure corner to corner). If they’re not equal, your frame is racked (twisted). Adjust until it’s square.
- Assemble with pocket holes or traditional joinery. Pocket holes are faster and stronger than you’d think. Drill angled holes from the inside of the apron into the leg, then drive pocket hole screws. Traditional mortise-and-tenon is stronger but requires more skill. For a first table, pocket holes are honest and fast.
- Glue and clamp. Apply wood glue to all joints. Clamp everything together. Let it dry for at least 4 hours (overnight is better). The glue does most of the work; screws or nails are just insurance.
The frame should be rock-solid with no wobble. If it rocks, you’re not square. Unclamp, adjust, and try again. This step determines whether your table will be a heirloom or a wobbly mess.
Creating the Tabletop
The tabletop is the star of the show. It’s what people see and touch.
Solid Wood vs. Plywood: A solid wood top looks and feels better. You can edge-join boards to make a wider surface. Plywood is cheaper and more stable (it doesn’t expand and contract as much), but it looks more utilitarian unless you veneer it.
For solid wood, here’s the process:
- Select and arrange your boards. Pick boards with grain patterns that complement each other. Alternate the grain direction (one growth ring facing up, next one facing down) to minimize cupping over time.
- Joint the edges. The edges where boards meet need to be perfectly straight and square. A jointer does this in seconds. If you don’t have one, a hand plane works, or you can have the lumber yard do it for a few bucks.
- Glue and clamp the boards. Apply glue to the jointed edges. Clamp them together with bar clamps, alternating top and bottom to keep everything flat. Check that the surface is flat—sight down the length. Clamp diagonally if needed to correct any twist. Let it dry overnight.
- Sand the surface. Start with 80-grit to remove glue squeeze-out and any high spots. Progress to 120-grit, then 220-grit. Sand with the grain, not against it. The final surface should feel smooth as silk.
- Attach the top to the base. This is critical: don’t glue the top directly to the aprons. Wood expands and contracts with humidity. If you glue it, it will crack. Instead, use figure-eight fasteners, pocket holes with elongated holes, or wooden buttons that allow movement. Screw through the apron into the underside of the top, but leave room for the wood to move.
Safety Warning: When sanding, wear a dust mask or use a sander with dust collection. Sawdust in your lungs is not worth it. Take breaks and breathe fresh air.
Joinery Methods That Work
Joinery is how pieces connect. There are fancy ways and simple ways. For a first table, simple is smarter.
Pocket Holes: A pocket hole jig (like a Kreg Jig) drills angled holes from the inside of one board into the end of another. You then drive a pocket hole screw. It’s fast, strong, and hidden. Cost: $20-60 for a basic jig. Time: 2 minutes per joint. This is the modern woodworker’s secret weapon.
Mortise and Tenon: A mortise is a rectangular hole. A tenon is a rectangular projection. They lock together like a puzzle. It’s beautiful and strong, but it takes skill and patience. A beginner can do it, but expect to spend 30 minutes per joint learning the technique.
Dowels: Similar idea to mortise-and-tenon but easier. Drill holes in both pieces and glue wooden dowels in. It works, but it’s less strong than mortise-and-tenon and less convenient than pocket holes.
Butt Joints with Screws: Just screw one piece to another. It works fine for aprons and legs. Not fancy, but effective.
According to This Old House’s furniture guide, the strongest joints combine glue with mechanical fasteners. Glue alone is strong if done right, but glue plus screws or dowels is bulletproof.
Finishing and Protecting Your Table
Finishing is where people get intimidated. It’s actually simple: sand, stain (optional), seal.
Sanding: You already sanded the top. Now sand the base. Start with 120-grit, finish with 220-grit. Sand with the grain. Wipe away dust with a tack cloth (a sticky cloth that grabs sawdust).
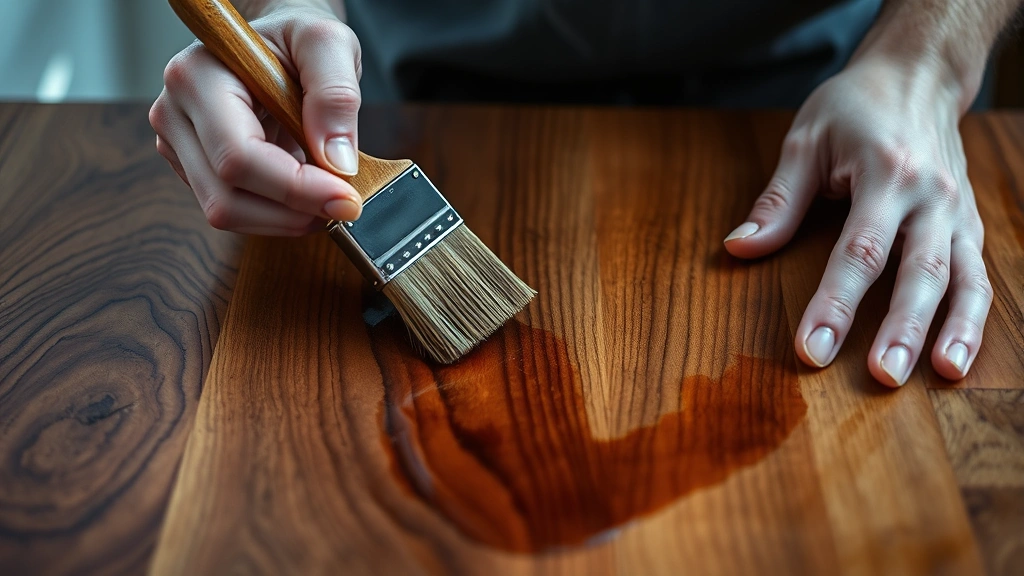
Stain (Optional): Stain darkens the wood and brings out the grain. It doesn’t protect anything—it’s purely cosmetic. Test it on scrap wood first. Wipe-on stain is easier than brush-on. Let it dry per the manufacturer’s instructions (usually 4-24 hours).
Topcoat (Essential): This is what protects your table from water, heat, and scratches. You have options:
- Polyurethane: Durable, clear, plastic-like finish. Oil-based is tough but takes forever to dry and smells bad. Water-based dries fast and smells fine but is less durable. Apply 3-4 thin coats, sanding lightly between coats.
- Oil Finish: Soaks into the wood, feels natural, easy to touch up, but requires maintenance (reapply every 6-12 months). Looks and feels the best. Tung oil or Danish oil are common.
- Lacquer: Fast-drying, beautiful, but requires spray equipment and ventilation. Not beginner-friendly.
- Wax: Old-school, beautiful, but offers minimal protection. Use only over oil.
For a first table, water-based polyurethane is the sweet spot. It’s forgiving, durable, and doesn’t require special ventilation.
Application:
- Thin the first coat slightly with water (about 10%) so it soaks in and seals the grain.
- Apply with a foam brush or quality bristle brush, following the grain.
- Let it dry completely (check the can—usually 2-4 hours).
- Sand lightly with 220-grit sandpaper to knock down any roughness.
- Apply a second coat without thinning. Let it dry.
- Sand again.
- Apply a third coat. This is your final coat, so be careful and brush out any drips.
The result: a table that shrugs off water rings, handles hot plates (use a trivet anyway), and resists everyday wear. Will it get scratched? Yes. That’s character, not failure.
According to Bob Vila’s wood staining guide, the key to a professional-looking finish is patience between coats and proper surface prep. Rushing leads to drips, dust nibs, and disappointment.
Frequently Asked Questions
How long does it take to build a table from scratch?
– A simple dining table takes 20-40 hours spread over 2-3 weeks (accounting for drying time). If you’re working weekends, that’s about a month. The actual hands-on work is maybe 15-20 hours. The rest is waiting for glue and finish to dry. Don’t rush the drying time—it’s when the wood bonds and hardens.
What’s the cheapest way to build a table?
– Use pine or poplar, keep the design simple (no fancy joinery), and skip the stain (natural wood looks great). A basic 4×2 foot table costs $80-120 in materials. If you already own basic tools, that’s your only cost. If you need to buy tools, budget $200-300 for a decent starter set.
Can I build a table without power tools?
– Yes, but it’s slower. A handsaw takes 10 times longer than a circular saw. A hand plane instead of a sander is brutal. A hand drill instead of a power drill will exhaust you. If you’re serious about woodworking, invest in at least a circular saw and a drill. Rent them if you need to ($20-30 for a day). Your sanity is worth it.
How do I prevent my table from warping?
– Use kiln-dried lumber (not green or air-dried). Acclimate the wood to your shop for a week before building (let it adjust to humidity). Don’t glue the tabletop directly to the base—use fasteners that allow movement. Sand properly to expose the grain evenly. Finish all surfaces (including the underside of the top) so humidity affects all sides equally. Store in a climate-controlled space, not a garage or basement that gets damp.
What if I mess up a joint or cut?
– Welcome to woodworking. Everyone messes up. If it’s a visible mistake, you have options: hide it with stain, fill it with wood filler, or cut out the damaged section and splice in a new piece (this is called a dutchman repair). If it’s structural, rebuild that section. The good news: wood is forgiving. Most mistakes are fixable.
Do I need to finish the bottom of my table?
– Not with the same number of coats as the top, but yes, seal it. At minimum, apply one coat of polyurethane or oil to the underside and legs. This prevents moisture from being absorbed unevenly, which causes warping. The bottom doesn’t need to be pretty, just sealed.
How do I attach the legs to the aprons?
– Pocket holes are the easiest method. Mortise-and-tenon is the strongest. Dowels are a middle ground. For a first table, pocket holes take 5 minutes to learn and 2 minutes per joint. Mortise-and-tenon takes weeks to master but is beautiful and timeless. Pick based on your patience level and aesthetic preference.
What thickness wood should I use for a tabletop?
– 3/4 inch is the minimum for a solid wood top. It feels substantial and resists flex. 1 inch is better. 1.5 inches feels premium but adds weight and cost. For plywood, use 3/4 inch with a solid wood edge band to hide the plies. Thinner than 3/4 inch and your table will feel cheap and bounce when you press on it.


