
Steam’s built-in recording feature is handy if you want to capture gameplay moments, but here’s the thing—if you’re not using it, it’s just eating up your hard drive space and potentially slowing down your system. Whether you’re worried about privacy, need to free up storage, or just don’t want the feature running in the background, turning off Steam recording is straightforward once you know where to look. In this guide, we’ll walk you through exactly how to disable Steam recording on your PC, what settings control it, and why you might want to turn it off in the first place.
Why Disable Steam Recording?
Before we jump into the how-to, let’s talk about why you’d want to turn off Steam recording in the first place. Steam’s recording feature captures your last 15 minutes of gameplay by default—which sounds great until you realize it’s constantly running in the background.
Storage drain is real. Every gaming session creates video files. Even at lower quality settings, these add up fast. If you’ve got a 256GB SSD (which a lot of gamers do), Steam recordings can eat up 10-20% of your drive without you even thinking about it.
Performance impact. While modern systems handle it reasonably well, recording does use CPU and GPU resources. If you’re already pushing your system during competitive games or high-fidelity titles, disabling this feature can squeeze out a few extra frames per second.
Privacy concerns. Some users simply don’t like the idea of automatic recording happening on their machine. It’s your system—you should control what runs on it.
You might already have better tools. If you’re using OBS Studio, GeForce Experience, or another dedicated recording software, Steam’s built-in recorder is redundant. Why run two recording engines when you only need one?
Quick Answer: The Fastest Way to Turn Off Steam Recording
If you just want the quick version: Open Steam → Settings → In-Game → uncheck “Enable Steam Recording” → Done. Takes about 30 seconds.
But stick around if you want to understand all the options and what each setting actually does. There’s more nuance here than just flipping one switch.
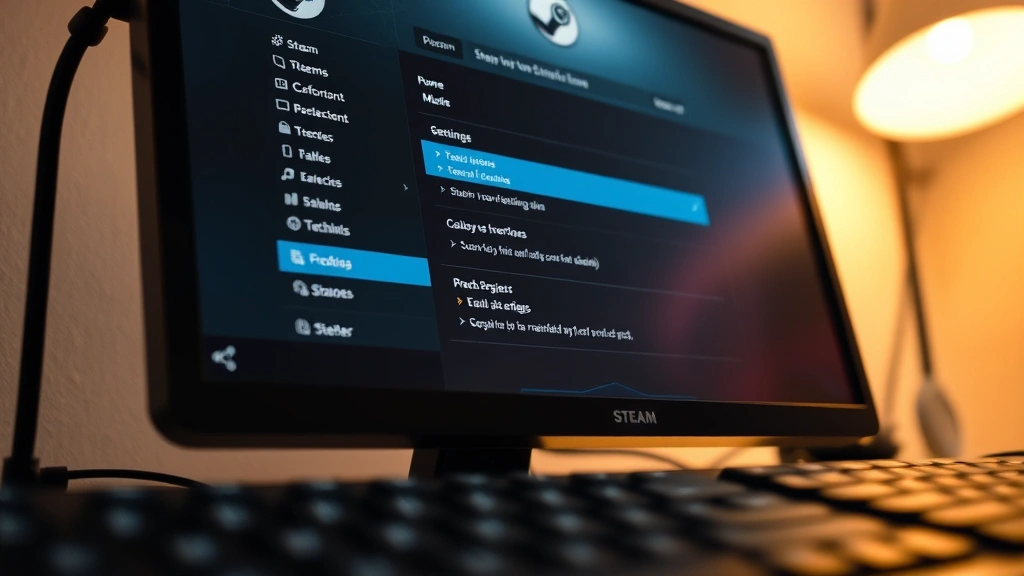
How to Access Steam Recording Settings
The path to Steam’s recording controls is consistent whether you’re on Windows or Mac. Here’s exactly where to go:
- Launch Steam on your computer. Make sure you’re logged in.
- Click “Steam” in the top-left menu bar (on Windows) or in the menu at the top (on Mac).
- Select “Settings” from the dropdown menu.
- In the Settings window, click “In-Game” on the left sidebar. This is where all the recording and screenshot options live.
You’ll now see a section labeled “Steam Recording” with several toggles and options. This is the nerve center for controlling how Steam captures your gameplay.
Pro Tip: If you can’t find the Settings option, try right-clicking the Steam icon in your system tray (Windows) or menu bar (Mac) and looking for Preferences. It’s the same settings window, just a different entry point.
Step-by-Step: Disable Steam Recording
Now let’s walk through the actual process of turning off Steam recording. There are a few different options here, and understanding each one helps you make the right choice for your situation.
Method 1: Completely Disable Steam Recording
This is the nuclear option—it turns off the feature entirely.
- Open Steam Settings and navigate to In-Game.
- Look for the checkbox that says “Enable Steam Recording”.
- Uncheck this box. You’ll see it’s currently toggled on (it’ll have a checkmark).
- Click “OK” at the bottom of the Settings window to save your changes.
- Steam will immediately stop recording new gameplay. Any existing clips remain on your drive until you manually delete them (more on that in the next section).
That’s it. Steam recording is now completely disabled. No background recording, no clips saved, nothing. Your system resources are freed up, and your storage isn’t being consumed by automatic video files.
Method 2: Adjust Recording Settings Without Fully Disabling
Maybe you don’t want to disable recording entirely—you just want to reduce how much space it takes up or limit when it’s active. Here are the settings you can tweak:
- “Maximum Recording Length” — By default, Steam keeps your last 15 minutes. You can reduce this to 5 or 10 minutes to save space. Shorter clips = smaller files.
- “Maximum Total Disk Space for Recordings” — Set a hard cap on how much storage Steam can use for clips. Once it hits this limit, older recordings auto-delete. This prevents runaway storage issues.
- “Automatically delete old recordings” — If enabled, Steam will automatically purge old clips once you hit your storage limit. Set it and forget it.
Think of these settings like setting a budget for your recordings. You’re saying, “Steam, you can record, but only up to this point, and then clean up after yourself.”
Managing Existing Clips and Storage
Here’s something people often miss: disabling Steam recording doesn’t automatically delete your existing clips. If you’ve been using the feature for a while, you probably have gigabytes of video files sitting on your drive right now.
Where Steam Stores Recording Files
Steam recordings are stored in your Steam directory, usually at one of these locations:
- Windows:
C:\Program Files (x86)\Steam\userdata\[your user ID]\760\video - Mac:
~/Library/Application Support/Steam/userdata/[your user ID]/760/video
If you have multiple hard drives or custom Steam library locations, the path might be different. The easiest way to find your recordings is to open Steam, go to your account menu, and look for “Manage Video Clips” or “View Recordings.”
How to Delete Existing Recordings
You’ve got two options: manual deletion or bulk cleanup.
Option A: Delete Through Steam
- Open Steam and click on your account name (top-right).
- Select “View My Profile”.
- Look for “Video Clips” or “Recorded Games” in your profile tabs.
- Find the clips you want to delete, right-click them, and select “Delete”.
Option B: Manual Deletion (Faster for Large Quantities)
- Navigate to the video folder location listed above using File Explorer (Windows) or Finder (Mac).
- Select all the video files (usually .mp4 format).
- Delete them. You can move them to Recycle Bin/Trash first if you’re nervous, but once Steam stops recording, these files are just taking up space.
Deleting a few gigabytes of old recordings can free up surprising amounts of storage. We’ve seen users recover 20-50GB+ of space just by cleaning out old clips.
Safety Warning: Before you delete anything, make sure you’re not deleting clips you actually want to keep. If there’s a gaming moment you’re proud of, export it to another location first. Once you delete it from the Steam video folder, it’s gone.
Troubleshooting Common Issues
Steam Recording Won’t Turn Off
If you uncheck “Enable Steam Recording” but it keeps re-enabling, try this:
- Restart Steam completely. Close it entirely (right-click the system tray icon and select “Quit Steam”), wait 10 seconds, then reopen it.
- Run Steam as Administrator (Windows). Right-click the Steam shortcut, select “Run as Administrator,” then try disabling recording again.
- Verify your user account permissions. Make sure your Windows/Mac user account has write permissions to the Steam directory. If you’re on a managed work computer, your IT department might be restricting this.
Can’t Find the In-Game Settings Tab
This usually means your Steam client is outdated. Update Steam by clicking the Steam menu → “Check for Steam Client Updates.” Restart Steam after updating, and the In-Game tab should appear.
Recordings Keep Reappearing After Deletion
If you delete clips but they keep showing up, Steam might be syncing them from the cloud. Check your Steam Cloud settings (Settings → Cloud) and make sure cloud synchronization for game recordings is disabled if you don’t want them backed up.
Alternative Recording Solutions
Once you’ve disabled Steam recording, you might be wondering what to use instead if you ever want to capture gameplay. Here are the industry-standard alternatives that most serious gamers use:
NVIDIA GeForce Experience — If you have an NVIDIA graphics card, GeForce Experience is built-in and handles recording beautifully. It’s less resource-intensive than Steam recording because it uses your GPU’s dedicated encoding hardware. Learn more about GeForce Experience here.
AMD Radeon ReLive — AMD’s equivalent to GeForce Experience. Same concept: GPU-accelerated recording that doesn’t bog down your system.
OBS Studio — The gold standard for content creators. OBS is free, open-source, and incredibly powerful. It gives you granular control over bitrate, resolution, audio sources, and more. Steeper learning curve, but worth it if you’re serious about recording.
Elgato Game Capture — If you’re using Elgato hardware (which a lot of streamers do), their capture software is excellent. Integrates seamlessly with their gear.
Windows 10/11 Game Bar — Built into Windows. Press Win + G to open it. It’s basic but functional for casual recording. Microsoft’s official Game Bar documentation explains all the features.
The key advantage of these alternatives over Steam recording: you control when recording happens. You’re not running a constant background process. You hit Record when you want to capture something, and Stop when you’re done. Much more efficient.
Frequently Asked Questions
Will disabling Steam recording delete my existing clips?
– No. Turning off the feature stops future recordings but leaves existing clips alone. You’ll need to manually delete them if you want to free up that storage space. See the “Managing Existing Clips” section above for instructions.
Can I re-enable Steam recording later if I change my mind?
– Absolutely. Just go back to Settings → In-Game and check the “Enable Steam Recording” box again. It’ll start recording your next gaming session. No harm in toggling it on and off as needed.
Does disabling Steam recording affect my ability to take screenshots?
– No. Screenshots and video recording are separate features in Steam. Disabling recording won’t touch your screenshot functionality. You can still capture images with F12 (the default Steam screenshot key).
How much storage does Steam recording actually use?
– It depends on your settings and how much you game. At default quality (15-minute buffer), expect roughly 500MB to 2GB per hour of gameplay, depending on game resolution and frame rate. Competitive shooters at 1440p can eat more space than indie pixel games.
Will turning off Steam recording improve my gaming performance?
– Potentially, yes—especially on lower-end systems. The performance gain is usually modest (1-5 FPS on average), but on a system that’s already pushed to its limits, every bit helps. High-end systems won’t notice much difference.
What if I only want to record certain games, not all of them?
– Steam doesn’t have a per-game recording toggle in the UI, unfortunately. Your best bet is to either disable Steam recording globally and use a dedicated tool like OBS for specific games, or just manage your disk space cap and auto-delete settings to keep things under control.
Can I move my Steam recordings to a different drive?
– Yes, but it requires some manual work. You’d need to move the video files from your Steam directory to another location, and Steam won’t automatically sync them anymore. It’s easier to just delete old clips and let new ones record to your primary drive, or use a dedicated recording tool that lets you choose the output location.
Is there a way to automatically upload recordings to cloud storage?
– Steam has built-in cloud sync for recordings (Settings → Cloud), but it’s limited. For serious backup or sharing, you’re better off using a dedicated recording tool that integrates with cloud services, or manually uploading clips you want to keep to Google Drive, OneDrive, or YouTube.

Why is Steam recording disabled by default on some systems?
– If you’re on a very low-spec system or an older version of Windows, Steam might disable recording automatically to preserve resources. You can try enabling it in Settings, but if your system struggles, it’s a sign you should stick with lighter alternatives.
Does disabling Steam recording help with privacy?
– Yes, in the sense that your gameplay won’t be automatically captured and stored locally. However, Steam still collects gameplay data and telemetry. If privacy is a major concern, that’s a separate conversation about your Steam account settings and data sharing preferences.


