
Disconnecting a car battery might seem straightforward—just yank off the cables, right? Wrong. Get it wrong, and you’re looking at fried electronics, blown fuses, or worse, a spark that could ignite hydrogen gas leaking from the battery itself. Knowing how to disconnect a car battery properly is one of those skills that separates the DIYer who avoids headaches from the one who creates them.
Whether you’re replacing the battery, doing electrical work, or just storing the vehicle for winter, this guide walks you through the exact steps, the tools you’ll need, and the mistakes that’ll cost you money. Let’s get into it.
Why You Need to Disconnect Your Car Battery
Before you touch anything, understand why this matters. Your car’s battery powers everything—the starter, the alternator, the computer modules that run your engine, brakes, and airbags. When you’re working on electrical systems, replacing the battery itself, or doing maintenance that requires cutting power, disconnecting the battery prevents accidental shorts that can fry expensive components.
Here’s the real talk: a single accidental spark near a car battery can ignite the hydrogen gas it naturally produces. That’s not hyperbole. That’s chemistry. It’s also why you don’t disconnect a battery while smoking or near an open flame. You’re also protecting your vehicle’s computer from power surges that can corrupt its memory or damage onboard modules costing thousands to replace.
Common reasons to disconnect include:
- Replacing the battery itself
- Working on the electrical system
- Installing new aftermarket components (stereos, alarms, etc.)
- Doing welding work on the vehicle frame
- Storing the car long-term to prevent parasitic drain
- Working on the starter or alternator
Think of the battery disconnect as a master power switch. Flip it off, and the whole system goes quiet. That’s your safety margin.
Tools and Safety Gear You’ll Need
You don’t need much, but what you do need matters. Grab these items before you start:
- Wrench set (usually 8mm, 10mm, or 13mm depending on your vehicle—check your manual)
- Socket set with ratchet (optional but faster)
- Safety glasses (non-negotiable)
- Work gloves (nitrile or leather)
- Battery terminal brush or wire brush (for cleaning corrosion)
- Flashlight or headlamp (you’ll be working in tight spaces)
- Baking soda and water (for neutralizing acid if you spill)
- Container or drain pan (just in case)
Safety Warning: Never work on a battery while the engine is running or the ignition is on. Some vehicles keep power flowing to certain circuits even with the key out. Turn everything off, wait five minutes for residual power to drain, then proceed.
Wear safety glasses the entire time. Battery acid corrodes skin and permanently damages eyes. Gloves protect against both acid and sharp terminal edges. If you’re working in a garage, crack a window or door—ventilation matters when dealing with battery gases.
Step-by-Step Instructions for Disconnecting
This is where precision matters. Follow these steps exactly.
- Park on level ground and turn off the engine. Let it sit for five minutes. This allows capacitors in the electrical system to discharge and reduces the risk of sparks.
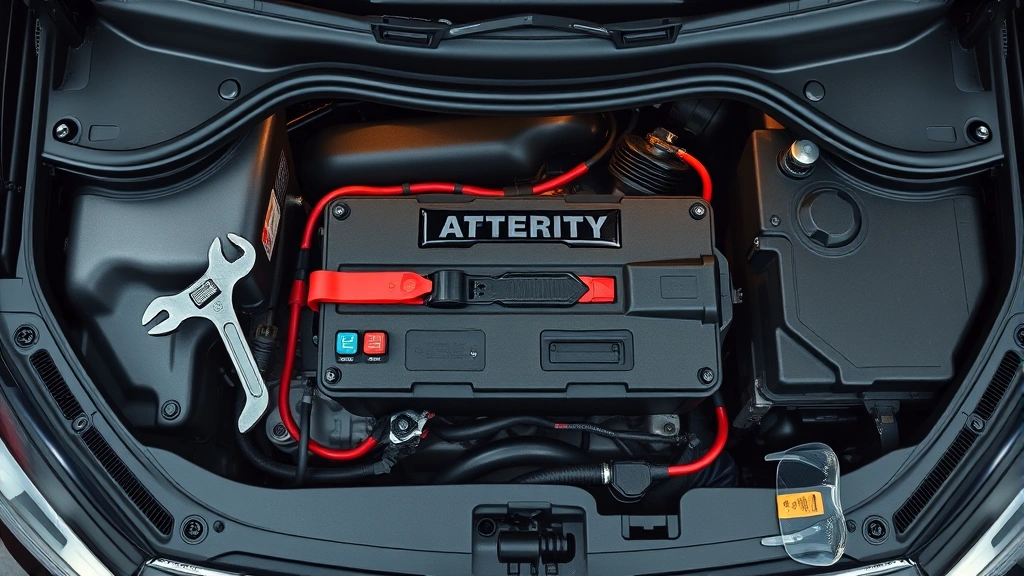
- Open the hood and locate the battery. It’s usually a rectangular black plastic box with two thick cables—one red, one black. The red is positive (+), the black is negative (−).
- Put on your safety glasses and gloves. Do this now, not after you’ve already started. You’re about to work with acid and electricity.
- Identify the negative terminal (black cable). This is the critical step. The negative terminal is always marked with a minus sign (−) and usually has a black plastic cover over the terminal post.
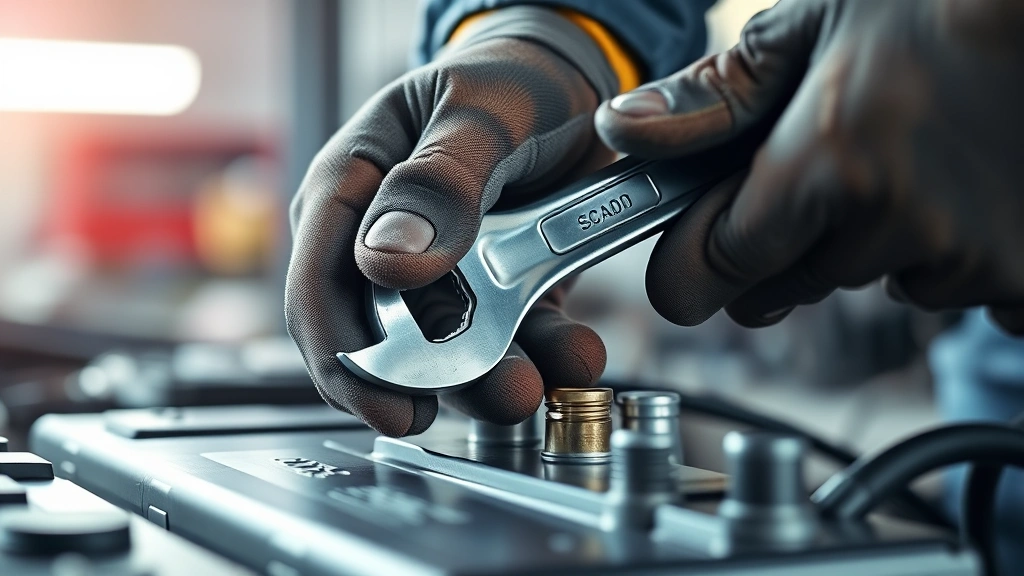
- Loosen the nut on the negative terminal using your wrench. Turn counterclockwise. You’re not removing the nut completely—just loosening it enough that you can wiggle the cable off. This typically takes three to five turns.
- Gently wiggle and pull the negative cable straight off the terminal post. Don’t yank it sideways. Straight off. If it’s stuck, you can gently tap the wrench against the cable lug (the connector part), but be patient. Forcing it can damage the terminal.
- Move the negative cable away from the battery. Tuck it to the side or secure it with a zip tie so it can’t accidentally touch the terminal again. This is important—if the negative cable touches the post while the positive is still connected, you’ve got a short.
- Now loosen and disconnect the positive terminal (red cable) using the same method. Once it’s off, move it away from the battery as well.
- Double-check both cables are disconnected and can’t touch the terminals. You’re done. The battery is now safely isolated from your vehicle’s electrical system.
Why Negative Terminal First Matters
This is the one rule that saves you. Always disconnect the negative terminal first, then the positive. Always reconnect the positive first, then the negative. This order is non-negotiable.
Here’s why: your car’s frame is grounded to the negative terminal. It’s basically the return path for all electrical current. If you disconnect the positive first and accidentally touch the positive cable to the frame while the negative is still connected, you create a direct short circuit. The current flows from the positive terminal, through your wrench or hand, through the frame, and back to the negative. That’s a spark, a burn, and possibly a fire.
Disconnecting negative first breaks that return path. Even if you accidentally touch the positive cable to the frame, there’s nowhere for the current to go. It’s like removing one side of a battery from a flashlight—it won’t light up because the circuit is broken.
According to Family Handyman’s battery guide, this is the industry standard for a reason. Thousands of DIYers have learned this lesson the hard way.
How to Reconnect Your Battery Safely
Once you’ve finished whatever work you needed to do, reconnecting follows the reverse order. This matters just as much as disconnecting.
- Inspect both terminals and cables for damage or corrosion. If you see white, blue, or green crusty buildup on the terminals, you might want to clean them before reconnecting. Check out our guide on how to clean battery corrosion for detailed steps.
- Position the positive (red) cable at the positive terminal. This is the opposite of disconnecting. The positive terminal is marked with a plus sign (+) and is usually connected to a red cable.
- Slide the cable connector onto the positive terminal post. Push it straight on until it’s fully seated. You should feel slight resistance.
- Tighten the nut on the positive terminal. Use your wrench to turn clockwise. Snug it up—not gorilla-tight, but firm enough that the cable doesn’t wiggle. You want good metal-to-metal contact for electrical flow.
- Now connect the negative (black) cable to the negative terminal. Same process: slide it on, tighten the nut.
- Give both cables a gentle tug to confirm they’re secure. They shouldn’t move or spin.
- Close the hood and test your vehicle. Start the engine and verify all your lights, gauges, and accessories work normally.
Pro Tip: If your vehicle has a backup battery or memory saver (a small device that keeps power flowing to the computer while the main battery is disconnected), use it during longer electrical work. This prevents you from losing radio presets, clock settings, and seat position memory. Some newer vehicles are sensitive to power loss and may need to relearn settings after a full disconnect.
Common Mistakes That’ll Ruin Your Day
I’ve seen these happen more times than I’d like to admit. Learn from others’ mistakes so you don’t repeat them.
Mistake #1: Disconnecting positive first. This is the big one. You create a short circuit, blow fuses, or cause sparks. Don’t do it. Negative first, always.
Mistake #2: Using the wrong size wrench. A wrench that’s too big or too small will slip off the nut, strip it, or damage the terminal. Check your vehicle’s manual or test-fit before you start working. A stripped nut means the terminal post is compromised and might need replacement.
Mistake #3: Leaving the negative cable touching the terminal. You disconnect it, then set it down right next to the post. While you’re working, it shifts and touches the terminal again. That completes the circuit. Secure it with a zip tie or tuck it firmly to the side.
Mistake #4: Working with the ignition on or the engine running. Modern vehicles keep power flowing through certain circuits even with the key out. Turn everything off. Wait five minutes. Then work.
Mistake #5: Forcing stuck cables. If a cable won’t come off, you might have corrosion or a tight connection. Gently tap the cable lug with a wrench to break the corrosion bond. Don’t yank sideways—that bends the terminal post and ruins it.
Mistake #6: Not wearing safety gear. One splash of battery acid in your eye, and you’re in an emergency room. Wear glasses. Wear gloves. It takes thirty seconds and prevents permanent damage.
Dealing with Corroded Battery Terminals
If you open your hood and see white, blue, or green crusty stuff on the terminals, that’s corrosion. It’s a buildup of lead sulfate and other compounds that reduce electrical contact. Corroded terminals make it harder to disconnect and reconnect cables, and they reduce charging efficiency.
Before you disconnect, you might want to clean the terminals first. Here’s the quick version:
- Mix baking soda and water into a paste (roughly 3 parts soda, 1 part water).
- Use an old toothbrush to scrub the paste onto the corroded terminal and cable lug.
- Let it sit for five minutes.
- Scrub again with the brush.
- Rinse with clean water.
- Dry with a clean cloth.
- Repeat if needed until the metal is shiny.
Once the terminals are clean, disconnecting and reconnecting is much easier. For a comprehensive walkthrough, see our detailed guide on how to clean battery corrosion.
If corrosion keeps coming back within a few months, you might have a charging system issue or a slow parasitic drain. Consider having a mechanic test your alternator and battery health.
Frequently Asked Questions
What happens if I disconnect both cables at the same time?
– Technically, you can disconnect both simultaneously without creating a short circuit. However, it’s safer and more professional to follow the negative-first rule. It’s a habit that protects you even if you’re working in dim light or get distracted. The order takes five extra seconds and eliminates any risk.
Do I need to disconnect the battery before replacing it?
– Yes, absolutely. Always disconnect both terminals before removing the old battery. This prevents accidental shorts and protects your vehicle’s computer. Once the old battery is out and the terminals are clean, install the new battery and reconnect in reverse order (positive first, then negative).
How long can a car sit without a battery?
– Indefinitely, as long as the battery is disconnected. A fully disconnected battery won’t drain. However, other components (security systems, clocks, radios) won’t function. If you’re storing a car long-term, a disconnected battery prevents parasitic drain that would otherwise slowly kill it over weeks or months.
Will disconnecting the battery erase my radio presets?
– Yes, on older vehicles. Modern cars often have backup power to memory circuits, but it’s not guaranteed. If losing settings is a problem, use a battery memory saver—a small device that plugs into the 12V outlet and keeps power flowing to your computer during the disconnect. They cost $20-50 and are worth it if you’re doing extended electrical work.
What should I do if I accidentally touched both terminals with a wrench?
– If the negative is disconnected, nothing happens. If both are still connected, you’ve created a short circuit. You’ll see sparks and hear a loud pop. Turn off the ignition immediately, remove the wrench, and check for damage. Blow fuses might have saved your computer. Inspect the wrench for pitting or damage. Don’t try this again—it damages your vehicle’s electrical system.
Can I disconnect the battery while the car is parked in the sun?
– Yes, but work quickly. A hot battery produces more hydrogen gas, which is flammable. If you must work in heat, take your time, avoid creating sparks, and ensure good ventilation. Parking in the shade is better, but not critical for a quick disconnect.
Do I need to disconnect the battery for an oil change?
– No. An oil change doesn’t involve electrical work, so there’s no reason to disconnect. You only disconnect when working on electrical systems, the battery itself, or components connected to the battery (alternator, starter, etc.).
What’s the difference between disconnecting and removing a battery?
– Disconnecting means unbolting the cables from the terminals and leaving the battery in place. Removing means disconnecting the cables, then physically taking the battery out of the vehicle. Both start with the same disconnection process. If you’re removing it entirely, you’ll also unbolt the battery hold-down bracket and lift the battery out (watch the weight—car batteries are heavy, usually 30-50 pounds).
Can I reconnect the battery myself, or do I need a mechanic?
– You can absolutely reconnect it yourself. It’s the same process in reverse. Just remember: positive first, then negative. If you’re unsure about anything, watch a video or consult your vehicle’s manual. Most reconnects take five minutes.

What if my battery is leaking?
– If you see liquid leaking from the battery case, that’s battery acid. Do not touch it. Wear heavy gloves and safety glasses if you must handle it. Clean any spills with baking soda and water. A leaking battery is damaged and should be replaced immediately. Don’t try to disconnect and reconnect a leaking battery unless absolutely necessary—the acid is corrosive and dangerous.
Final Thoughts: Disconnecting a car battery is straightforward once you know the rules. Negative terminal first, positive second. Reconnect in reverse. Wear safety gear. Take your time. There’s no prize for speed here, and rushing is how accidents happen. Whether you’re a first-timer or you’ve done this a hundred times, treating every battery disconnect with respect keeps you safe and your vehicle’s electronics intact.


