
Windows Defender is Microsoft’s built-in antivirus, and honestly, it’s gotten pretty solid over the years. But there are legitimate reasons you might need to disable Windows Defender—maybe you’re running resource-heavy software, testing security tools, or you’ve got a third-party antivirus that conflicts with it. The catch? You can’t just flip a switch and walk away. Disabling it wrong leaves your system vulnerable or causes it to re-enable itself automatically. This guide walks you through exactly how to disable Windows Defender safely, what happens when you do, and when you absolutely shouldn’t.
Why You Might Want to Disable Windows Defender
Let’s be real: Windows Defender isn’t the enemy. It’s actually one of the better built-in antivirus solutions out there. According to AV-TEST, it catches most known threats. So why would anyone want to disable it?
- Running another antivirus: Two antivirus programs fighting each other is like having two security guards trying to frisk the same person. They slow everything down and cause conflicts.
- Resource-heavy workflows: Video editing, 3D rendering, or running virtual machines can get choked by real-time scanning. Disabling Defender temporarily frees up CPU and RAM.
- Testing security software: If you’re a developer or security researcher, you need a clean slate to test new tools.
- Legacy software compatibility: Some older programs don’t play nice with Windows Defender’s sandboxing features.
- Performance bottlenecks: On older machines with limited specs, the constant background scanning can feel like molasses.
Pro Tip: Before you disable Windows Defender, ask yourself: “Am I replacing it with something else?” If the answer is no, you’re better off leaving it on. It’s free, it works, and it doesn’t nag you.
Before You Disable: Critical Prep Steps
This is non-negotiable. Skipping these steps is like removing your seatbelt before the car stops.
- Back up your system: Use Windows Backup or a third-party tool like Macrium Reflect to create a system image. If something goes wrong, you can restore.
- Have your replacement antivirus ready: If you’re disabling Defender to install another antivirus, have it downloaded and verified before you turn Defender off. Don’t leave your system unprotected, even for 10 minutes.
- Disconnect from the internet (optional but smart): If you’re just testing or troubleshooting, temporarily disconnect from Wi-Fi or ethernet. This reduces malware risk while Defender is off.
- Create a system restore point: Go to System Properties → System Protection → Create. Name it “Before Disabling Defender.” This gives you an easy rollback option.
- Check your Windows version: Some methods only work on Windows Pro, Enterprise, or Education editions. Home edition has fewer options.
Think of these steps like checking your brakes before taking a long drive. You might not need them, but you’re glad they’re there.
Method 1: Disable via Windows Settings (Temporary)
This is the easiest method, but here’s the catch: it’s temporary. Windows will re-enable real-time protection after you restart your PC. Use this if you need Defender off for a few hours.
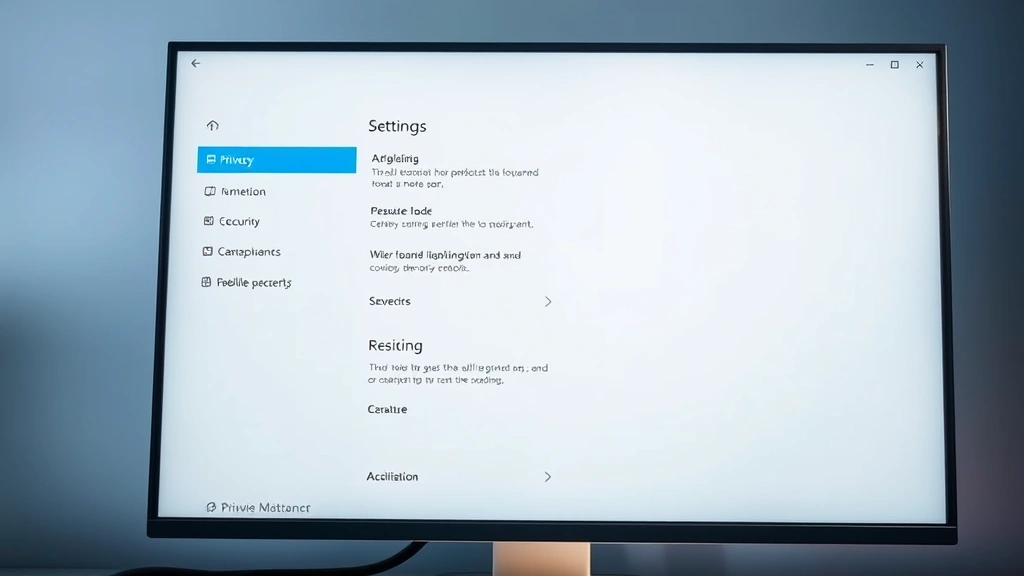
- Press Windows Key + I to open Settings.
- Navigate to Privacy & Security → Windows Security.
- Click Virus & threat protection.
- Under “Virus & threat protection settings,” click Manage settings.
- Toggle off Real-time protection.
- A User Account Control (UAC) prompt will appear. Click Yes.
- The toggle will switch to gray, indicating it’s off.
That’s it. Real-time scanning is now paused. However—and this is important—Windows will turn it back on automatically after you restart. It’s a safety feature to prevent you from accidentally leaving your system unprotected.
Safety Warning: This method leaves your PC vulnerable. Don’t browse the internet, download files, or do anything risky while Defender is off. Treat it like your front door is unlocked.
Method 2: Group Policy Editor (Windows Pro/Enterprise)
This method actually disables Windows Defender, not just pauses it. It’s more permanent and survives reboots. Unfortunately, it only works on Windows Pro, Enterprise, or Education editions. If you’re running Home edition, skip to Method 3.
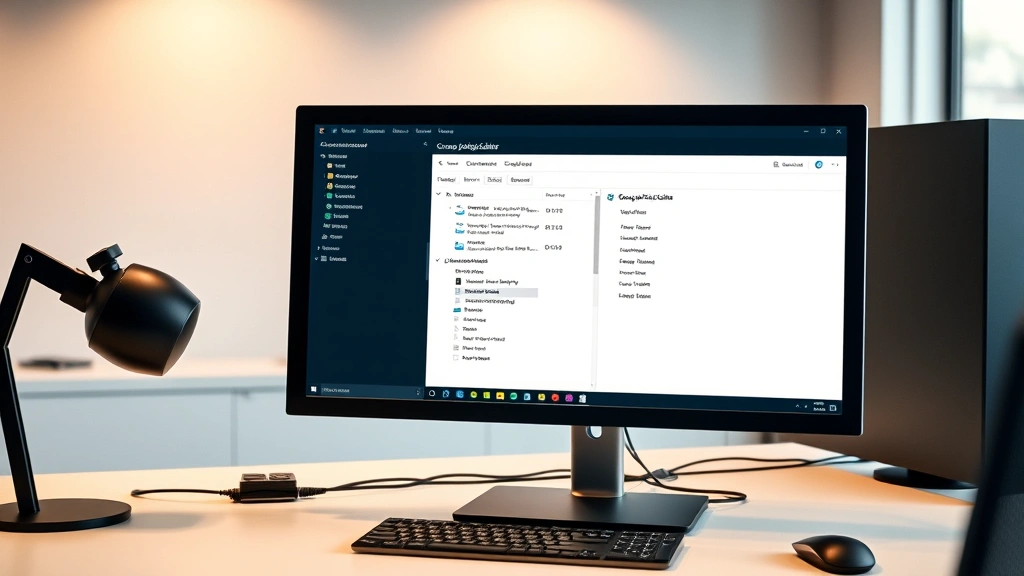
- Press Windows Key + R to open the Run dialog.
- Type gpedit.msc and press Enter.
- Navigate to Computer Configuration → Administrative Templates → Windows Components → Microsoft Defender Antivirus.
- Double-click Turn off Microsoft Defender Antivirus.
- Select Enabled.
- Click Apply → OK.
- Restart your PC for changes to take effect.
After restart, Windows Defender will be completely disabled. It won’t re-enable itself, and it won’t show notifications. This is the cleanest method if you have access to Group Policy.
Pro Tip: If you ever need to re-enable it via Group Policy, follow the same steps but select Disabled instead of Enabled. This is cleaner than using the Settings app.
Method 3: Registry Editor (Advanced Users)
This method works on all Windows editions, including Home. It’s more technical, but it’s reliable. Think of the Registry as Windows’ instruction manual—change the right line, and Defender stays off.
Safety Warning: The Registry is powerful and dangerous. One wrong edit can break Windows. If you’re not comfortable with this, use Method 1 or 2 instead. Always back up the Registry before editing it.
Here’s how to back up the Registry first:
- Press Windows Key + R.
- Type regedit and press Enter.
- Press Ctrl + H to open the File menu.
- Click Export.
- Save the file as “Registry_Backup.reg” somewhere safe.
Now to disable Defender via Registry:
- In the Registry Editor, navigate to: HKEY_LOCAL_MACHINE → SOFTWARE → Policies → Microsoft → Windows Defender.
- If the “Windows Defender” folder doesn’t exist, right-click on “Microsoft” → New → Key. Name it “Windows Defender”.
- Right-click in the empty space on the right pane → New → DWORD (32-bit) Value.
- Name it DisableAntiSpyware.
- Double-click it and set the value to 1.
- Click OK.
- Restart your PC.
Defender will now be disabled. To re-enable it, change the value back to 0 or delete the key entirely.
Method 4: Disable via Services Tab
This method disables the Windows Defender service directly. It’s less invasive than Registry editing and works on all editions.
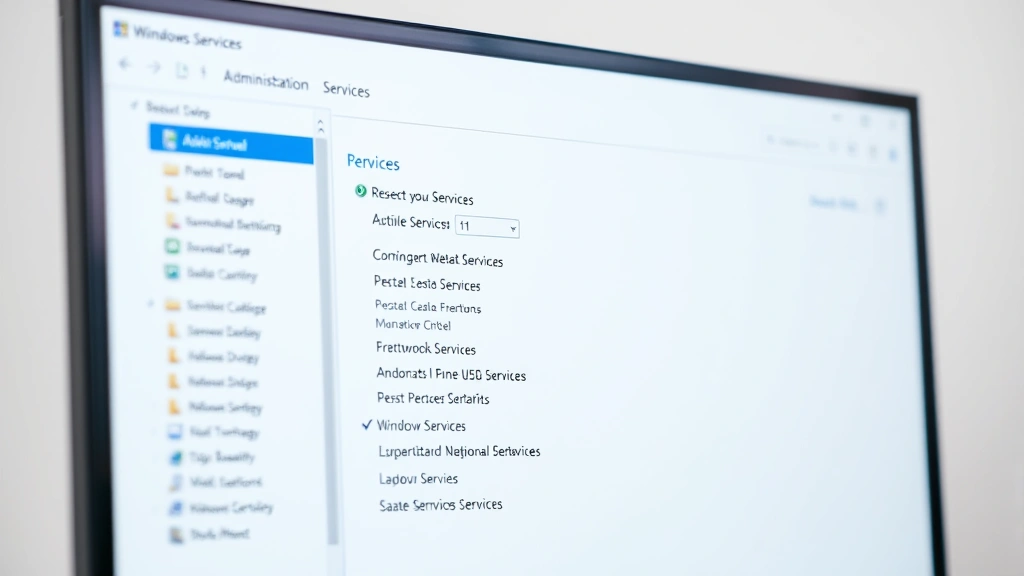
- Press Windows Key + R.
- Type services.msc and press Enter.
- Scroll down and find Windows Defender Antivirus Service.
- Right-click it and select Properties.
- Under “Startup type,” change it from “Automatic” to Disabled.
- Click Stop to stop the service immediately.
- Click Apply → OK.
- Restart your PC.
The service won’t start automatically on reboot, so Defender stays off. This is a good middle-ground method—not as technical as Registry editing, but more permanent than the Settings app.
Pro Tip: If you want to disable it temporarily without restarting, just click Stop but leave the Startup type as “Automatic.” It’ll restart on the next reboot, but it’s off now.
How to Re-Enable Windows Defender
Whether you used Settings, Group Policy, Registry, or Services, here’s how to turn Defender back on.
Via Settings (easiest):
- Open Settings → Privacy & Security → Windows Security → Virus & threat protection.
- Click Manage settings.
- Toggle Real-time protection back on.
Via Group Policy:
- Open gpedit.msc.
- Navigate to the same path as before.
- Double-click Turn off Microsoft Defender Antivirus.
- Select Disabled (or Not Configured).
- Click Apply → OK.
- Restart.
Via Registry:
- Open regedit.
- Navigate to the same key.
- Change DisableAntiSpyware from 1 to 0, or delete the key entirely.
- Restart.
Via Services:
- Open services.msc.
- Find Windows Defender Antivirus Service.
- Right-click → Properties.
- Change Startup type to Automatic.
- Click Start.
- Click Apply → OK.
Troubleshooting: When Defender Won’t Stay Disabled
Sometimes Windows Defender re-enables itself. This is intentional—Microsoft wants to protect your system. Here’s why it happens and how to fix it.
Problem: Real-time protection keeps turning back on.
This usually means you used Method 1 (Settings toggle) and restarted. That’s expected behavior. Use Method 2, 3, or 4 instead for a permanent disable.
Problem: You disabled it via Group Policy, but it’s back on.
Windows Update might have reset it. Go back into gpedit.msc and re-apply the setting. Also check that you’re in the right policy path—there are multiple places where Defender settings hide.
Problem: You can’t access Group Policy (Home edition).
Home edition doesn’t include gpedit.msc. Use Method 3 (Registry) or Method 4 (Services) instead. Alternatively, upgrade to Windows Pro, which includes Group Policy.
Problem: You disabled it, but Windows Security still shows it as “On.”
This is a display glitch. The service might be disabled, but the app hasn’t refreshed. Restart your PC and check again. If it persists, you might need to manually stop the service via services.msc.
Problem: You installed another antivirus, and both are fighting.
Disable Defender first, then install the new antivirus. Make sure the new one is fully installed and running before you leave your system unprotected. According to AV-TEST benchmarks, running two antivirus programs simultaneously can slow your system by 50% or more.
Pro Tip: If you’re testing multiple antivirus tools, use virtual machines instead. This way, you can disable Defender in the VM without risking your main system.
Frequently Asked Questions
Is it safe to disable Windows Defender?
– It’s safe if you replace it with another antivirus or if you’re only disabling it temporarily for troubleshooting. It’s not safe to leave your system completely unprotected. Think of Defender like a lock on your door—you can remove it to fix the hinges, but don’t leave the door open overnight.
Will my PC get a virus if I disable Windows Defender?
– Not immediately. Your PC won’t spontaneously catch a virus just because Defender is off. However, you’re much more vulnerable to malware if you browse the internet, download files, or visit untrusted websites. The risk increases exponentially. If you disable Defender, either replace it with another antivirus or stay offline.
Can I disable Windows Defender on Home edition?
– Yes. Home edition doesn’t have Group Policy, so you can’t use Method 2. But you can use Method 1 (Settings), Method 3 (Registry), or Method 4 (Services). Method 4 is the easiest for Home users.
Will disabling Windows Defender improve performance?
– Maybe. On older PCs or during resource-heavy tasks, disabling real-time scanning can free up 5-15% of CPU and RAM. On modern machines with SSDs and multi-core processors, the performance impact is usually negligible. Test it yourself before deciding to keep it off permanently.
How do I know if Windows Defender is actually disabled?
– Check the Windows Security app (search for it in the Start menu). If Defender is off, the “Virus & threat protection” section will show a red “X” or a warning. You can also check the Services tab—if “Windows Defender Antivirus Service” shows “Stopped” and Startup type is “Disabled,” it’s definitely off.
Can Windows re-enable Defender without my permission?
– Yes. Windows Update or certain security patches can reset Defender settings. This is intentional—Microsoft wants your system protected. If you need Defender to stay off long-term, you’ll need to re-apply the disable method after major updates.
What’s the difference between “disabling” and “pausing” Windows Defender?
– Pausing (via Settings) temporarily stops real-time scanning but leaves the service running. It usually re-enables after restart. Disabling (via Group Policy, Registry, or Services) completely stops the service and prevents it from starting automatically. Disabling is more permanent but requires more technical steps.
Do I need to disable Windows Defender before installing a new antivirus?
– Yes. Most third-party antivirus installers will ask you to disable Defender first. If you don’t, the installer might fail or both programs might conflict. Always disable Defender before installing another antivirus, or use the new antivirus’s built-in Defender disabler (many have one).
What if I accidentally deleted the Windows Defender registry key?
– Don’t panic. You can restore it from your Registry backup (remember that backup we created?). Right-click the .reg file and select “Merge.” This restores the Registry to its previous state. If you didn’t create a backup, you can also restore Windows to a previous restore point using System Restore.
Is there a way to disable only certain Defender features?
– Yes. Instead of disabling Defender entirely, you can disable specific features like real-time protection, cloud-based protection, or script scanning. Go to Settings → Privacy & Security → Windows Security → Virus & threat protection → Manage settings. You can toggle individual protections on or off. This is a good middle ground if you want to keep some protection but reduce resource usage.


