

Facebook groups can become digital clutter. Maybe you created one years ago and it’s just sitting there inactive. Maybe it’s grown into something you no longer want to manage. Whatever the reason, knowing how to delete a group of Facebook is straightforward once you understand the process—but there are some important things to know before you pull the trigger.
Here’s the real talk: deleting a Facebook group isn’t like closing a tab. It’s permanent. All the conversations, files, photos, and member history vanish. So before we walk through the steps, make sure this is what you actually want to do. If you’re just tired of managing it, there are easier alternatives like transferring ownership or archiving instead.
Pro Tip: If you’re not the group admin, you can’t delete it. Only the group creator (or an admin with full permissions) can remove a Facebook group permanently. If you’re a regular member and want out, you can simply leave the group instead.
Before You Delete: What You Need to Know
Deleting a Facebook group is irreversible. Think of it like throwing away a filing cabinet full of documents—once it’s gone, you can’t get it back. Facebook doesn’t have an “undo” button for this one. So before you proceed with how to delete a group of Facebook, consider these points:
- All content disappears: Photos, videos, posts, files, and member conversations all vanish permanently.
- Members get notified: Active members will see that the group has been deleted (though not necessarily why).
- Only admins can do this: If you’re not an admin or the group creator, you’re stuck unless someone with power transfers it to you.
- It’s instant: Unlike some platforms, Facebook doesn’t give you a grace period. Deletion is immediate.
If you’re managing a group with valuable information or an active community, consider whether you really need to delete it. Sometimes archiving or transferring ownership to someone else is the smarter move. More on that later.
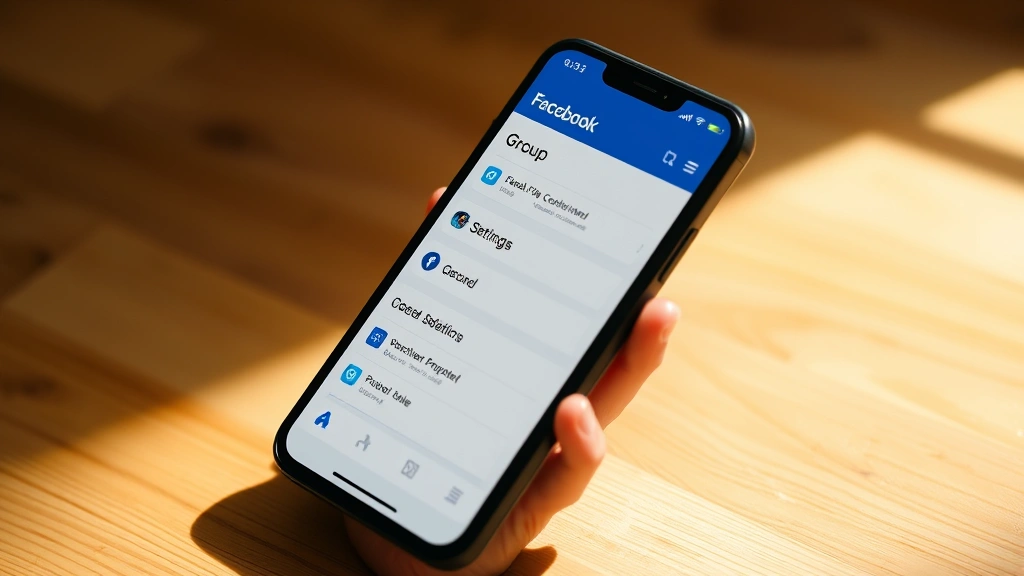
Check Your Admin Status
First things first: are you actually able to delete this group? Only group admins and the original creator can delete a Facebook group. If you’re just a regular member, you’ll need to ask someone with admin privileges to do it—or you can simply leave the group yourself.
Here’s how to check if you have admin status:
- Open the Facebook group you want to delete.
- Look at the group name and description at the top.
- If you see an “Edit” button or “Settings” option next to the group name, you’re likely an admin.
- Tap or click on “Settings” (or the three dots menu on mobile).
- Look for options like “Edit Group Settings,” “Manage Group,” or “Delete Group.”
If you don’t see these options, you’re not an admin. You’ll need to contact someone who is and ask them to either give you admin access or delete the group for you. It’s that simple.
Backup Important Content First
Before you nuke your Facebook group, grab any content you might want to keep. This is especially important if the group has years of photos, files, or conversations that matter to you or your community.
Here’s what you can do:
- Download photos: Right-click on any photo and save it to your computer. For bulk downloads, you might need to do this manually or use a third-party tool (though be cautious with third-party apps and Facebook’s terms).
- Screenshot important posts: If there are specific discussions or announcements you want to preserve, take screenshots.
- Export member list: If you need a record of who was in the group, some admins take screenshots of the member list or use Facebook’s Group Insights feature to document this.
- Copy text-based content: For important announcements or documents, copy the text and paste it into a Word doc or Google Drive file.
This might seem tedious, but it’s worth the 15 minutes if your group has any meaningful history. Once it’s gone, it’s gone.
How to Delete a Facebook Group: The Steps

Now for the actual process. The steps are slightly different depending on whether you’re using Facebook on desktop or mobile, but the principle is the same. Let’s start with the desktop version, which gives you the most control.
Deleting a Facebook Group on Desktop
- Go to your Facebook group. Navigate to the group you want to delete. Make sure you’re logged in as an admin or the group creator.
- Click the three dots menu. In the top right corner of the group page, you’ll see three horizontal dots (or sometimes labeled as “Settings”). Click this.
- Select “Settings.” From the dropdown menu, choose “Settings” or “Manage Group.”
- Scroll to the bottom. In the Settings page, scroll all the way down. You’ll see various options for managing the group—member requests, moderation, privacy settings, etc.
- Find “Delete Group.” At the very bottom, you should see an option that says “Delete Group” or “Remove Group.” The exact wording varies, but it will be clearly labeled as a deletion option.
- Click “Delete Group.” Click this button. Facebook will ask you to confirm your decision.
- Confirm the deletion. Facebook will show a warning message explaining that this action is permanent. Read it (seriously), then click “Delete” or “Confirm” to finalize.
- Done. Your Facebook group is now gone. Members will be notified, and all content is permanently removed.
The whole process takes about 2-3 minutes. The hardest part is usually finding the Settings menu, since Facebook’s interface changes frequently.
Deleting on Mobile vs Desktop
The mobile process is nearly identical, but the interface is a bit different. Here’s the breakdown:
On iPhone or Android
- Open the Facebook app and navigate to your group.
- Tap the three dots (menu icon) at the top of the group page.
- Scroll down and select “Settings.”
- Continue scrolling until you see “Delete Group” or a similar option.
- Tap it and confirm when prompted.
The mobile version is actually pretty straightforward. The main difference is that you’re tapping instead of clicking, and the menu might be organized slightly differently depending on your phone’s screen size and the current version of the Facebook app.
Safety Warning: Make sure you’re deleting the right group. If you have multiple groups with similar names, double-check the group description and member count before confirming deletion. This is your last chance to back out.
One thing to note: if you’re on mobile and the “Delete Group” option doesn’t appear, try accessing the desktop version of Facebook through your phone’s browser. Sometimes the mobile app doesn’t show all admin options.
What Happens After You Delete
Once you confirm the deletion, several things happen almost immediately:
- The group disappears: No one can search for it, find it, or access it anymore. It’s completely gone from Facebook’s platform.
- Members are notified: Active members will see a notification that the group has been deleted. They won’t see who deleted it or why, just that it’s no longer available.
- Content is wiped: All posts, photos, files, and comments are permanently deleted. This is not recoverable.
- Your group history remains: In your personal Facebook profile, you might still see a record that you were part of this group, but the group itself is inaccessible.
- Email notifications stop: If members were receiving email notifications about group activity, those will cease immediately.
If you had important member contacts, you should have collected their information before deletion. Facebook doesn’t provide a way to retrieve member emails after a group is deleted.
Alternatives to Deletion
Before you go through with deleting your Facebook group, consider these alternatives. Sometimes they’re better solutions:
Archive the Group Instead
If you want to preserve the group but make it inactive, archiving is your friend. An archived group:
- Remains searchable and viewable (members can still see old posts).
- Stops receiving new posts and activity.
- Preserves all historical content.
- Can be unarchived later if needed.
To archive: Go to Settings → Find “Archive Group” → Confirm. Much less destructive than deletion.
Transfer Ownership
If you’re tired of managing the group but want it to continue, transfer admin status to someone else. This is perfect if you have an active community that would benefit from new leadership. Go to Settings → Members → Find a trusted member → Click their name → Make them an Admin.
Make It Private or Closed
If you want to limit activity, you can change the group from “Public” to “Private” or “Closed.” This restricts who can see and join without actually deleting anything.
Frequently Asked Questions
Can I recover a Facebook group after I delete it?
– No. Once deleted, a Facebook group is gone forever. Facebook does not have a recovery option for deleted groups. This is why backing up important content beforehand is so critical. If you deleted a group by mistake, your only option is to create a new one and reinvite members.
Will members get angry if I delete the group?
– Possibly, depending on how active the group was and how much members valued it. If it’s an inactive group with minimal engagement, most people won’t care. If it’s an active community, members might be frustrated. Consider sending a message to active members before deletion, explaining why you’re removing the group or offering an alternative (like a new archived version or a different communication platform).
What if I’m not the group creator but I’m an admin?
– If you’re an admin but not the original creator, you might still be able to delete the group, depending on the permissions the creator gave you. Try following the deletion steps—if the “Delete Group” option doesn’t appear, you don’t have permission. In that case, contact the group creator and ask them to delete it or transfer ownership to you.
Can I delete a group if it has thousands of members?
– Yes. Group size doesn’t matter. Whether your group has 5 members or 50,000, the deletion process is identical. All members will be notified that the group has been deleted.
How long does it take for a group to be fully deleted?
– Deletion is nearly instant. Within seconds, the group is removed from Facebook’s platform. Members might take a few minutes to receive notifications, but the group itself is gone immediately after you confirm.
Can I delete a group on Facebook Messenger?
– No. You need to use the main Facebook platform (either web or mobile app) to delete a group. Facebook Messenger doesn’t have group deletion options—it only lets you leave group chats.
What if the group creator abandoned the group? Can I delete it?
– Only if you have admin status. If the original creator is inactive and you’re just a regular member, you can’t delete the group. Your options are to leave it or contact Facebook support to request removal if the group violates community standards. For more information on Facebook’s policies, check out Facebook’s official Help Center.
Should I delete or archive my group?
– Archive if you want to preserve history and might reactivate it later. Delete if you’re certain you never want it again and don’t need the content. Archiving is the safer choice if you’re on the fence.
Related Articles: If you’re interested in managing your digital footprint across platforms, check out our guides on how to mass delete emails on Gmail and how to delete duplicate photos on iPhone. We also have a helpful guide on how to make a Facebook post shareable if you’re still active on the platform.


