
Let’s be honest—your iPhone camera roll is probably a mess. Thousands of photos piling up, storage nearly full, and you’re wondering how to move them somewhere safe without losing quality or spending an hour clicking through menus. The good news? Learning how to transfer photos from iPhone to Mac is straightforward once you know the actual options. There’s no magic involved, just a few reliable methods that work every single time.
Whether you want to back up your entire library, cherry-pick a few favorites, or organize shots by date, I’ll walk you through every approach. Some methods are automatic (set it and forget it), others give you complete control. Pick what fits your workflow, and you’ll never stress about lost photos again.
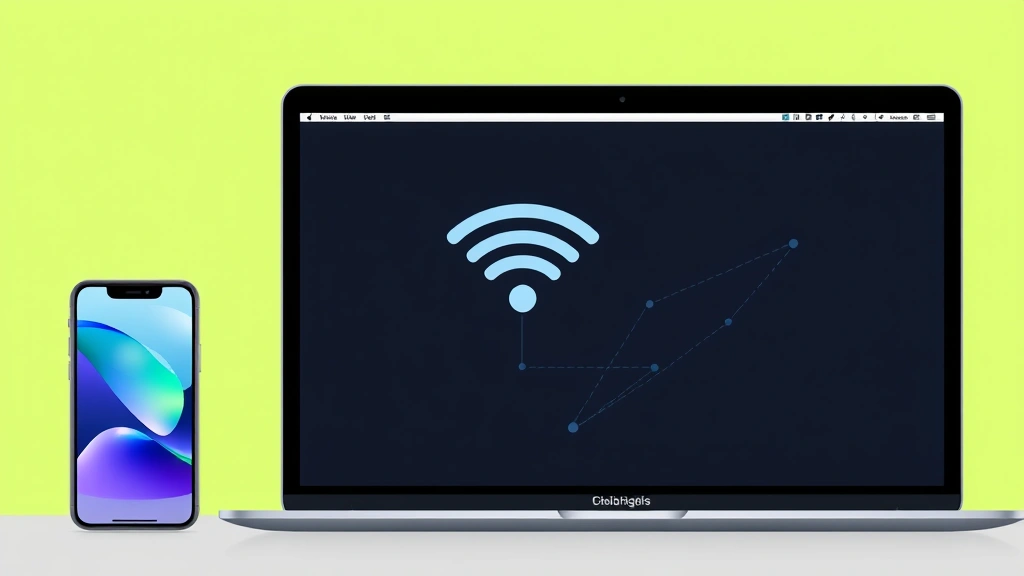
Use iCloud Photos for Automatic Sync
This is the laziest (best) option if you want zero friction. iCloud Photos keeps your entire library in sync across all your Apple devices. Turn it on once, and every photo you take automatically appears on your Mac. No cables, no clicking around—it just works.
Here’s the setup:
- On your iPhone, open Settings → Photos
- Tap iCloud Photos (or iCloud Photos Library on older iOS versions)
- Toggle it ON
- Choose Optimize iPhone Storage if space is tight (full-resolution copies live in iCloud)
- On your Mac, open System Settings → iCloud
- Sign in with the same Apple ID
- Check the box next to Photos
- Open the Photos app on your Mac—your library syncs automatically
Real talk: iCloud Photos is the most seamless approach for most people. Your photos live in the cloud, accessible from any device. The downside? You need enough iCloud storage (plans start at 50GB for $0.99/month). If you’ve got thousands of high-resolution photos, costs add up.
Pro Tip: If you’re nervous about cloud storage, enable two-factor authentication on your Apple ID first. It’s an extra security layer that keeps your photo library locked down tight.
Transfer via the Photos App on Mac
This method gives you direct control over which photos transfer. Connect your iPhone to your Mac with a USB cable, and the Photos app recognizes it instantly. You can select specific photos, entire albums, or everything at once.
Step-by-step:
- Plug your iPhone into your Mac using a USB-C or Lightning cable
- Open the Photos app on your Mac (or it might launch automatically)
- Your iPhone appears in the sidebar under Devices
- Click your iPhone name
- You’ll see all photos and videos not yet imported
- Select the ones you want: click individual photos while holding Command to multi-select, or click Select All to grab everything
- Click the Import button (or Import Selected if you chose specific ones)
- Choose where to store them in your Mac’s photo library
- Wait for the import to finish—this can take a few minutes for large batches
This approach is perfect if you want to be selective. Maybe you only want vacation photos, or you’re clearing out duplicates and blurry shots before they hit your Mac. The Photos app also lets you review imports before they land on your computer.
Safety Warning: Don’t unplug your iPhone until the import completes. Interrupting the transfer can corrupt files or leave partial imports cluttering your library. Wait for the confirmation message.
AirDrop: The Quick & Dirty Method
Need to move just a handful of photos fast? AirDrop is your friend. It’s wireless, requires no setup beyond toggling it on, and works over Bluetooth or WiFi. Perfect for sharing a few shots without involving cables or apps.
Here’s how:
- On both your iPhone and Mac, enable AirDrop: Control Center (iPhone) or Finder menu (Mac) → AirDrop → set to Everyone or Contacts Only
- Open the Photos app on your iPhone
- Select the photo(s) you want to transfer
- Tap the Share button (square with arrow)
- Tap AirDrop
- Select your Mac from the list
- On your Mac, accept the incoming transfer
- Photos land in your Downloads folder (you can move them later)
AirDrop is genuinely fast—usually takes 5-10 seconds per photo depending on file size and WiFi quality. The catch? It’s best for small batches. Transferring 500 photos one by one would be painful. Use this for quick shares, not bulk migrations.
Finder & USB Cable Transfer
This is the old-school method, but it still works and gives you granular control over file organization. Your iPhone appears as a device in Finder when connected via USB, and you can drag-and-drop photos like you would with an external drive.
The process:
- Connect your iPhone to your Mac with a USB cable
- Open Finder on your Mac
- Your iPhone appears in the sidebar under Locations
- Click it, then navigate to DCIM folder (where photos live)
- Select photos you want to copy
- Drag them to a folder on your Mac, or right-click and select Copy, then paste into your destination
- Wait for the copy operation to finish
Real benefit here? You see exactly where files are going and can organize them into custom folders as you transfer. Some people prefer this method because it feels more transparent than using the Photos app as a middleman. However, you’ll need to manage duplicates manually—Finder won’t warn you if a photo already exists on your Mac.
Pro Tip: Create a dedicated folder on your Mac desktop called “iPhone Photos” before you start. This keeps imports organized and makes it easy to sort them later into your permanent photo library.
Email & Cloud Storage Options
If you want more flexibility or don’t trust Apple’s ecosystem entirely, email and third-party cloud services work well too. Services like Google Drive, Dropbox, and OneDrive all sync across iPhone and Mac seamlessly.
Google Photos approach (free and reliable):
- Download the Google Photos app on your iPhone from the App Store
- Sign in with your Google account
- Enable Backup and Sync in the app settings
- Choose photo quality: Original (uses storage) or Storage Saver (compressed, unlimited)
- On your Mac, visit photos.google.com in a browser
- Sign in with the same Google account
- All your photos appear in the web library—download individual photos or bulk-select and download as a ZIP file
Google Photos is genuinely excellent. You get unlimited cloud storage if you choose the compressed option, and the web interface is fast. The downside? You’re managing photos in a browser rather than a native Mac app, which some people find clunky.
Email method (small batches only):
Open Photos on your iPhone, select a photo, tap Share, then Email. This works for 1-5 photos, but it’s painfully slow for anything larger. Plus, email attachments have size limits. Skip this unless you’re sending a single shot to a friend.
Organizing Photos After Transfer
Once your photos land on your Mac, take 15 minutes to organize them. This saves you hours of searching later when you actually want to find that sunset from 2019.
In the Photos app:
- Create Albums by date, location, or event (right-click in sidebar → New Album)
- Use Smart Albums to auto-organize by criteria like date or keyword
- Add Keywords to photos: select a photo, press Cmd+I, click Keywords tab, type tags
- Use the Search feature to find photos by date, location, or keyword
Spending time on organization upfront is worth it. You can also use Mac’s Finder to organize into folders if you prefer more traditional file management. Just create a folder structure like “Photos → 2024 → January” and sort manually.
According to Family Handyman’s tech section, the best photo management systems combine automation with occasional manual curation. Same principle applies here—let iCloud sync automatically, but spend time tagging and organizing periodically.
Troubleshooting Common Issues
Photos won’t import: First, check your Mac has enough free storage (you need at least 10-20GB free). Restart both devices and try again. If that fails, update macOS and iOS to the latest versions—compatibility issues often cause import failures.
iPhone not appearing in Finder: Unlock your iPhone and tap Trust when prompted. On your Mac, try a different USB port (avoid USB hubs). If you’re using a third-party cable, try Apple’s official cable instead.
Duplicate photos after transfer: This happens when you import the same batch twice. Use the Photos app’s Duplicate Detection (search for “Duplicates” in the search bar) to find and delete copies. Or use a third-party tool like Bob Vila’s recommended Mac maintenance apps for automated cleanup.
iCloud Photos syncing slowly: Check your internet connection—uploads need stable WiFi. Go to System Settings → iCloud → Photos and verify it’s enabled. On your iPhone, do the same in Settings → Photos. Sometimes toggling off and back on forces a refresh.
Photos appear blurry after transfer: If you selected Optimize iPhone Storage in iCloud Photos settings, your Mac might be downloading compressed versions. Go to Photos → Settings → iCloud and choose to download Original Quality instead. This uses more storage but preserves full resolution.
According to This Old House’s tech guides, most tech issues stem from either outdated software or misconfigured settings. A quick software update solves 70% of problems.
Frequently Asked Questions
What’s the fastest way to transfer photos from iPhone to Mac?
– AirDrop is fastest for small batches (5-20 photos). iCloud Photos is fastest for bulk transfers because it runs in the background automatically. If you’re moving hundreds of photos at once, connect via USB cable and use the Photos app—it’s faster than wireless methods.
Will transferring photos delete them from my iPhone?
– No. Transferring creates a copy on your Mac; the originals stay on your iPhone. If you want to free up iPhone storage after transferring, you’ll need to manually delete them in the Photos app. Going to Settings → General → iPhone Storage shows which apps use the most space, including Photos.
Can I transfer photos without a USB cable?
– Yes. iCloud Photos, AirDrop, Google Photos, and Dropbox all work wirelessly. Just make sure both devices are on the same WiFi network and you’re signed in with the right account.
How much iCloud storage do I need for my photos?
– It depends on your library size and resolution. 50GB handles roughly 10,000 compressed photos. If you shoot in RAW or 4K video, you’ll need more—200GB or 2TB plans are worth considering. Check Settings → iCloud → Manage Account Storage on your iPhone to see how much space your photos currently use.
What if I have thousands of old photos I want to transfer?
– Enable iCloud Photos and let it sync in the background over a few days. This is less stressful than trying to transfer everything at once via USB. Alternatively, export your old photos as a backup to an external hard drive using the Finder method, then import them into your Mac’s Photos library separately.
Can I transfer videos the same way as photos?
– Yes. Every method mentioned (iCloud, Photos app, AirDrop, Finder, Google Photos) handles videos identically to photos. Just note that 4K videos take longer to transfer and use significantly more storage. A single 4K video can be 500MB to 1GB depending on length.
Is it safe to store all my photos in iCloud?
– iCloud uses encryption and is generally secure, especially with two-factor authentication enabled on your Apple ID. However, if you want belt-and-suspenders security, maintain a local backup on an external hard drive as well. This gives you protection against both device loss and cloud service outages. Learn more about Mac security at Apple’s official support pages.
What’s the difference between importing and syncing?
– Importing creates a one-time copy of photos from your iPhone to your Mac. Syncing (via iCloud) keeps both devices updated automatically—new photos on your iPhone appear on your Mac, and deletions sync too. Importing is manual; syncing is automatic.
Can I organize photos on my iPhone before transferring?
– Yes. Create albums on your iPhone in the Photos app, then transfer entire albums at once to your Mac. This is cleaner than transferring everything and organizing later. You can also use Shared Albums if you want to collaborate with family or friends.


