
If you’ve watched Squid Game, you know those creepy dalgona candy cookies are iconic. The ones where contestants have to carve out shapes without breaking them? Yeah, those. The good news: you don’t need a steady hand like a surgical expert or years of baking experience to make them at home. Learning how to make Squid Game cookies is actually straightforward, fun, and honestly kind of addictive once you get the hang of it.
The real challenge isn’t the recipe—it’s the carving part. But we’ll walk you through that, plus some legit tricks to make sure your cookies don’t shatter like they did in the show (unless you want them to for dramatic effect).
What Are Dalgona Cookies?
Dalgona is a Korean street candy that’s been around for decades. It’s basically caramelized sugar and baking soda—super simple, but the magic is in the texture. When you mix baking soda into hot caramel, it froths up like a volcano. That’s what gives dalgona its honeycomb, airy structure. It’s crispy on the outside, slightly chewy on the inside, and honestly tastes like buttery heaven.
The Squid Game twist? They press the hot candy onto a flat surface, let it cool, then use a needle or small tool to carve out a shape (circle, star, triangle, or umbrella). If you break the cookie while carving, your character loses. In the show, that’s life or death. In your kitchen, it’s just a snack fail—and you get to eat the evidence.
The appeal is real: it’s nostalgic, it’s shareable, and it’s got that “did I really make this?” factor that makes people want to try it.
Ingredients & Tools You’ll Need
For the Dalgona Candy:
- 1 cup granulated sugar
- 1/2 teaspoon baking soda
- 1/4 teaspoon salt (optional, but adds flavor)
- Butter or oil for greasing (optional—parchment paper works better)
Tools & Equipment:
- Heavy-bottomed saucepan (this matters—thin pans burn sugar unevenly)
- Candy thermometer or wooden spoon for the cold-water test
- Parchment paper or silicone baking mat
- Wooden spoon or silicone spatula
- Carving tools: toothpick, needle, or small craft knife
- Optional: cookie cutters or stencils for tracing shapes
- Small bowl of ice water (for testing doneness)
Real talk: you don’t need fancy equipment. A regular saucepan, a wooden spoon, and a toothpick will get you there. The parchment paper is non-negotiable though—it makes cleanup easy and prevents sticking.
How to Make the Dalgona Candy Base
Step 1: Prepare Your Workspace
Before you start, lay out a sheet of parchment paper on a flat, heat-safe surface (a baking sheet works perfectly). Have your carving tools nearby. You’re going to move fast once the candy is ready, so prep is key. Think of it like staging before a surgery—everything in its place.
Step 2: Heat the Sugar
Pour 1 cup of granulated sugar into your heavy-bottomed saucepan. Do NOT add water. You’re doing a “dry caramel” method, which gives better results than wet caramel for this candy. Turn the heat to medium.
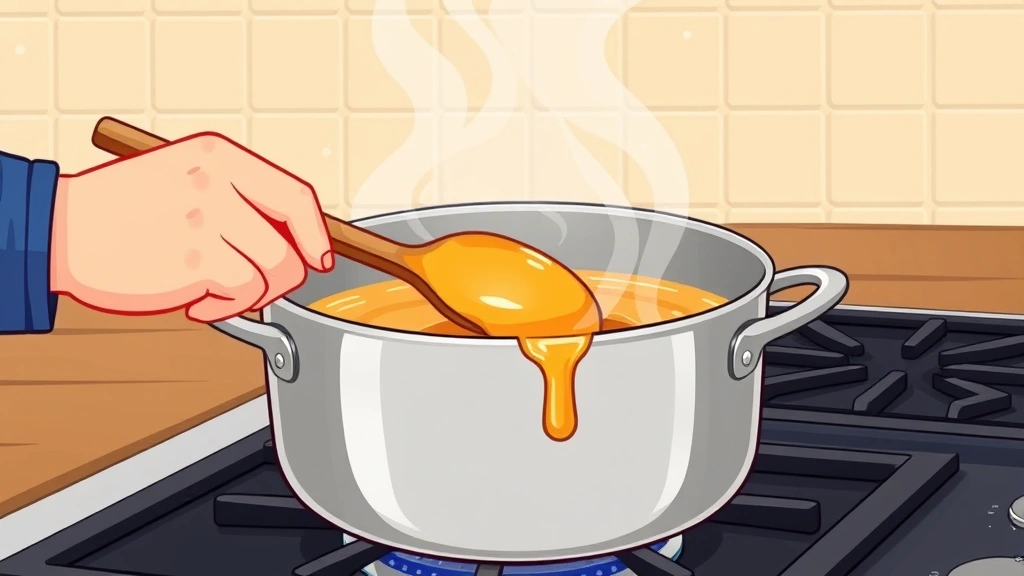
Here’s where patience matters: the sugar will sit there for a minute or two looking like nothing’s happening. Then it’ll start melting at the edges. Use a wooden spoon to gently push the unmelted sugar toward the hot edges. Keep doing this until all the sugar is liquid and amber-colored. This takes about 5-7 minutes total.
The color should be golden amber—not light blonde, not dark brown. If it’s too light, it won’t have that rich flavor. If it’s too dark, it’ll taste bitter. Think of it like toasting bread: you want it golden, not burnt.
Step 3: Add the Baking Soda
Remove the pan from heat immediately. This is critical—take it off the stove. Now add 1/2 teaspoon of baking soda and a pinch of salt. The baking soda will react with the hot caramel and make it bubble up and foam. This is normal and awesome. Stir quickly but carefully for about 30 seconds until it’s combined. The mixture should go from liquid to airy and light-colored.
Don’t skip this step or rush it. The baking soda is what creates the honeycomb texture and makes the candy less dense.
Step 4: Pour and Cool
Immediately pour the foamy mixture onto your parchment paper. Don’t spread it out—let it cool as-is. It’ll flatten slightly on its own. Let it sit for 30 seconds to a minute, then gently press it flat with the back of your wooden spoon (lightly, don’t compress it). You want it about 1/4 inch thick.
Let it cool completely—about 5-10 minutes. It should be hard and crispy. If you try to carve it before it’s fully cooled, it’ll crack and crumble.
The Carving Technique (The Tricky Part)
This is where most people get frustrated. The cookie is brittle, and one wrong move and you’ve got fragments instead of a finished piece. But here’s the secret: it’s not about brute force. It’s about patience and the right technique.
Choose Your Shape
Start simple: circle, star, or triangle. The umbrella is harder because it has curves and a handle. Once you’ve made a few, you’ll feel more confident tackling complex shapes.
Trace or Mark
If you’re nervous, use a toothpick to lightly trace your shape on the cooled candy. Think of it like sketching before you paint. This gives you a guide without committing to the full carve yet.
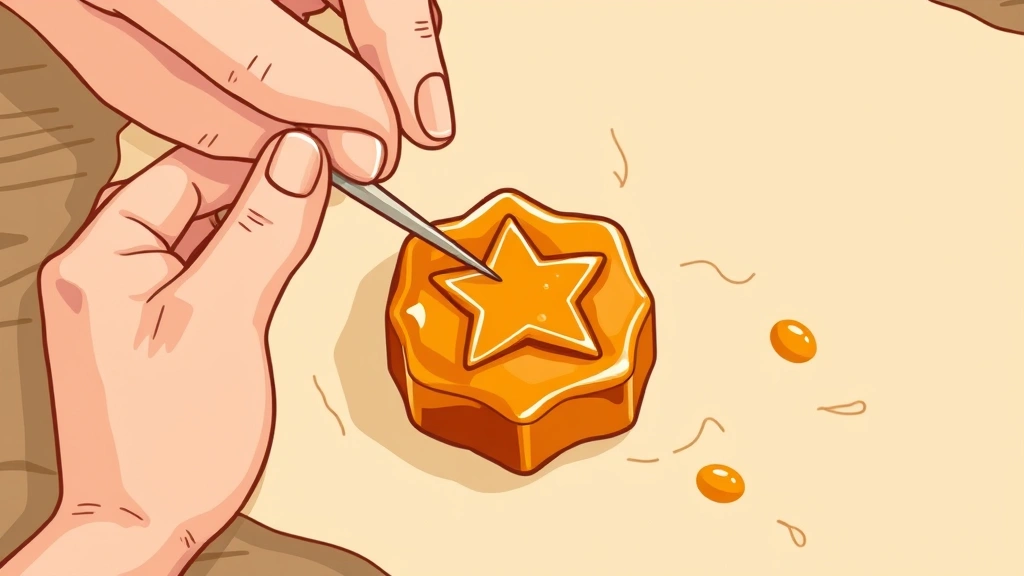
Carve Slowly
Use a toothpick or needle and press straight down along your outline. Don’t saw or drag—press and lift, press and lift. Make multiple passes if needed. The goal is to create a groove deep enough that the shape is clearly defined.
Once you’ve gone around the entire outline, you can gently try to lift the shape out from the bottom using a thin knife or the tip of your toothpick. If it doesn’t budge, make more passes with your carving tool to deepen the groove.
The Patience Factor
Real talk: this takes longer than you think. A single cookie can take 5-10 minutes of careful carving. It’s meditative, honestly. Put on a podcast or show and settle in. Rushing is how cookies break.
Pro Tip: If your candy gets too hard and brittle to carve (this happens if it sits for too long), warm it slightly in a 200°F oven for 1-2 minutes. It’ll soften just enough to carve without becoming floppy.
Common Problems & Fixes
The Candy Won’t Harden
If your dalgona stays soft or gooey, your baking soda might not have been mixed in fully, or you didn’t cook the sugar hot enough. The sugar should reach 320-350°F (hard-crack stage). If you don’t have a thermometer, use the cold-water test: drop a tiny bit of the cooked sugar into ice water. It should turn into a hard, brittle strand that snaps. If it’s chewy, keep cooking.
The Candy Shatters While Carving
This is the classic problem. Your candy is too brittle—possibly because it’s been sitting too long, or the humidity in your kitchen is affecting it. Try carving within 15 minutes of it cooling. If it still shatters, you can try the gentle oven-warming trick mentioned above. Alternatively, some people add a tiny bit of corn syrup (1 tablespoon per batch) to make it slightly less brittle, but this changes the texture slightly.
The Baking Soda Didn’t Foam
If your mixture didn’t bubble up when you added the baking soda, either your baking soda is old (baking soda loses potency over time) or your sugar wasn’t hot enough. Grab fresh baking soda and try again. Old baking soda is a silent killer of candy projects.
Uneven Color or Burnt Spots
This usually means your heat was too high or your pan wasn’t heavy enough. Heavy-bottomed pans distribute heat evenly. If you have a thin pan, consider upgrading—it’ll make a real difference not just for dalgona but for all your candy and sauce work. Family Handyman has a great guide on choosing quality cookware that covers pan weight and heat distribution.
The Candy Tastes Bitter
Your sugar cooked too long and burnt. The color should be golden amber, not dark brown. Next time, pull it off the heat a shade earlier. If it already happened, you’ve learned the lesson—and hey, you still have caramel candy, just a more intense flavor.
Storage & Serving Ideas
How to Store Squid Game Cookies
Keep them in an airtight container with parchment paper between layers. They’ll stay crispy for up to a week at room temperature. Humidity is the enemy—if your kitchen is very humid, they’ll soften. In that case, store them in the fridge in an airtight container.
Do not freeze them. The moisture from thawing will make them sticky and ruin the texture.
Serving Suggestions
- As a snack: Just eat them straight. They’re sweet and satisfying.
- At a party: Make a bunch and present them on a platter. People love the novelty factor.
- As a gift: Package them in a pretty box with tissue paper. They’re Instagram-worthy and homemade feels special.
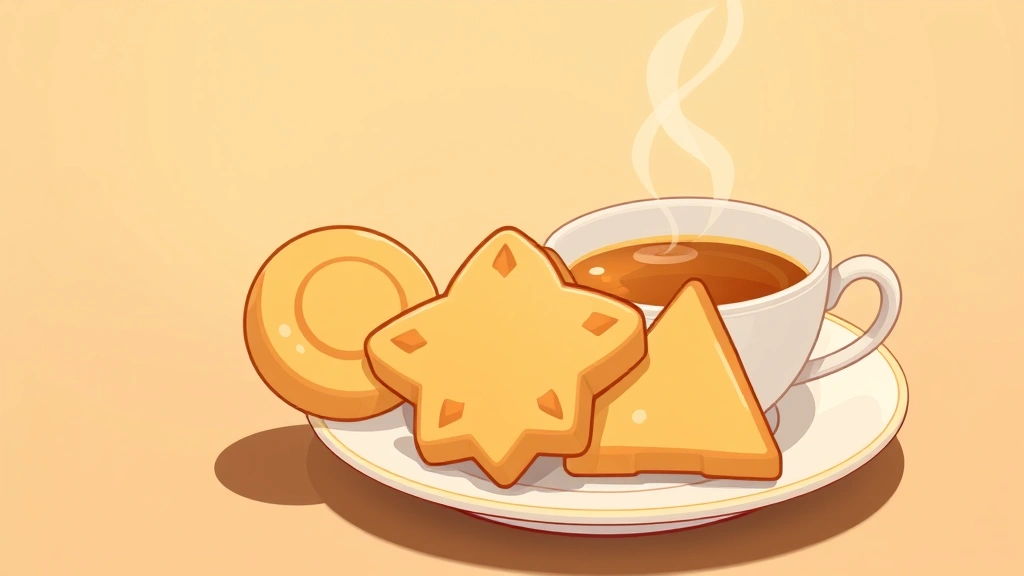
- With tea or coffee: They pair well with a hot beverage. The sweetness and slight bitterness (if you went a bit dark on the caramel) balance nicely.
The “Squid Game” Experience
If you want to recreate the show’s vibe, give each person a cookie and a toothpick, then set a timer. First person to cleanly carve out their shape without breaking it wins (the prize is bragging rights and maybe an extra cookie). It’s silly, it’s fun, and it makes people appreciate how hard the task actually is.
Frequently Asked Questions
Can I add flavoring to Squid Game cookies?
– Yes. After the sugar is caramelized but before you add the baking soda, you can stir in 1/4 teaspoon of vanilla extract, a pinch of sea salt, or even a tiny bit of espresso powder. Sesame seeds sprinkled on top before carving are also traditional in Korea. Keep flavoring subtle—you want the caramel to shine.
What if I don’t have a candy thermometer?
– Use the cold-water test. Drop a small amount of hot caramel into a bowl of ice water. At soft-ball stage (240-250°F), it forms a flexible ball. At hard-crack stage (300-350°F), it forms a hard, brittle strand that snaps. For dalgona, you want hard-crack stage. This Old House has a detailed breakdown of candy stages if you want more detail.
Can I make these ahead of time for an event?
– Yes, but store them carefully. Make them the day before and keep them in an airtight container at room temperature. If your event is more than a day away, wait and make them fresh the morning of. They’re best within 24-48 hours.
Why does my candy taste grainy?
– This happens when sugar crystals form during cooking, usually because sugar crystals from the side of the pan fell back into the mixture. To prevent it, wet a pastry brush and brush down the sides of the pan as the sugar cooks, or cover the pan for the first minute to let steam dissolve any crystals. Bob Vila’s candy guide covers crystal prevention in detail.
Is dalgona candy safe to eat?
– Yes, it’s just sugar and baking soda. However, it’s very hard and sticky, so it’s not ideal for young children or people with dental work. Also, it’s pure sugar, so enjoy in moderation. If you have concerns about food safety in general, the FDA’s food safety guidelines cover proper handling and storage.
Can I use brown sugar instead of white sugar?
– You can, but it’ll taste different—more molasses-forward, less pure caramel. White sugar gives you the classic dalgona flavor. Save brown sugar for other candy projects.
What’s the best carving tool?
– A regular sewing needle or toothpick works great. Some people use a small craft knife, but that requires more pressure and increases breakage risk. Stick with a needle—it’s precise and gentle. If you’re using sharp tools, OSHA has general safety guidelines, though this is pretty low-risk stuff.
How do I fix a broken cookie?
– Honestly, you don’t. Broken dalgona is still delicious—just eat it. Some people intentionally make “broken” batches for snacking and save the perfect ones for display. No shame in that.


