
Listen, if you’ve never made how to make apple sauce from scratch, you’re missing out on something genuinely simple and rewarding. Store-bought versions are fine, but homemade apple sauce tastes like actual apples—not sugar with apple flavoring. The best part? It takes about 30 minutes of actual work, and most of that is just letting apples cook down while you drink coffee and pretend you’re doing something complicated.
I’m going to walk you through the whole process: picking your apples, prepping them, cooking them, and getting that perfect smooth (or chunky, if you’re into that) consistency. No fancy equipment needed. No weird ingredients. Just apples, maybe a little sugar, and patience.
Choosing the Right Apples
Here’s the thing about apples: not all of them are created equal for sauce. You want varieties that break down easily and have decent flavor. Granny Smith apples are tart and hold their shape reasonably well. Honeycrisp or Gala apples are sweeter. Jonagold is a solid middle ground. The real secret? Mix them. Blend tart and sweet varieties together, and you’ll get complexity instead of one-note flavor.
Avoid Red Delicious apples—they’re mealy and don’t cook down nicely. Skip the fancy heirloom varieties unless you’re feeling experimental (they can be great, but consistency matters when you’re learning). Aim for apples that feel firm and don’t have soft spots. You’ll need about 2 pounds of apples per quart of sauce, so do the math based on how much you want to make.
One pro move: buy apples a few days before you plan to make sauce. They soften slightly, which actually makes them easier to cook down. Fresh-picked, rock-hard apples will take longer.
Pro Tip: If apples are expensive in your area right now, check farmers markets or orchards. Bulk pricing is usually way better, and you’ll get fresher fruit.
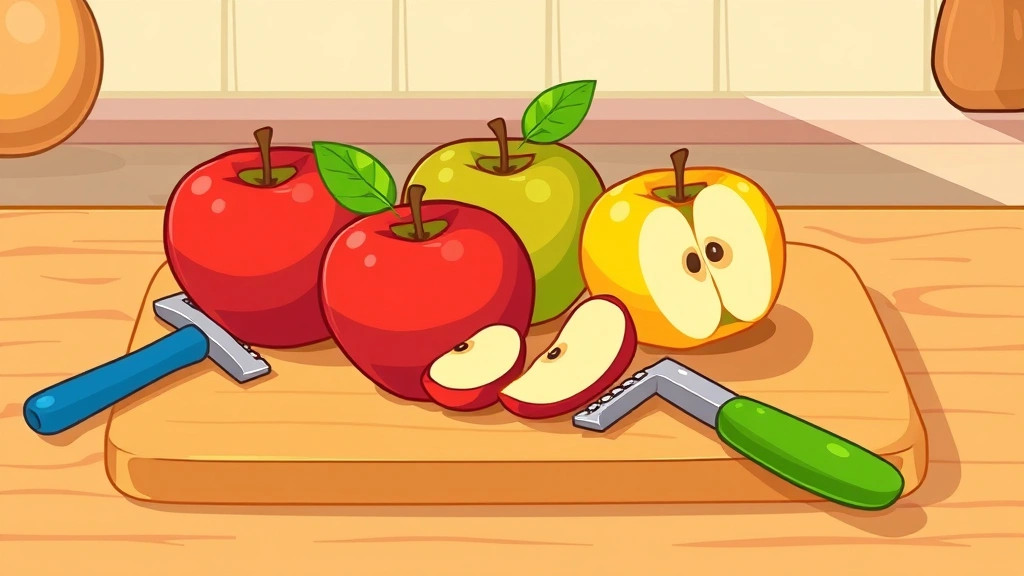
Prep Work: Washing and Cutting
Wash your apples under cool running water. Use your hands or a soft brush—nothing aggressive. You’re not trying to strip the skin; you’re just removing dirt and any residue. Pat them dry with a clean towel.
Now comes the cutting. You have two options:
- Core and peel first: Use a vegetable peeler to remove the skin, then cut the apple in half and scoop out the seeds and core with a spoon or melon baller. Cut into chunks roughly 1-2 inches. This method gives you a smoother final sauce because the skins are already gone.
- Cut first, then core: Quarter the apple, cut out the core section, then peel if desired. Faster if you’re comfortable with a knife, but you’ll have more cleanup later when you strain the sauce.
Honestly? I peel first. It takes an extra 10 minutes, but the payoff is a sauce that’s naturally smoother and you don’t waste any time dealing with skins in the strainer later. Store your cut apples in a bowl—they’ll oxidize and turn brown, but that doesn’t affect flavor or safety.
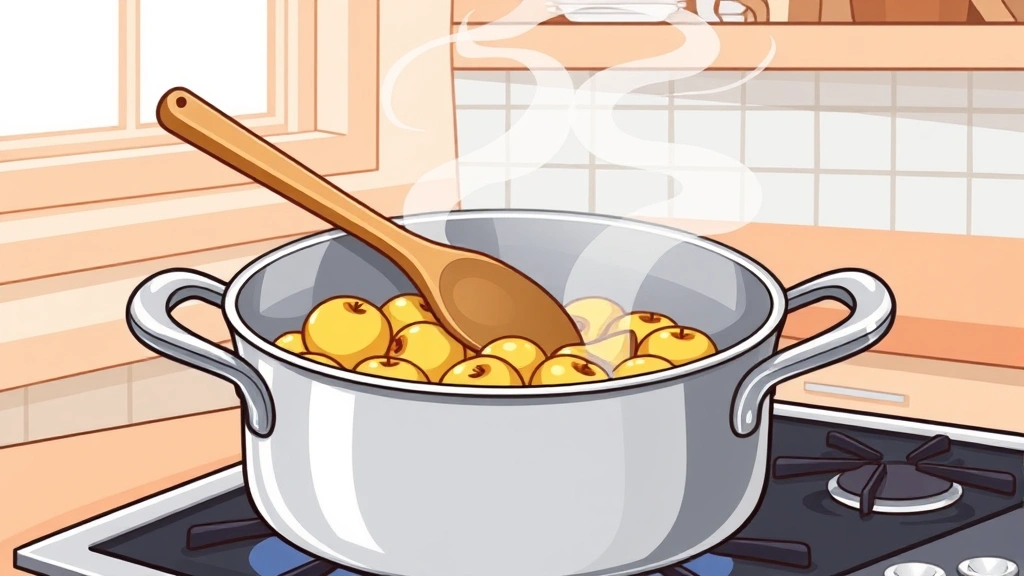
Cooking Methods: Stovetop vs. Slow Cooker
Stovetop Method (Fastest)
Put your cut apples in a large pot or Dutch oven. Add water—just enough to barely cover the bottom layer of apples, maybe 1/4 to 1/2 cup depending on how many apples you have. The apples will release their own liquid as they cook, so you don’t need much.
Bring to a simmer over medium heat. Stir occasionally. The apples will start breaking down within 5-10 minutes. Keep the heat at a gentle simmer—not a rolling boil, which can scorch the bottom and give you a burnt taste. This whole process takes about 15-20 minutes until the apples are completely soft and falling apart.
You’ll know they’re done when you can easily mash a piece against the side of the pot with a wooden spoon and it disintegrates.
Slow Cooker Method (Hands-Off)
Dump your cut apples into a slow cooker. Add 1/4 cup water. Set it to low and walk away for 4-6 hours. The result is slightly more concentrated flavor because the liquid reduces more, but it takes longer. Use this method if you’re meal prepping or want to set it and forget it.
Check after 4 hours. Apples should be completely soft. If they’re still firm, give it another hour.
Safety Warning: Never leave a slow cooker unattended for more than 8 hours. Follow your manufacturer’s guidelines.
Sweetness and Spices
This is where personal preference takes over. If you used sweet apples and you like tart sauce, don’t add sugar. If you used Granny Smiths and you want something sweeter, add a tablespoon at a time and taste as you go.
Start with no added sugar. Taste it. Then decide. Most people are surprised by how naturally sweet apples are when they’re concentrated into sauce.
For spices, here’s what works:
- Cinnamon: 1/4 to 1/2 teaspoon per quart. Start small; you can always add more.
- Nutmeg: 1/8 teaspoon per quart. It’s potent. Respect it.
- Vanilla extract: 1/2 teaspoon per quart. Adds depth without being obvious.
- Lemon juice: 1-2 tablespoons per quart. Brightens the flavor and helps preserve the sauce.
- Allspice or cloves: Use sparingly. 1/16 teaspoon can go a long way.
Add spices after cooking, not before. They develop and intensify as the sauce sits, so what tastes right when it’s hot might be overpowering the next day.
Getting the Right Texture
After cooking, you have options for texture:
Smooth Sauce
Use an immersion blender. Blend directly in the pot until completely smooth. This takes 2-3 minutes. If you don’t have an immersion blender, carefully transfer the cooked apples to a regular blender in batches and blend until smooth. Let it cool slightly first—hot liquid in a blender can be dangerous.
Another option: push the cooked apples through a food mill or fine-mesh strainer. This takes longer but gives you incredibly smooth sauce and naturally separates out any remaining skin or core bits.
Chunky Sauce
Just mash it with a potato masher. You’ll get some chunks and some smooth parts, which is actually really nice. The texture feels more homemade and less industrial.
Semi-Smooth
Use a fork to break down the apples, or pulse the immersion blender a few times instead of running it continuously. You want some texture but not big chunks.
Here’s the thing: texture is subjective. Make it the way you like it. There’s no wrong answer. My preference is semi-smooth because it feels substantial without being chunky enough to get weird in your throat.
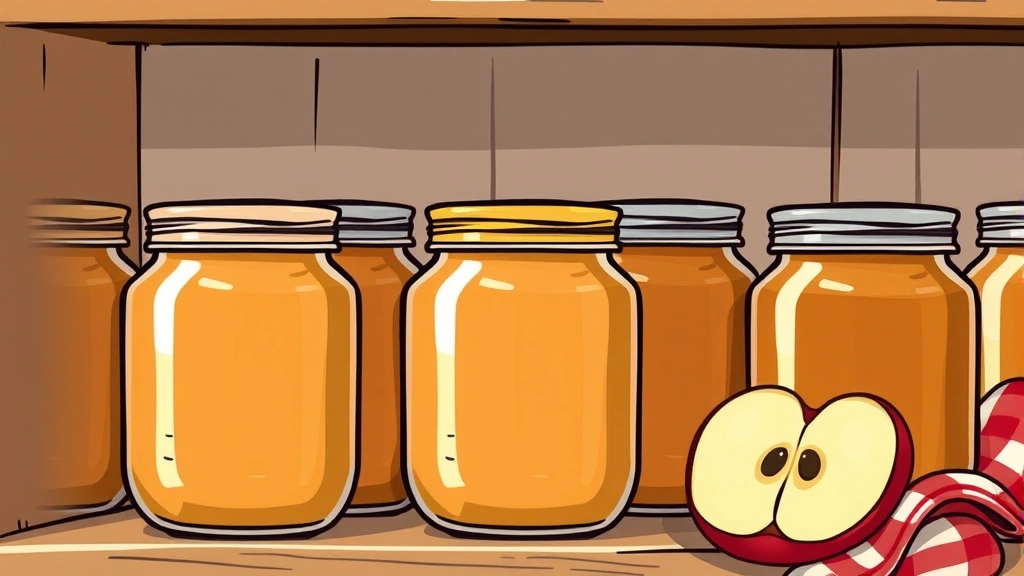
Storage and Canning
If you’re making apple sauce to eat within a week or two, just let it cool completely and store it in airtight containers in the refrigerator. It’ll keep for about 2 weeks. Taste it on day 3 and day 10—you’ll notice the flavor develops and the texture becomes slightly thicker as it sits.
For longer storage, you have two options:
Freezing
Let the sauce cool completely. Pour into freezer containers or ice cube trays (great for portion control). Freeze for up to 3 months. Thaw in the refrigerator before using. This is the easiest method and requires zero special equipment.
Water Bath Canning
This is where things get more technical. If you’re interested in canning, the USDA Food Safety and Inspection Service has detailed guidelines. Apple sauce is acidic enough (pH below 4.0) that water bath canning is safe, unlike low-acid foods that require a pressure canner.
Basic process:
- Prepare your sauce and keep it hot (at least 180°F).
- Sterilize your canning jars by boiling them for 10 minutes.
- Fill jars leaving 1/2 inch headspace.
- Wipe the rims clean with a damp cloth.
- Place hot lids on jars and screw bands on until finger-tight.
- Process in a boiling water bath for 15 minutes (adjust for altitude if you’re above 1,000 feet).
- Remove jars and let cool on a towel. You’ll hear the lids pop as they seal.
Sealed jars will keep in a cool, dark place for up to a year. Once opened, treat like refrigerated sauce and use within 2 weeks.
Real Talk: Canning takes practice. If you’re new to it, read your state’s university extension office guidelines. They’re free and specific to your region. Don’t wing it with canning—food safety matters.
Common Problems and Fixes
Sauce is Too Thin
Cook it longer. The liquid needs to evaporate. Bring it back to a simmer and let it bubble gently for 10-15 minutes. Stir occasionally so it doesn’t scorch. You can also add a tablespoon of cornstarch mixed with 2 tablespoons cold water, stir it in, and simmer for 2 minutes until it thickens.
Sauce is Too Thick
Add water or apple juice, a tablespoon at a time, and stir. Taste as you go. It’ll thin out as it cools slightly too, so don’t overcompensate.
Sauce Tastes Bland
You need acid and salt. Add 1 tablespoon lemon juice and 1/4 teaspoon salt. Taste and adjust. This combination makes the apple flavor pop without making it taste lemony or salty.
Sauce is Brown or Oxidized-Looking
This happens when apples are exposed to air for too long before cooking. It doesn’t affect flavor or safety, just appearance. If it bothers you, add a tablespoon of lemon juice—the acid helps preserve color.
Sauce Separated or Got Watery
This sometimes happens with certain apple varieties or if you cooked it too long. Just stir it back together. If it’s really watery, simmer it again to reduce the liquid. The separation is cosmetic; the sauce is fine to eat.
Mold or Fermentation (for Stored Sauce)
If you see mold or smell anything funky, throw it out. This means it wasn’t stored properly. In the future, make sure containers are airtight and refrigerated immediately after cooling.
For canned sauce, if a jar didn’t seal properly (lid didn’t pop or you can press it down), refrigerate it and use it within 2 weeks like fresh sauce.
Frequently Asked Questions
Do I need to peel the apples?
– No, but it helps. Unpeeled apples make sauce that’s slightly grainier because the skins don’t fully break down. If you want smooth sauce, peel first. If you like chunky sauce with more texture and fiber, leave the skins on.
Can I use apple juice or cider instead of water?
– Yes. It adds sweetness and deeper flavor. Use the same amount as you would water. The sauce will be slightly sweeter, so taste before adding sugar.
How much sugar should I add?
– Start with none. If you want it sweeter after cooking, add 1 tablespoon per quart and taste. Most homemade sauce needs 0-2 tablespoons per quart. Commercial versions use way more, so your homemade version will taste less sweet by comparison—that’s a good thing.
Can I make apple sauce in a food processor instead of cooking it?
– Not really. Raw apples are tough and won’t break down properly in a food processor. You need heat to soften them first. After cooking, a food processor works fine for blending, but the cooking step is non-negotiable.
Is homemade apple sauce safe for babies?
– Yes, but check with your pediatrician about when to introduce it. Plain apple sauce (no added sugar, no spices) is usually fine from around 6 months. For younger babies, puree it smooth. Always check that it’s cooled to a safe temperature before serving. For detailed guidance, the American Academy of Pediatrics has resources on introducing solid foods.
Can I make apple sauce with other fruits mixed in?
– Absolutely. Pears, berries, or peaches work great. Use about 75% apples and 25% other fruit. The apples provide structure and natural pectin; the other fruits add flavor. Cook the same way.
Why does my sauce taste different from store-bought?
– Because it is different. Store-bought versions often use a specific apple blend for consistency, add preservatives, and sometimes use apple concentrate instead of whole apples. Your homemade version will taste fresher and more like actual apples. That’s the point.
Can I use a blender instead of an immersion blender?
– Yes, but be careful. Hot liquid in a blender can splatter. Let the sauce cool for at least 10 minutes first. Fill the blender only halfway. Start on low speed and gradually increase. You might need to blend in batches. An immersion blender is easier and safer, but a regular blender works if that’s what you have.
How do I know if my canned apple sauce sealed properly?
– The lid should be slightly concave (curved downward) and you shouldn’t be able to press it down. If it’s flat and you can press it, it didn’t seal. Refrigerate and use within 2 weeks. A sealed jar will keep at room temperature for a year.
Can I add honey instead of sugar?
– Yes for adults, but not for babies under 1 year old due to botulism risk. For older kids and adults, honey adds a different sweetness profile. Use about 2/3 the amount you’d use sugar (honey is sweeter). Add it after cooking so the heat doesn’t destroy the beneficial enzymes (though this matters less if you’re canning, which heats it anyway).


