How to Recover Erased Photos: Easy & Amazing Guide

Accidentally deleted your precious photos? Don’t panic. Learning how to recover erased photos is easier than you think, and there’s a solid chance your images are still retrievable. Whether you deleted them from your smartphone, computer, or external drive, multiple proven methods exist to restore your memories. This comprehensive guide walks you through recovery techniques, prevention strategies, and expert tips to get your photos back.
Quick Answer: Most erased photos can be recovered using free or paid recovery software like Recuva, EaseUS Data Recovery, or built-in cloud backups. Act quickly—the sooner you stop using the device, the better your recovery chances. Check cloud services first (Google Photos, iCloud, OneDrive), then use dedicated recovery tools if needed.
Tools & Materials You’ll Need
- Computer or laptop with internet access
- External hard drive or USB flash drive (for recovery software)
- Data recovery software (Recuva, EaseUS, or PhotoRec)
- Cloud account credentials (Google, Apple, Microsoft)
- USB cable for connecting mobile devices
- Administrator access to your computer
- Backup drive for recovered files
Check Cloud Backups First
Before diving into complex recovery software, check whether your photos exist in cloud storage. Most modern devices automatically back up photos to cloud services, giving you an easy path to recover erased photos without technical hassle. This is the fastest and most reliable recovery method available.
For iPhone users: Open Settings, tap your name, select iCloud, then Photos. If iCloud Photos is enabled, your deleted photos might still be in the Recently Deleted album. Open the Photos app, tap Albums, scroll to Recently Deleted, select photos, and tap Recover. Apple keeps deleted photos in this folder for 30 days before permanent deletion.
For Android users: Check Google Photos by opening the app and tapping your profile icon. Select Photos Settings, then Backup. If backup is enabled, deleted photos may exist in Google Photos’ Trash folder (accessible via the menu). Google keeps photos in Trash for 60 days. You can also check Samsung Cloud, Amazon Photos, or OneDrive if you’ve enabled those services.
For Windows users: Check OneDrive, which automatically backs up photos if enabled. Open File Explorer, navigate to OneDrive, and look for a Recycle Bin or Recently Deleted section. Microsoft stores deleted items for 93 days.
For Mac users: Verify whether Time Machine backups are active. Connect your Time Machine drive, open Finder, and use Time Machine to browse previous versions of your photo folders. This method can recover photos from weeks or months ago.
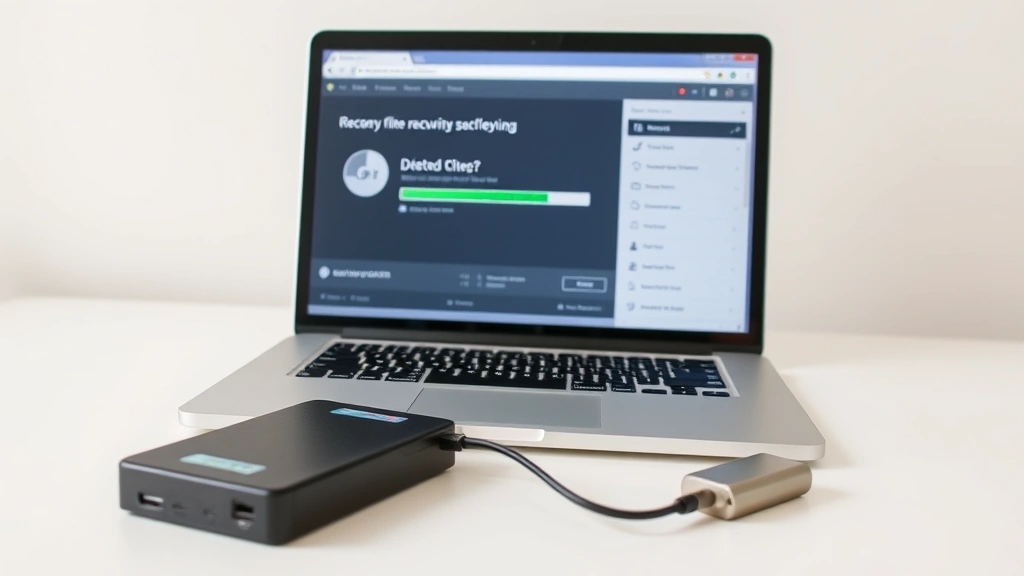
Use Data Recovery Software
If cloud backups don’t contain your photos, how to recover erased photos becomes a matter of using specialized recovery software. These tools scan your storage device for file fragments and reconstruct deleted images. According to WikiHow’s comprehensive guides, recovery software succeeds in 70-90% of cases when used promptly.
Recuva (Windows & Mac): This free tool from Piriform is excellent for beginners. Download Recuva, install it on an unaffected computer, connect your storage device via USB, launch the program, and select the drive to scan. Recuva displays recoverable files with a green, yellow, or red indicator showing recovery likelihood. Select your photos and click Recover to save them to a safe location.
EaseUS Data Recovery Wizard: Available for both Windows and Mac, EaseUS offers a user-friendly interface. Install the software, select the drive containing deleted photos, click Scan, preview recoverable images, and recover them to a different drive. The free version recovers up to 2GB of data, sufficient for most photo recovery needs.
PhotoRec: This free, open-source tool works on Windows, Mac, and Linux. While more technical than alternatives, PhotoRec excels at recovering photos from severely damaged drives. Download it from Instructables, which offers detailed setup instructions, then follow the command-line prompts to scan and recover your images.
Critical tip: Never install recovery software on the same drive containing deleted photos. Install it on a different computer or external drive to avoid overwriting recoverable data. The moment you delete a file, the space becomes available for new data, which can permanently destroy your photos.
Recover Photos from Your Phone
Smartphone photo recovery differs from computer recovery because phones use different storage systems. However, how to recover erased photos from phones is still possible using multiple approaches, especially if you act quickly.
iPhone Recovery Methods: First, check the Recently Deleted album in Photos (accessible via Albums tab). If your photos are there, recovery is instant. If not, use iCloud or iTunes backups. Connect your iPhone to a computer, open iTunes or Finder, select your device, click Restore, and choose a backup from before the deletion. This restores your entire phone to that backup point, so ensure you want to proceed.
Android Recovery Methods: Check Google Photos Trash (60-day retention), Samsung Cloud if applicable, or Amazon Photos. For deeper recovery, you’ll need to connect your Android phone to a computer via USB and use recovery software like EaseUS or Dr.Fone. Enable USB debugging in Developer Options (Settings > About Phone > tap Build Number 7 times > Developer Options) to allow the recovery software full access to your phone’s storage.
Important consideration: Phone storage recovery is harder than computer recovery because phones use flash memory with different deletion mechanisms. Success rates drop significantly if you’ve used your phone extensively after deletion. Stop using your phone immediately after noticing missing photos to maximize recovery chances.
Recover Photos from Your Computer
Computer photo recovery is generally more successful than phone recovery because desktop storage uses different technology. Learning how to recover erased photos from your computer involves understanding where your system stores deleted files and how recovery software retrieves them.
Windows Recovery Process: Check your Recycle Bin first—deleted files often remain there for weeks. Right-click the Recycle Bin, select Restore to recover files to their original locations. If the Recycle Bin is empty, use Recuva or EaseUS. Connect an external drive to your computer, install recovery software on that external drive, scan your internal drive, and save recovered photos to the external drive.
Mac Recovery Process: Check the Trash by clicking the Trash icon in your Dock. If photos are there, drag them back to your desired folder. For permanently deleted photos, use Disk Utility to check drive health, then employ recovery software like Recuva or Data Rescue. As noted by Consumer Reports, Mac users should also verify Time Machine backups before attempting software recovery.
Recovery Success Factors: Your success depends on how quickly you act, how much you’ve used your computer since deletion, and your storage drive type. SSDs (Solid State Drives) are harder to recover from than traditional HDDs because of how they manage deleted data. Act within days of deletion for best results, and avoid installing new programs or saving files to the affected drive.
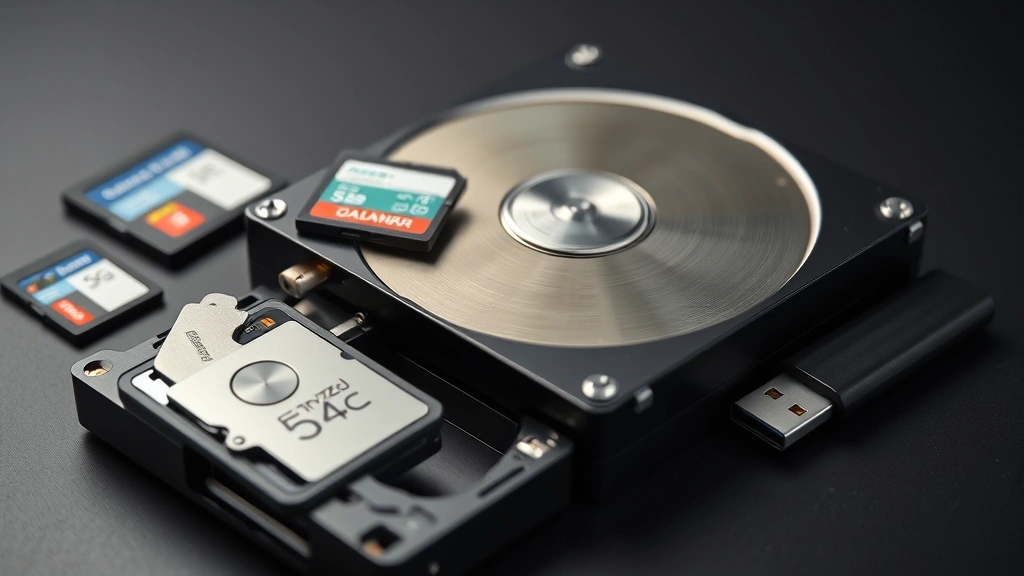
Recover Photos from External Drives & Memory Cards
External storage devices like USB drives, SD cards, and external hard drives store photos differently than internal drives, requiring specific recovery approaches. Understanding how to recover erased photos from these devices can save irreplaceable memories from family vacations and special events.
SD Card Recovery: SD cards from cameras and phones are particularly recoverable because they use straightforward storage architecture. Insert the SD card into a card reader connected to your computer. Use recovery software like PhotoRec or Recuva to scan the entire card. These tools typically recover 80-95% of photos from SD cards, even if the card shows as empty or corrupted.
USB Flash Drive Recovery: USB drives behave similarly to SD cards. Connect the USB drive, run your recovery software, and scan the entire device. USB drives often yield high recovery rates because they rarely experience the wear patterns that degrade phone storage.
External Hard Drive Recovery: Larger external drives may require more advanced software. If your external drive makes clicking sounds or isn’t recognized by your computer, stop using it immediately—this indicates potential hardware failure. Consult professional data recovery services in such cases, as DIY attempts could cause permanent damage.
Corrupted Drive Recovery: If your external drive shows corruption errors, try connecting it to a different computer or USB port. Use recovery software from a different computer to avoid drive recognition issues. If the drive is physically damaged, professional recovery services cost $300-$3,000 but recover data from severely compromised drives.
Prevent Future Photo Loss
The best strategy for how to recover erased photos is preventing deletion in the first place. Implementing robust backup systems ensures you never lose irreplaceable images again.
Implement the 3-2-1 Backup Rule: Keep three copies of important photos—one on your primary device, one on an external drive, and one in cloud storage. This redundancy ensures you always have backups if one storage location fails. Most photographers and tech experts, as referenced by Lifehacker, consider the 3-2-1 rule essential for photo preservation.
Enable Automatic Cloud Backup: Activate Google Photos (Android), iCloud Photos (iPhone), or OneDrive (Windows) to automatically upload photos as you take them. These services provide unlimited storage options and automatic syncing, eliminating manual backup tasks. If you’re concerned about storage space, learn how to clear Instagram cache and other apps to free up device space for photo backups.
Use External Hard Drives: Connect an external drive weekly to back up your photo folders. Automated backup software like Backblaze or Carbonite continuously backs up your computer in the background. This method protects against accidental deletion, hardware failure, and ransomware attacks.
Organize Your Photos Strategically: Use a consistent folder structure (Year/Month/Event) to track photos easily. Tag photos with keywords, locations, and dates. This organization makes it easier to identify important photos and ensures you know what needs backing up. Create a separate “Archive” folder for photos you never want to accidentally delete.
Use Recovery-Resistant Practices: Avoid using your device’s default delete function for important photos. Instead, move them to a secure “Archive” folder first. This two-step process prevents accidental deletion. Additionally, if you’re checking whether how to check if iPhone is unlocked to verify device security, ensure your backup accounts use strong passwords to prevent unauthorized deletion.
Professional Backup Services: Services like Backblaze, Carbonite, and IDrive offer automated cloud backup for entire photo libraries. These services cost $5-$15 monthly but provide peace of mind knowing your photos are protected against all common loss scenarios. According to The Spruce, professional backup services are increasingly important as digital photo collections grow larger.
FAQ
Can I recover photos deleted from the Trash or Recycle Bin?
Yes, absolutely. Photos in Trash or Recycle Bin haven’t been permanently deleted from your storage device—they’re just hidden from normal view. Use recovery software to scan your device and recover them. Success rates are highest if you recover them quickly, before new data overwrites the deleted files.
How long do I have to recover deleted photos?
This depends on your storage device and usage patterns. Cloud services retain deleted photos for 30-93 days. For local storage, you have days to weeks before new data overwrites deleted files. Act immediately upon noticing missing photos to maximize recovery chances. The longer you wait, the lower your recovery success rate becomes.
Is it safe to use free recovery software?
Free recovery software like Recuva and PhotoRec are safe and legitimate. They don’t contain malware or spyware. However, download from official sources only—avoid third-party download sites. Free software typically works as well as paid alternatives for standard photo recovery, though paid versions offer faster scanning and additional features.
What if recovery software finds my photos but can’t open them?
Corrupted files sometimes recover but don’t open properly. Try opening them with different photo viewing software—some programs handle corrupted files better than others. Online image repair tools can sometimes fix minor corruption. If multiple recovery attempts fail, the files may be too damaged to recover.
Can I recover photos from a water-damaged phone?
Possibly, but act quickly. Power off the phone immediately and let it dry completely (24-48 hours) before attempting recovery. Once dry, try connecting it to a computer and using recovery software. If the phone won’t power on, professional data recovery services can extract photos from the storage chip, though costs run $500-$2,000.
Will recovery software work on encrypted drives?
Most recovery software cannot access encrypted drives without the decryption password. If you encrypted your drive with BitLocker (Windows) or FileVault (Mac), you must provide the password before recovery software can scan it. Store encryption passwords securely to avoid permanent data loss if you forget them.
How do I know if my photos are truly gone or just hidden?
Check your device’s hidden files settings. On Windows, open File Explorer settings and enable “Show hidden files.” On Mac, press Command+Shift+Period in Finder to reveal hidden files. Photos may be hidden in system folders or backup locations. If they’re not in hidden locations, use recovery software to confirm whether they’re truly deleted or recoverable.
Can I recover photos from a formatted drive?
Yes, formatting a drive doesn’t permanently delete photos—it just removes the file directory. Recovery software can still scan the drive and reconstruct formatted photos. Success rates are high for recently formatted drives, though older formatted drives may have degraded data. Avoid using the drive after formatting to prevent data overwriting.
What’s the difference between quick delete and secure delete?
Quick delete removes file references but leaves data intact—easily recoverable with standard recovery software. Secure delete overwrites data with random information, making recovery nearly impossible. If you used secure delete, recovery is unlikely. Regular delete operations are recoverable; only secure deletion prevents recovery.
Should I attempt DIY recovery or hire professionals?
Try DIY recovery first using free software—it’s risk-free and often successful. If DIY methods fail and your photos are irreplaceable, consult professional data recovery services. They cost $300-$3,000 but recover data from severely damaged drives. For most standard deletion scenarios, DIY recovery succeeds within hours.