How to Record Phone Calls on iPhone: Easy & Essential Guide
Recording phone calls on your iPhone can be invaluable for important conversations, interviews, or business discussions. Whether you need to capture details from a customer service call or document a critical conversation, knowing how to record phone calls on iPhone is an essential skill in today’s digital world. The process varies depending on your iOS version and whether you’re calling domestically or internationally, but we’ll walk you through every method available to you.
Quick Answer: The easiest way to record phone calls on iPhone is using the built-in Voice Memos app during a call by tapping the speakerphone button, then opening Voice Memos to record. Alternatively, use third-party apps like TapeACall or Rev Call Recorder (available on the App Store), enable two-way audio recording in their settings, and start recording before or during your call. Always check local laws regarding consent before recording—many states require all-party consent.
Tools & Materials You’ll Need
- iPhone (any model running iOS 14 or later recommended)
- Active cellular or Wi-Fi calling service
- Voice Memos app (pre-installed on all iPhones)
- Optional: Third-party call recording app (TapeACall, Rev Call Recorder, Google Voice)
- Sufficient storage space (call recordings consume 1-3 MB per minute)
- Headphones with microphone (optional, for better audio quality)
- Understanding of local recording consent laws
Legal Considerations Before Recording Phone Calls
Before you start learning how to record phone calls on iPhone, it’s crucial to understand the legal landscape. The United States has two types of recording consent laws: one-party consent states and two-party consent states. In one-party consent states, you only need to consent to the recording yourself. However, in two-party consent states (including California, Florida, Illinois, Pennsylvania, and others), you must obtain explicit permission from all parties on the call before recording.
According to WikiHow’s comprehensive guides, federal law permits recording if at least one party consents, but state laws often impose stricter requirements. Violating two-party consent laws can result in criminal charges and civil liability. Always inform the other person that you’re recording, or use a disclaimer at the beginning of your call. If you’re unsure about your state’s laws, consult local legal resources or contact an attorney.
International calls have even more complex regulations. Canada, Australia, and most European countries require all-party consent. Make sure you understand the laws in both your location and the location of the person you’re calling. When in doubt, always ask for permission explicitly before recording.
Using Voice Memos to Record Calls
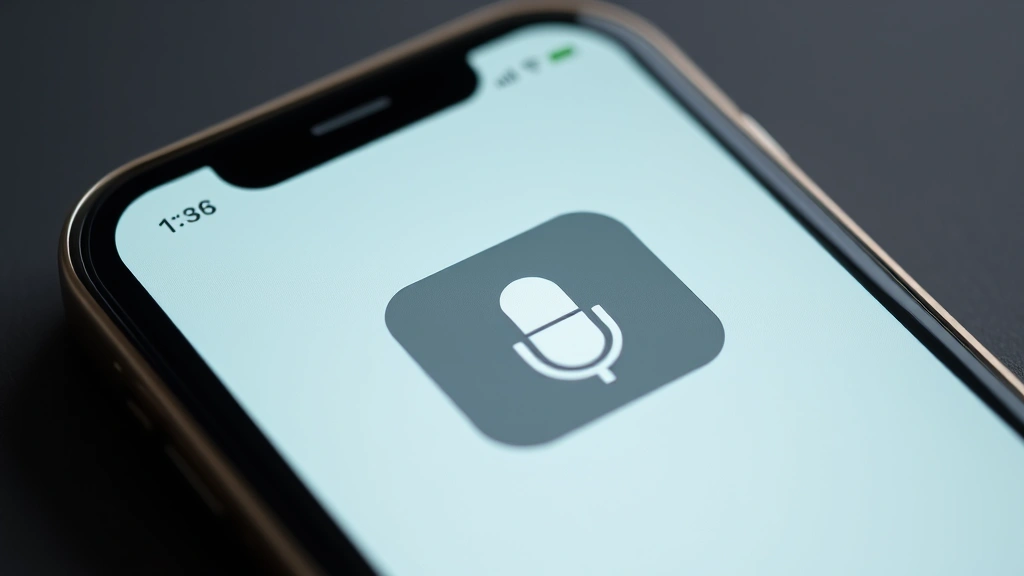
The simplest way to record phone calls on iPhone without third-party apps is using the built-in Voice Memos application. This method works on all iPhones and doesn’t require app downloads or subscriptions. Start by initiating a phone call through the Phone app or accepting an incoming call. Once connected, tap the speakerphone button to switch to speaker mode—this is essential because Voice Memos captures audio from the speaker.
With the call on speakerphone, swipe up from the bottom of the screen to access Control Center. Locate the Voice Memos icon (it looks like a microphone) and tap it to begin recording. You’ll see a red recording indicator at the top of your screen confirming that audio is being captured. Continue your conversation naturally while recording. When you’re finished, return to Control Center and tap the Voice Memos icon again to stop recording.
The recorded file will automatically save to your Voice Memos app with a timestamp. You can rename it by opening Voice Memos, finding your recording, swiping left, and selecting “Edit.” This method has limitations—audio quality depends on speaker clarity, and both parties must be able to hear each other clearly through the speaker. For business calls or important conversations, consider upgrading to a dedicated call recording app.
Best Third-Party Apps for Call Recording
Several third-party applications make how to record phone calls on iPhone easier and more professional. TapeACall is one of the most popular options, offering both free and premium versions. The free version allows basic recording with limited features, while the premium subscription ($9.99/month or $59.99/year) enables unlimited recording, cloud storage, and automatic transcription. To use TapeACall, download the app, set up your account, and when you want to record a call, open the app and tap “Record Call.” You’ll be connected to a conference line where both parties’ audio is captured.
Rev Call Recorder is another excellent choice, particularly for those needing transcription services. This app records calls at high quality and automatically transcribes them for $0.25 per minute. It’s ideal for interviews, business calls, and important conversations where you need searchable text records. Simply open the app, tap the record button before making your call, and the recording begins automatically.
As reviewed by Consumer Reports, Google Voice remains a reliable free option for call recording. If you have a Google Voice number, you can record incoming calls by pressing 4 during the call. Outgoing calls cannot be recorded through Google Voice, and the service works best for domestic calls. The recordings save to your Google Voice voicemail and can be downloaded as MP3 files.
Other notable apps include Call Recorder Pro, Automatic Call Recorder, and Cube ACR. Each has different pricing models and features. When choosing an app, consider factors like audio quality, transcription availability, cloud storage, and compatibility with your iOS version. Always read user reviews and check the app’s privacy policy before downloading.
Recording Calls with Google Voice
Google Voice offers a built-in call recording feature that doesn’t require third-party apps. To use this method, you’ll need a Google Voice number, which is free to set up. Visit Google Voice’s website, sign in with your Google account, and follow the prompts to claim a number. You can use your existing phone number or select a new one from available options.
Once you have a Google Voice number, forward your calls to your iPhone or use Google Voice as your primary calling number. When you receive an incoming call through Google Voice, press the 4 key on your iPhone’s keypad during the conversation to start recording. You’ll hear a voice confirmation that recording has begun. The caller will also hear a notification that the call is being recorded.
The recording automatically saves to your Google Voice account. You can access it through the Google Voice app or website, listen to it, download it as an MP3, or share it with others. This method is particularly useful for business professionals who want free, reliable call recording without subscription fees. However, it only works for incoming calls and requires that callers reach you through your Google Voice number.
Tips to Improve Recording Quality
Achieving professional-quality recordings when you learn how to record phone calls on iPhone requires attention to several factors. First, minimize background noise by choosing a quiet location for important calls. Close windows, turn off fans, and ask others nearby to be quiet during recording. If possible, use a headset or earbuds with a built-in microphone, as these typically capture clearer audio than the iPhone’s built-in microphone.
Speak clearly and at a normal volume—avoid shouting or mumbling, as this can distort recordings. Ensure your iPhone is fully charged before important calls, as low battery can affect audio processing. If using the Voice Memos method, keep the phone steady and avoid touching the microphone during recording. For third-party apps, check their audio quality settings and select the highest quality option available, even if it uses more storage.
Test your recording setup before important calls. Make a practice recording with a friend and listen back to evaluate audio quality. Adjust microphone placement, speaker volume, or app settings based on what you hear. If using Wi-Fi calling, ensure your connection is strong and stable. Weak signals can cause audio dropouts or quality degradation. Consider using cellular data instead if your Wi-Fi is unreliable.
Managing Storage and Files
Call recordings consume storage space on your iPhone, so managing them effectively is important. Each minute of call recording typically uses 1-3 MB of storage, depending on audio quality and compression. If you record frequently, you may need to regularly delete old recordings or transfer them to cloud storage to maintain available space.
For Voice Memos recordings, open the Voice Memos app and swipe left on any recording to delete it. To keep important recordings, consider using iCloud or another cloud storage service. You can share Voice Memos files via AirDrop, email, or cloud services. Third-party apps like TapeACall and Rev Call Recorder typically offer cloud storage as part of their service, automatically backing up your recordings to their servers.
Organize your recordings by creating folders or using naming conventions that help you find specific calls later. Include dates, caller names, or call purposes in your file names. If you need transcriptions, many apps provide searchable text records that make finding specific information easier than reviewing entire audio files. Regularly review your storage usage in iPhone Settings and delete recordings you no longer need.
Common Issues and Troubleshooting
If you’re having trouble with how to record phone calls on iPhone, several common issues may be the culprit. No audio in recordings: Ensure speakerphone is enabled (for Voice Memos method) and that your microphone isn’t covered. Check app permissions in Settings > Privacy > Microphone and ensure your recording app has access. Restart the app and try again.
Poor audio quality: Move to a quieter location, speak closer to the microphone, and check your app’s audio quality settings. Ensure your iPhone isn’t in low power mode, which can affect audio processing. If using Wi-Fi calling, switch to cellular data for more stable connections.
App crashes during recording: Update your iPhone to the latest iOS version and update the recording app. Close other background apps to free up memory. If problems persist, uninstall and reinstall the app. As noted by Family Handyman’s troubleshooting resources, sometimes a fresh installation resolves persistent software issues.
Recordings not saving: Check that you have sufficient storage space available. Go to Settings > General > iPhone Storage to see available space. If storage is full, delete unnecessary files or photos. Ensure the app has permission to access your phone’s storage through Settings > Privacy > Photos or Files.
Third-party app not working: Verify that your iOS version meets the app’s requirements. Check that you’re connected to Wi-Fi or have cellular data enabled. Some apps require an active subscription—confirm your payment method is valid. Contact the app’s customer support if issues persist.
For additional troubleshooting guidance, consult HowStuffWorks’ iPhone support section or your app’s help documentation. Many issues can be resolved through simple steps like restarting your phone or updating software.
FAQ
Q: Is it legal to record phone calls on iPhone?
A: It depends on your location’s consent laws. In one-party consent states, you can record as long as you consent. In two-party consent states, you must obtain permission from all parties. Always check your state’s specific laws before recording.
Q: Can I record both sides of a phone conversation with Voice Memos?
A: Yes, when you use speakerphone with Voice Memos, both your voice and the other person’s voice are recorded. The audio quality depends on speaker clarity.
Q: Do third-party call recording apps cost money?
A: Many offer free versions with limited features. Premium subscriptions typically range from $5-$15 per month. Some apps like Google Voice offer free recording for incoming calls.
Q: Will the other person know I’m recording?
A: With third-party apps using conference line technology, the other person may hear a brief notification. With Voice Memos on speakerphone, they won’t receive a notification unless you tell them. Always inform them as required by law.
Q: How much storage do call recordings use?
A: Typically 1-3 MB per minute of audio, depending on quality settings. A one-hour call uses approximately 60-180 MB of storage.
Q: Can I record FaceTime calls?
A: Yes, you can use Screen Recording (swipe down from top-right corner and tap Screen Recording) to record FaceTime calls, though this captures video and audio. Always ensure all parties consent to recording.
Q: What’s the best app for recording business calls?
A: TapeACall and Rev Call Recorder are excellent for business use, offering high-quality recordings, transcription services, and cloud storage. Choose based on your transcription needs and budget.
Q: Can I edit recordings after saving them?
A: Most recording apps allow you to trim recordings or add notes. For advanced editing, transfer files to your computer and use audio editing software like Audacity (free) or Adobe Audition (paid).
Q: Will recording drain my iPhone battery?
A: Recording uses minimal battery power. However, if using speakerphone or Wi-Fi calling simultaneously, battery drain increases. Keep your phone charged for longer calls.
Q: How do I share recorded calls with others?
A: Use your app’s sharing feature, or export recordings to cloud storage like iCloud Drive, Google Drive, or Dropbox. You can also email recordings directly from most apps, though file size may limit this option.
Learning how to record phone calls on iPhone opens up possibilities for better documentation, improved follow-ups, and professional communication records. Whether you choose the simple Voice Memos method or invest in a dedicated app, ensure you understand the legal requirements in your area and always prioritize consent. With the right approach and tools, you’ll have reliable recordings of important conversations whenever you need them. For more iPhone tips and tricks, check out our guides on how to see blocked numbers on iPhone and how to block no caller ID on iPhone to enhance your overall communication management. You might also find it helpful to learn how to clear app cache on iPhone to optimize storage for your recordings.