How to Clear Cache on iPad: Simple & Essential Guide
Your iPad might feel sluggish, apps could be crashing, or you’re simply running low on storage space. The solution is often simpler than you think: how to clear cache on iPad can dramatically improve performance and free up valuable storage. Cache files accumulate over time as apps store temporary data, and clearing them is one of the most effective maintenance tasks you can perform. This guide walks you through multiple methods to clear cache on your iPad, from built-in settings to app-specific solutions, ensuring your device runs smoothly and efficiently.
Quick Answer
To clear cache on iPad, navigate to Settings > General > iPad Storage, select an app, and tap Offload App or Delete App. Alternatively, go to Settings > Safari > Clear History and Website Data for browser cache. For a complete system refresh, restart your iPad by holding the power button and swiping to power off. These methods remove temporary files that slow down performance without deleting your important data.
Tools & Materials Needed
- iPad with iOS/iPadOS 14 or later
- Wi-Fi or cellular connection (recommended)
- Access to iPad Settings app
- Optional: iCloud account for backup
- Optional: Computer with iTunes or Finder (for advanced clearing)
Understanding iPad Cache and Why It Matters
Cache is temporary data stored by apps and your iPad’s operating system to speed up performance. When you browse the web, use social media, or stream videos, your iPad saves portions of this information locally. While cache improves loading times initially, accumulated cache files can consume gigabytes of storage and cause your device to slow down significantly. Understanding how to clear cache on iPad helps you maintain optimal performance without losing important personal data like photos, contacts, or messages.
Cache differs from permanent data—clearing it won’t delete your passwords, saved files, or app preferences. Instead, you’re removing temporary files that apps can easily recreate when needed. This distinction is crucial because many iPad users worry about data loss when clearing cache. According to WikiHow, clearing cache is one of the safest maintenance procedures you can perform on any Apple device.
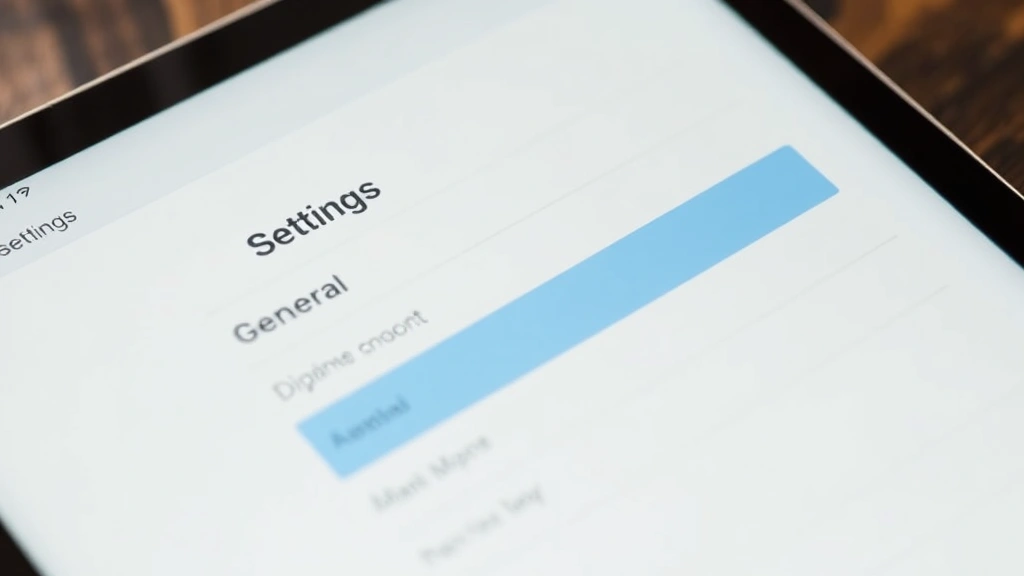
How to Clear Cache on iPad via Settings
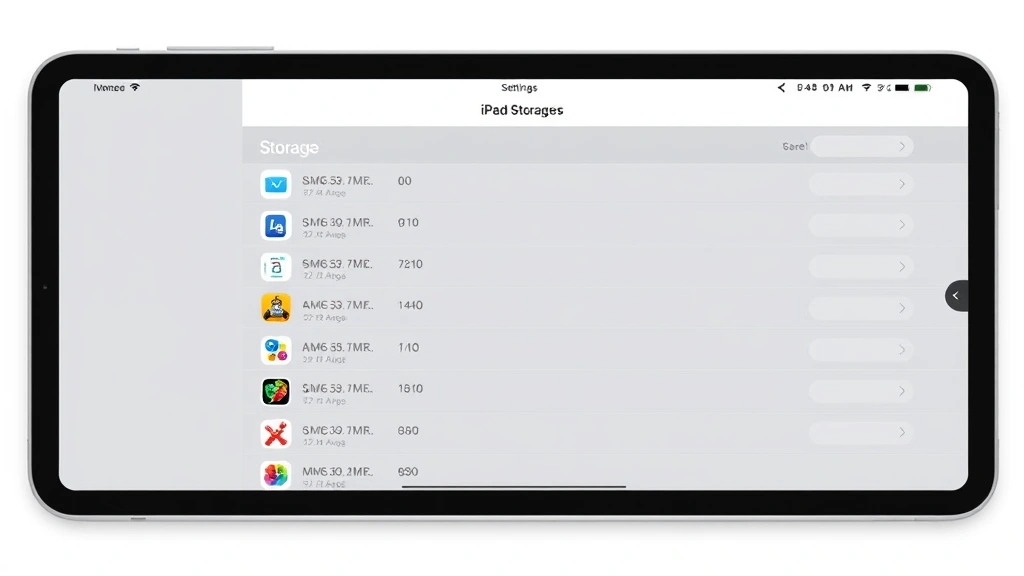
The most straightforward way to clear cache on iPad is through the built-in Storage settings. This method shows you exactly which apps are consuming space and allows you to manage them individually. Start by opening the Settings app on your iPad’s home screen. Tap General, then scroll down and select iPad Storage. Your device will display a list of installed apps sorted by storage size, with cache and temporary files included in these measurements.
Review the list and identify apps consuming excessive space. Apps like social media platforms, streaming services, and web browsers typically accumulate the most cache. When you tap on an app, you’ll see options to Offload App or Delete App. Offloading removes the app but keeps your data and settings intact, while deleting removes everything. For cache clearing specifically, offloading is often the better choice—your app data remains safe, and when you reinstall the app, it will rebuild a fresh cache. This process effectively clears cache on iPad without losing your app customizations.
Clear Safari Browser Cache
Safari cache accumulates quickly, especially if you browse frequently or watch online videos. To clear cache on iPad’s Safari browser, open Settings and scroll down to find Safari. Tap it, then look for the Clear History and Website Data option near the bottom of the Safari settings page. You’ll see options to select what time period to clear: the last hour, today, today and yesterday, or all time. Choose All time for the most comprehensive cache clearing.
This action removes your browsing history, cookies, and cached website data. If you’re concerned about losing saved passwords or autofill information, don’t worry—those are stored separately and won’t be affected. For users who want more granular control, you can also enable Privacy settings in Safari to automatically clear cache upon closing the browser. As reviewed by Consumer Reports, regularly clearing browser cache is essential for both device performance and online privacy protection.
Offload Apps to Remove Cache
Offloading apps is a powerful technique to clear cache on iPad while preserving your app data and settings. Unlike deletion, offloading is a non-destructive method that temporarily removes the app’s executable files while keeping associated data. Navigate to Settings > General > iPad Storage, find an app you want to offload, and tap the app name. Select Offload App and confirm your choice. The app icon will remain on your home screen with a small cloud download icon overlay.
When you’re ready to use the app again, simply tap its icon, and iPadOS will automatically re-download and install it. The reinstallation process rebuilds cache from scratch, effectively eliminating old temporary files that may have been causing performance issues. This method is particularly useful for apps you use infrequently but want to keep installed. If you combine offloading with regular maintenance, you can prevent cache buildup from becoming a significant storage problem. Many users find that offloading apps once every few months maintains optimal performance on their iPad.
Clear App-Specific Cache
Individual apps often have their own cache settings that you can manage without affecting other applications. Social media apps like Instagram and Facebook are notorious for accumulating cache. To clear Instagram cache on iPad, open the app, tap your profile icon, select the menu, and look for Settings and Privacy. Navigate to Account > Storage and Cellular Data > Clear Cache. This targeted approach removes only Instagram’s cached data, preserving your photos, messages, and follower list. For detailed instructions on this process, visit our guide on how to clear Instagram cache.
Other apps like YouTube, Spotify, and email clients offer similar cache-clearing options within their settings. Checking individual app settings is worthwhile if you notice specific apps performing slowly. Additionally, many productivity apps like Microsoft Office or Adobe Creative Cloud maintain separate cache folders that can be cleared independently. Taking time to explore app-specific settings helps you understand how to clear cache on iPad more effectively and gives you finer control over your device’s storage management.
Advanced Cache Clearing Methods
For more advanced users, additional cache-clearing techniques exist beyond standard settings. One method involves connecting your iPad to a computer with iTunes or Finder installed. Using the Finder app on Mac or iTunes on Windows, you can access your iPad’s file system and manually delete cache folders. However, this approach requires technical knowledge and carries risks if you accidentally delete essential system files. Most users won’t need this method, as the built-in iPad settings provide sufficient cache management.
Another advanced technique involves performing a complete iPad restart to clear temporary system cache. Hold the Top button and Volume Down button simultaneously until the power-off slider appears. Drag the slider to power off your iPad completely, wait 30 seconds, then hold the Top button again until the Apple logo appears. This soft restart clears system-level cache and often resolves performance issues. If you need more detailed guidance, our article on how to turn off iPad provides comprehensive instructions. For extreme cases where cache clearing doesn’t help, a factory reset through Settings > General > Reset > Erase All Content and Settings provides the ultimate cache purge, though this removes all data.
Preventive Maintenance Tips
Preventing excessive cache buildup is easier than clearing it repeatedly. Enable Automatic App Offloading by going to Settings > App Store > Offload Unused Apps. This feature automatically removes apps you haven’t used recently, then reinstalls them when you need them again. Enabling this setting ensures your iPad maintains optimal storage without requiring manual intervention. Additionally, regularly review your iPad Storage in Settings—aim to keep at least 10-15% of your total storage free for optimal performance.
For Safari users, enable Privacy settings to automatically clear browser data when closing the app. Navigate to Settings > Safari > Privacy and toggle on relevant options. Consider updating apps regularly, as developers often optimize cache management in newer versions. If you connect to Wi-Fi regularly, enable iCloud Photos and iCloud Drive to offload photo and document storage to the cloud, reducing local cache pressure. These preventive measures combined create a system that naturally maintains clean cache without requiring frequent manual intervention.
When to Clear Cache vs. Delete Data
Understanding the difference between clearing cache and deleting data helps you make informed decisions about your iPad’s maintenance. Clear cache when your device feels slow, apps are crashing occasionally, or you need to free up storage space. Cache clearing is safe and reversible—apps will simply rebuild cache as needed. Delete data when you want to completely remove an app and all associated information, or when you’re selling or giving away your iPad. Deleting is permanent and cannot be undone without restoring from a backup.
If you’re experiencing specific app problems, clearing that app’s cache should be your first troubleshooting step. If performance issues persist across multiple apps, perform a system-wide cache clearing. According to Lifehacker, most iPad performance problems stem from cache buildup and can be resolved through regular maintenance. Only resort to data deletion if cache clearing doesn’t resolve issues or if you specifically want to remove an app. Maintaining this balanced approach ensures your iPad runs smoothly while preserving all your important information.
FAQ
Q: Will clearing cache delete my photos or messages?
A: No. Cache clearing only removes temporary files created by apps and browsers. Your photos, messages, contacts, and personal data remain completely untouched. Cache is separate from permanent storage.
Q: How often should I clear cache on iPad?
A: For most users, clearing cache monthly is sufficient. Heavy users who install many apps or browse frequently may benefit from clearing cache every 2-3 weeks. Monitor your iPad’s performance to determine the right frequency for your usage patterns.
Q: Does clearing cache improve iPad battery life?
A: Indirectly, yes. When your iPad isn’t struggling with performance issues caused by excessive cache, the processor works more efficiently, potentially extending battery life. The improvement is typically modest but noticeable over time.
Q: Can I clear cache on iPad without using Settings?
A: Most cache clearing requires the Settings app. However, individual apps often have their own cache-clearing options within their settings menus. Additionally, restarting your iPad clears some system cache automatically.
Q: What’s the difference between offloading and deleting an app?
A: Offloading removes the app but keeps your data and settings. When you reinstall it, everything returns to normal. Deleting removes both the app and all associated data permanently. Offloading is preferable for cache clearing.
Q: Is it safe to clear cache on iPad?
A: Yes, absolutely. Clearing cache is one of the safest maintenance procedures you can perform. It never affects your personal data, and apps automatically rebuild cache as needed. Apple actively encourages cache clearing for device maintenance.
Q: Why is my iPad storage full even after clearing cache?
A: If storage remains full after cache clearing, examine large files like videos or photos. Use Settings > General > iPad Storage to identify space-consuming items. Consider uploading photos to iCloud or deleting unused apps to free additional space.
Q: Can clearing cache fix app crashes?
A: Yes, frequently. Corrupted cache files often cause app crashes. Clearing an app’s cache or offloading and reinstalling the app often resolves crash issues. If crashes continue, try updating the app to the latest version.