How to Make Apple Cider: Simple & Amazing Guide
There’s nothing quite like the aroma of fresh apple cider simmering on your stove during fall. Learning how to make apple cider at home is easier than you might think—and the results taste infinitely better than store-bought versions. Whether you prefer it hot and spiced or cold and crisp, this guide walks you through every step to create delicious homemade cider that will impress family and friends.
Quick Answer: To make apple cider, select fresh apples, wash and chop them, add water (optional), simmer for 45-60 minutes, strain through cheesecloth, and store in the refrigerator. The basic process takes about two hours from start to finish, and you’ll need just a few kitchen tools. For spiced cider, add cinnamon sticks, cloves, and nutmeg during simmering.
Tools & Materials You’ll Need
- Large stainless steel pot (at least 8-quart capacity)
- Sharp knife and cutting board
- Cheesecloth or fine-mesh strainer
- Colander
- Wooden spoon for stirring
- Glass jars or bottles for storage
- Potato masher (optional, for pressing apples)
- Food mill or immersion blender (optional)
- Fresh apples (6-8 pounds)
- Water (1-2 cups, optional)
- Spices: cinnamon sticks, cloves, nutmeg, star anise (optional)
- Honey or sugar (optional, for sweetening)
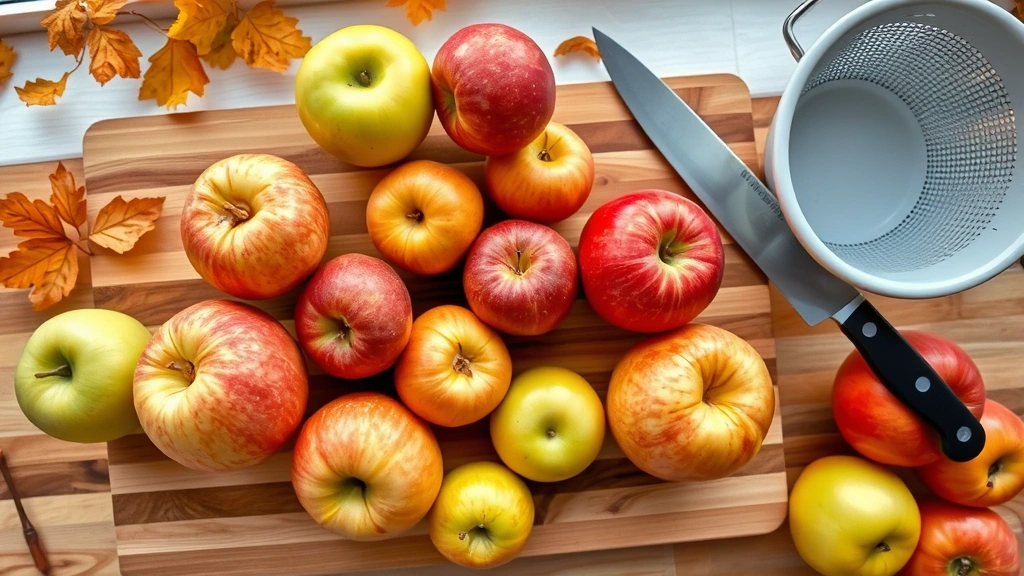
Choosing the Right Apples for Cider
The foundation of great homemade apple cider starts with selecting the right apples. How to make apple cider successfully depends heavily on apple variety—you’ll want a mix of sweet and tart apples for balanced flavor. Granny Smith apples provide tartness, while Fuji, Gala, and Honeycrisp varieties add natural sweetness. Avoid using only one variety; blending creates more complex, interesting cider.
Freshness matters significantly when learning how to make apple cider. Choose firm apples without bruises or soft spots, as these indicate decay that can affect your final product. Fall harvest apples (September through November) tend to have the best flavor profile. If possible, visit a local orchard or farmers market to select apples at peak ripeness. According to WikiHow’s fruit selection guide, freshly picked apples yield superior cider compared to older supermarket varieties.
You’ll need approximately 6-8 pounds of apples to produce one gallon of cider. Don’t worry about cosmetic imperfections—naturally rustic apples work perfectly fine. The key is using apples that haven’t been treated with heavy pesticides or waxes, which can affect taste.
Preparing Your Apples
Proper preparation is crucial when you’re learning how to make apple cider at home. Start by thoroughly washing all apples under cool running water, using a soft brush to remove dirt and debris. Pat them dry with a clean kitchen towel. This step prevents unwanted bacteria and contaminants from entering your cider.
Next, cut your apples into quarters or eighths, leaving the skin and cores intact—these contain pectin and flavor compounds essential for quality cider. Remove any visibly damaged sections or stems. You don’t need to peel the apples; the skin contributes color, tannins, and nutritional value to your finished product. The Spruce’s apple preparation techniques emphasize keeping skins on for maximum flavor extraction.
If you’re concerned about browning during preparation, you can learn how to keep apples from turning brown using lemon juice or by working quickly and placing cut apples directly into your pot. Having all apples prepped and ready before starting the cooking process ensures consistent results.
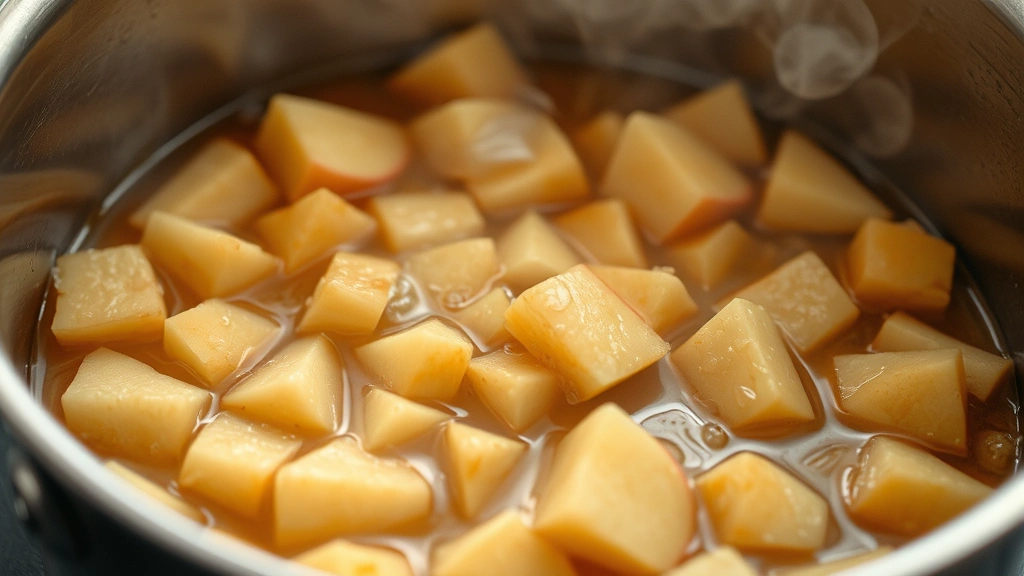
The Cooking Process
Fill your large pot with prepared apple pieces until it’s about three-quarters full. Add 1-2 cups of water if you prefer a thinner consistency, though water is entirely optional—apples release significant liquid during cooking. Bring the mixture to a boil over medium-high heat, then reduce to medium and maintain a gentle simmer.
Simmer for 45-60 minutes, stirring occasionally with a wooden spoon. The apples will gradually break down and soften, releasing their juices. You’ll notice the mixture darkening and the aroma becoming increasingly fragrant—this is exactly what you want when making how to make apple cider successfully. The longer you simmer, the deeper and more concentrated your flavor becomes, though be careful not to scorch the bottom.
Some people prefer using a food mill to break down apples more efficiently, while others simply let time and heat do the work. If you have a potato masher, you can gently press the apples toward the end of cooking to encourage juice release. The goal is achieving a soft, pulpy consistency where apples have completely broken down.
Straining and Filtering
Once your apples have cooked down completely, it’s time to strain. Place a colander lined with cheesecloth over a large bowl or pot. Carefully pour the apple mixture through the cheesecloth, allowing gravity to do most of the work. This initial straining removes large solids and pulp.
For clearer cider, let the mixture drain for several hours or overnight in the refrigerator. Don’t squeeze or press the cheesecloth aggressively, as this forces pulp through and creates cloudiness. If you prefer crystal-clear cider, strain a second time through fresh cheesecloth or a fine-mesh strainer lined with coffee filters.
The resulting liquid is your finished apple cider. Some people enjoy the rustic, slightly thick consistency of unstrained cider, while others prefer the transparent appearance of fully strained versions. Both are equally valid when learning how to make apple cider—it’s purely a matter of personal preference.
Adding Flavor and Spices
Classic spiced cider transforms your homemade creation into something truly special. During the final 15 minutes of simmering, add your preferred spices directly to the pot. Traditional combinations include cinnamon sticks (2-3), whole cloves (8-10), star anise (2-3 pieces), and nutmeg (¼ teaspoon grated). These warm spices complement apples beautifully without overpowering the natural fruit flavor.
Some recipes call for adding spices after straining, which allows you to control intensity more precisely. You can also create a spice sachet using cheesecloth tied with kitchen twine, making removal easier. According to Family Handyman’s seasonal beverage guide, steeping spices for 10-15 minutes provides optimal flavor without bitterness.
For sweetened cider, add honey or sugar to taste after straining. Start with ¼ cup honey per gallon and adjust based on your apples’ natural sweetness. Stir thoroughly until completely dissolved. Some people prefer unsweetened cider to better appreciate the apples’ complex flavors, while others enjoy the added sweetness—experiment to find your preference.
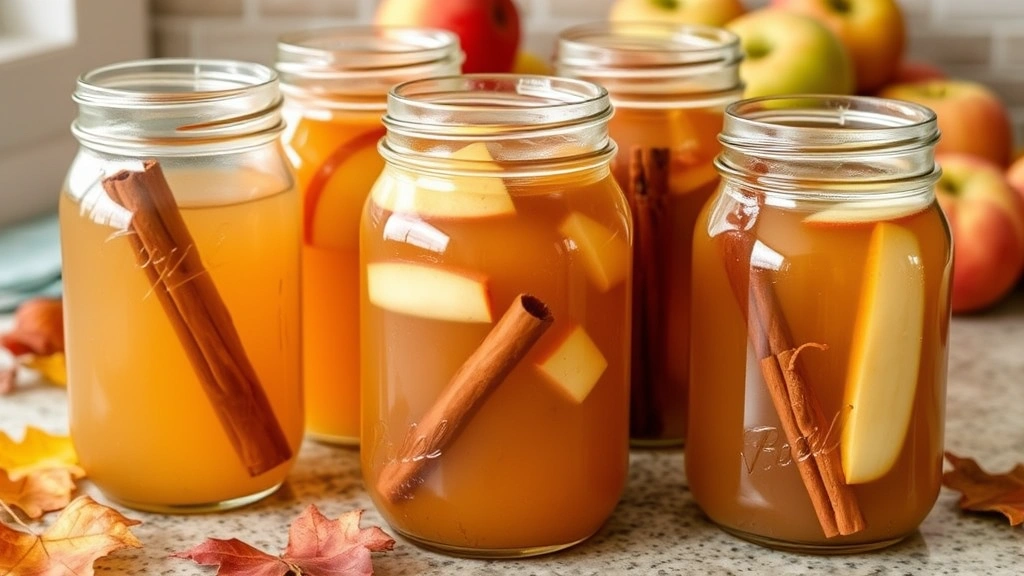
Storage and Shelf Life
Proper storage is essential when you’ve invested time learning how to make apple cider. Pour your finished cider into clean glass jars or bottles while still warm, leaving about an inch of headspace. Allow it to cool completely before refrigerating. Homemade cider keeps refrigerated for up to two weeks, though it’s typically consumed much faster due to its delicious taste.
For longer storage, freezing is an excellent option. Pour cider into freezer-safe containers, leaving headspace for expansion, and freeze for up to three months. Thaw overnight in the refrigerator before serving. You can also preserve cider by canning using a water bath method, though this requires proper sterilization and safety protocols.
If you notice fermentation beginning (bubbling, fizzing, or sour smell), your cider has started converting to hard cider naturally. This is safe if you desire alcoholic cider, though most people prefer drinking fresh cider before fermentation occurs. Store in the coldest part of your refrigerator to slow this process.
Popular Cider Variations
Once you’ve mastered basic how to make apple cider, experiment with creative variations. Mulled cider involves heating cider with additional spices, orange slices, and cranberries for a festive beverage. Apple-pear cider combines 75% apples with 25% pears for added complexity. Cranberry-apple cider introduces tartness and beautiful color.
For hard cider, allow your finished cider to ferment naturally or add champagne yeast for controlled fermentation. This process takes 2-4 weeks and requires sterilized equipment and proper storage conditions. Sparkling cider can be created by adding carbonation through bottle conditioning or using a carbonation system.
Some enthusiasts create spiced apple cider concentrate by reducing cider on low heat for several hours, creating a syrup that can be diluted with hot water for instant cider. Others blend cider with other juices like pomegranate, ginger, or turmeric for health-focused variations. The possibilities are endless once you understand the fundamentals.
Troubleshooting Common Issues
Cider tastes too thin or watery: This typically means insufficient cooking time or too much water added. Next batch, simmer longer (up to 90 minutes) or reduce the water amount. You can also add concentrated apple juice or reduce finished cider on the stove.
Cider appears too cloudy: Strain multiple times through cheesecloth or use a coffee filter for final straining. Patience is key—let gravity work overnight rather than forcing liquid through. Some cloudiness is natural and harmless; it contains beneficial compounds.
Cider tastes bitter: This usually results from over-cooking or using apples that were already past peak ripeness. Ensure you’re using fresh, quality apples and avoid simmering beyond 60 minutes. Burnt spots on the pot bottom can also cause bitterness.
Cider ferments too quickly: Your kitchen is likely warm or your apples contained wild yeast. Store finished cider in the coldest part of your refrigerator immediately. Use sterilized jars and ensure all equipment is properly cleaned before beginning.
Insufficient yield: Apples vary in juice content. Cooking longer increases yield, as does using a food mill to extract more liquid. Some apple varieties naturally produce less juice than others—this is normal variation.
FAQ
Q: Do I need special equipment to make apple cider at home?
A: No. A large pot, knife, colander, and cheesecloth are sufficient. A food mill or immersion blender speeds up the process but isn’t necessary.
Q: Can I make cider without adding water?
A: Yes. Apples release enough liquid during cooking. Water is optional and simply dilutes the flavor. Skip it if you prefer more concentrated cider.
Q: How many apples do I need to make one gallon of cider?
A: Approximately 6-8 pounds, depending on apple variety and juice content. Experiment to find your preference.
Q: Is homemade cider safe to drink?
A: Yes, when made with clean equipment and fresh apples. Boiling during the cooking process eliminates most pathogens. If concerned about food safety, Consumer Reports provides detailed guidance on home beverage safety.
Q: Can I use apple juice instead of making cider from scratch?
A: Apple juice and cider are different products. Juice is filtered and pasteurized, while cider is fresh and unfiltered. For authentic homemade cider, start with whole apples.
Q: What’s the difference between apple cider and apple juice?
A: Cider is fresh, unfiltered, and typically unpasteurized, with a shorter shelf life. Juice is filtered, often pasteurized, and commercially processed for longer storage.
Q: Can I make cider using a juicer instead of cooking?
A: Yes. A juicer extracts liquid directly without cooking. However, cooked cider develops deeper flavors and concentrates sweetness differently. Both methods produce valid results.
Q: How do I know when my cider has gone bad?
A: Signs include off-putting odors, visible mold, or separation with a layer of sediment. Fresh cider should smell pleasant and fruity. When in doubt, discard it.
Q: Can I make cider in a slow cooker?
A: Yes. Fill your slow cooker with chopped apples, set to low, and cook for 6-8 hours. This method is convenient and produces excellent results.
Q: Is pasteurized homemade cider safer than unpasteurized?
A: Pasteurization kills bacteria and extends shelf life but reduces fresh flavor. For home consumption, properly made unpasteurized cider is safe. Those with compromised immune systems should pasteurize by heating to 160°F.
Learning how to make apple cider transforms your fall season into something special. With quality apples, basic equipment, and a few hours of time, you’ll create beverages that rival any commercial product. Start with the simple recipe, then explore variations once you’ve mastered the fundamentals. Your family will love the homemade taste, and you’ll appreciate the satisfaction of creating something delicious from scratch. According to HowStuffWorks’ beverage science section, homemade cider contains more nutrients and natural compounds than processed alternatives, making it both delicious and beneficial.