How to Cure Zombie Villager: Simple & Amazing Guide

Zombie villagers in Minecraft can be cured and turned back into regular villagers with the right supplies and technique. This process is one of the most rewarding transformations in the game, allowing you to rescue and repurpose infected villagers. Whether you’re building a trading hub or saving a village from infection, learning how to cure a zombie villager is an essential survival skill that takes just a few minutes to master.
Quick Answer: To cure a zombie villager, splash them with a Potion of Weakness, then feed them a Golden Apple. The villager will begin shaking and converting back to normal within 2-5 minutes. During this time, keep them safe from sunlight and mobs. Once the transformation completes, they’ll return to their original profession and trades.
Tools & Materials Needed
- Potion of Weakness (splash version) – crafted with Fermented Spider Eye
- Golden Apple – crafted with Gold Ingots and an Apple
- Brewing Stand – for creating potions
- Cauldron – optional, for storing potions
- Safe Enclosure – blocks to contain the zombie villager
- Light Source – torches to prevent sun damage during cure
- Sword or Weapon – for protection during the process
- Building Blocks – to construct a holding area
Finding and Identifying Zombie Villagers
Zombie villagers appear naturally in dark areas, caves, and during nighttime in villages. They look similar to regular zombies but have a distinctive appearance with visible clothing and a different skin tone. The key difference is their behavior – zombie villagers are slower than regular zombies and make unique gurgling sounds that distinguish them from standard undead mobs. You can find them most commonly in abandoned villages, mineshafts, and woodland mansions.
When you encounter a zombie villager, it’s important to capture it alive rather than kill it. Use a detailed guide on how to cure a zombie villager as your reference while exploring. Building a temporary holding pen with fences or walls allows you to safely contain the zombie villager without it despawning or escaping. Make sure the enclosure is secure enough to prevent other mobs from interfering with your curing process.
How to Cure Zombie Villager: Step-by-Step Process
The process of learning how to cure a zombie villager involves three main steps: obtaining a Potion of Weakness, acquiring a Golden Apple, and applying both in the correct order. This ancient Minecraft ritual has remained consistent across versions and is the only reliable method to restore infected villagers to their original state.
- Step 1: Splash the Potion of Weakness – Approach the zombie villager and throw the splash potion directly at them. You’ll see the effect particles appear around them, indicating the potion worked.
- Step 2: Feed the Golden Apple – Immediately after the potion takes effect, use the Golden Apple on the zombie villager. Right-click (or equivalent) to feed it to them.
- Step 3: Wait for Transformation – The zombie villager will begin shaking and smoking, indicating the curing process has started. This takes 2-5 minutes depending on game difficulty.
- Step 4: Confirm Restoration – Once the transformation completes, the zombie villager becomes a regular villager with their profession restored.
The timing of how to cure a zombie villager is crucial – you must apply the Potion of Weakness before the Golden Apple, or the process won’t work. Many players make the mistake of reversing this order and waste valuable resources. Always keep the potion splash effect visible before attempting to feed the apple.
Preparing the Potion of Weakness
Creating a Potion of Weakness requires access to a brewing stand and specific ingredients. Start by gathering Fermented Spider Eyes, which are crafted from Spider Eyes, brown mushrooms, and sugar. Place these items in a crafting grid to create your Fermented Spider Eyes. This ingredient is the foundation for brewing the Potion of Weakness that’s essential for how to cure a zombie villager.
Once you have Fermented Spider Eyes, place them in a brewing stand with water bottles. The brewing process takes 20 seconds per bottle. After the initial brewing, you’ll have a regular Potion of Weakness. To make it a splash potion (which you need to throw at the zombie villager), add Gunpowder to the regular potion in the brewing stand. This transforms it into a splash version that affects mobs on impact.
According to WikiHow’s comprehensive guides, brewing potions is one of the most important survival skills in Minecraft. Keep extra Fermented Spider Eyes in your storage for future curing sessions, as zombie villagers may appear multiple times in your world. Having pre-brewed potions ready makes the curing process faster and more efficient.
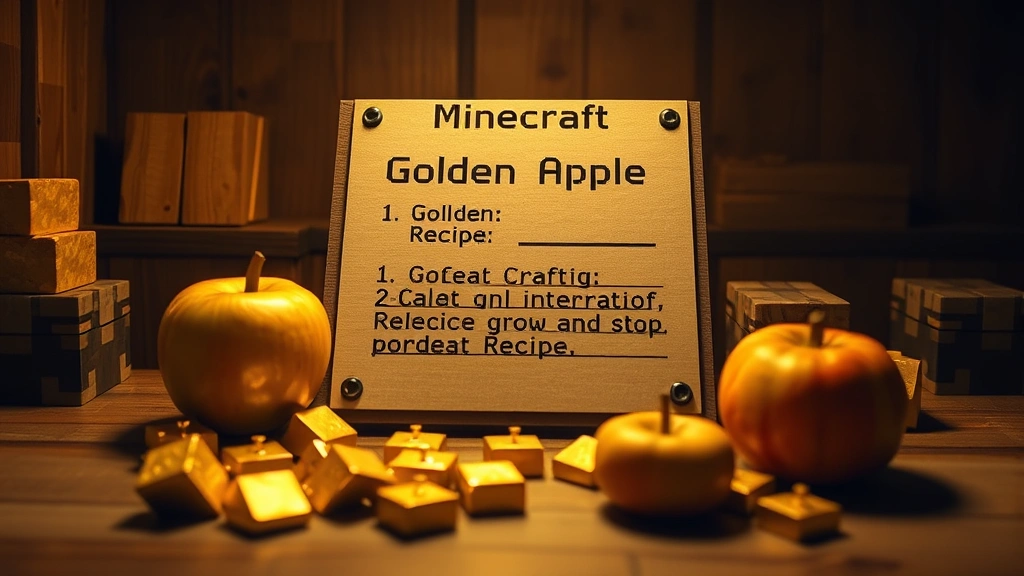
Creating and Using Golden Apples
Golden Apples are crafted using 8 Gold Ingots surrounding a regular Apple in a crafting table, forming a square pattern with the apple in the center. This recipe requires significant gold resources, which is why many players consider the Golden Apple the most expensive component of how to cure a zombie villager. Mine gold ore from underground, smelt it in a furnace, and craft your apples accordingly.
The Golden Apple serves as the healing and transformation catalyst for zombie villagers. When you feed it to a zombie villager that’s already affected by the Potion of Weakness, the apple triggers the conversion process. Without the Potion of Weakness applied first, the Golden Apple will have no effect on the zombie villager – it simply won’t work, no matter how many apples you use.
Consider establishing a gold farm or mining operation if you plan to cure multiple zombie villagers. Having a steady supply of Golden Apples ensures you can rescue villagers whenever you encounter them. Some players create dedicated trading systems to acquire these apples more efficiently, though crafting remains the most straightforward method.
Curing Timeline and What to Expect
The curing process begins immediately after you feed the Golden Apple to the weakened zombie villager. You’ll notice distinct visual and auditory changes: the zombie villager shakes violently, red particles appear around them, and they emit unique sounds indicating the transformation is underway. The entire process typically takes 2-5 minutes, depending on your game’s difficulty setting.
On Easy difficulty, the curing process completes faster (around 2-3 minutes). On Normal difficulty, expect 3-4 minutes. On Hard difficulty, the transformation takes the longest at 4-5 minutes. During this entire period, the zombie villager remains vulnerable to sunlight and other mobs, so environmental protection is critical. The zombie villager cannot be harmed during curing – damage won’t interrupt the process, but sunlight exposure will cause complications.
Once the shaking stops and the red particles disappear, the transformation is complete. The zombie villager becomes a regular villager with their original profession restored. If they were a librarian before infection, they’ll be a librarian again. This consistency makes how to cure a zombie villager incredibly valuable for building specialized trading communities.
Protecting Your Zombie Villager During Cure
Creating a safe curing environment is essential for successful transformation. Build an enclosed space using solid blocks, leaving only enough room for the zombie villager to stand. This prevents other mobs from attacking them during the vulnerable 2-5 minute curing window. The enclosure should be completely dark or fully lit with torches – sunlight will damage the zombie villager and potentially kill them before curing completes.
Place torches strategically throughout your curing chamber to maintain sufficient light levels. This prevents hostile mobs from spawning nearby while protecting the zombie villager from sun damage. If you’re curing during daytime, position your enclosure underground or cover it completely with blocks to shield from direct sunlight.
Consider adding a door to your curing chamber for easy access, but ensure it’s secure enough that the zombie villager cannot escape. Some players use water streams or minecart systems to safely transport zombie villagers to curing facilities. As noted by Instructables’ detailed tutorials, proper preparation prevents wasted resources and failed curing attempts. Keep healing potions on hand in case you accidentally damage the zombie villager before curing completes.
Post-Cure Care and Trading
After successfully curing a zombie villager, they become a regular villager with restored memories of their original profession. The newly cured villager may offer discounted trading rates as a reward for saving them – this is one of the most valuable benefits of learning how to cure a zombie villager. These discount rates can persist indefinitely, making cured villagers exceptional trading partners.
Place your cured villager in a proper trading hall or village setup with workstations matching their profession. Librarians are particularly valuable, as they can offer rare enchanted books like Mending and Silk Touch. Provide them with beds and food to keep them happy and prevent them from wandering off. A happy villager offers better trading rates and breeds more readily if you’re building a trading community.
Monitor your cured villager’s health and well-being by ensuring they have access to food sources and safe shelter. They’ll interact with workstations appropriate to their profession, restocking their trades regularly. The investment of resources into how to cure a zombie villager pays dividends through improved trading opportunities and access to rare items you might not otherwise obtain.
Common Mistakes to Avoid
The most frequent error when attempting how to cure a zombie villager is applying the Golden Apple before the Potion of Weakness takes effect. Always splash the potion first and wait for the effect particles to appear before using the apple. Reversing this order wastes both resources and the zombie villager may despawn before you can retry.
Another common mistake is exposing the zombie villager to direct sunlight during curing. Sunlight deals damage to zombie villagers, and if they take enough damage before the transformation completes, they’ll die. Always build your curing chamber in a dark location or cover it completely with blocks. Use torches for lighting instead of relying on natural sunlight.
Players sometimes attempt to cure zombie villagers in open areas where other mobs can interfere. Creepers, skeletons, and other hostile mobs may attack during the 2-5 minute curing window, potentially killing your zombie villager before transformation completes. Always create a secure, enclosed space dedicated to the curing process. Additionally, ensure you’re using a splash potion, not a regular potion – splash potions affect mobs on impact, while regular potions only work when consumed by players.
Frequently Asked Questions
Q: Can you cure a zombie villager without a Potion of Weakness?
A: No, the Potion of Weakness is mandatory for the curing process. Without it, the Golden Apple has no effect on zombie villagers. Both items are required in the correct order.
Q: How long does it take to cure a zombie villager?
A: The curing process takes 2-5 minutes depending on difficulty. Easy mode is fastest at 2-3 minutes, while Hard mode takes 4-5 minutes. The zombie villager will shake and emit red particles throughout the transformation.
Q: Do cured villagers offer discounts?
A: Yes, cured zombie villagers offer permanent trading discounts as a reward for saving them. This makes them significantly more valuable trading partners than villagers who haven’t been infected.
Q: Can you cure a zombie villager in sunlight?
A: No, sunlight damages zombie villagers during curing and may kill them before transformation completes. Always perform the curing process in a dark location or completely covered area with torch lighting.
Q: What happens if you feed a Golden Apple to a regular zombie?
A: Regular zombies won’t be affected by Golden Apples at all. The apple only works on zombie villagers that have been weakened with a Potion of Weakness. Regular zombies require a different approach if you want to deal with them.
Q: Can you cure multiple zombie villagers at once?
A: Yes, you can cure multiple zombie villagers simultaneously if you have enough resources. Create separate curing chambers or use a larger enclosed space with multiple zombie villagers, applying potions and apples to each one.
Q: Do cured villagers remember their original profession?
A: Yes, cured zombie villagers restore their original profession and trades. A librarian zombie villager becomes a librarian again with their previous enchanted book offerings available.
Learning how to cure a zombie villager transforms your Minecraft experience by providing access to discounted trades and specialized professions. As detailed in The Spruce’s comprehensive guides, mastering this technique is essential for advanced gameplay. With proper preparation, the right materials, and careful execution, you can rescue zombie villagers and build an incredibly valuable trading community. The process becomes faster and easier with practice, eventually becoming second nature as you encounter more infected villagers throughout your world.
For additional Minecraft guidance, explore resources like HowStuffWorks and Family Handyman for complementary survival tips and building techniques. Whether you’re a casual player or dedicated survivor, knowing how to cure a zombie villager ensures you never waste the opportunity to rescue these valuable NPCs and strengthen your village economy.