
Need to disable location tracking on your iPhone? Learning how to turn off Find My iPhone is essential for privacy, device management, or preparing your phone for sale or repair. This comprehensive guide walks you through the process of disabling this Apple security feature in just a few minutes. Whether you’re concerned about privacy settings, switching devices, or troubleshooting issues, we’ll show you exactly how to turn off Find My iPhone safely and completely.
Quick Answer: To turn off Find My iPhone, open Settings, tap your Apple ID at the top, select Find My, tap Find My iPhone, and toggle the feature off. You’ll need to enter your Apple ID password to confirm. The entire process takes approximately 2-3 minutes and requires your device to be connected to Wi-Fi or cellular data.
What You Will Need
Before you begin the process of disabling location services on your device, gather these requirements:
- iPhone or iPad with iOS 13 or later (required for Find My feature)
- Active internet connection (Wi-Fi or cellular data)
- Your Apple ID credentials (email and password)
- 2-3 minutes of uninterrupted time
- Difficulty level: Beginner (no technical experience needed)
Ensure your device has sufficient battery life (at least 20%) and you’re in a location with stable internet connectivity. If you’ve forgotten your Apple ID password, you’ll need to reset it before proceeding.
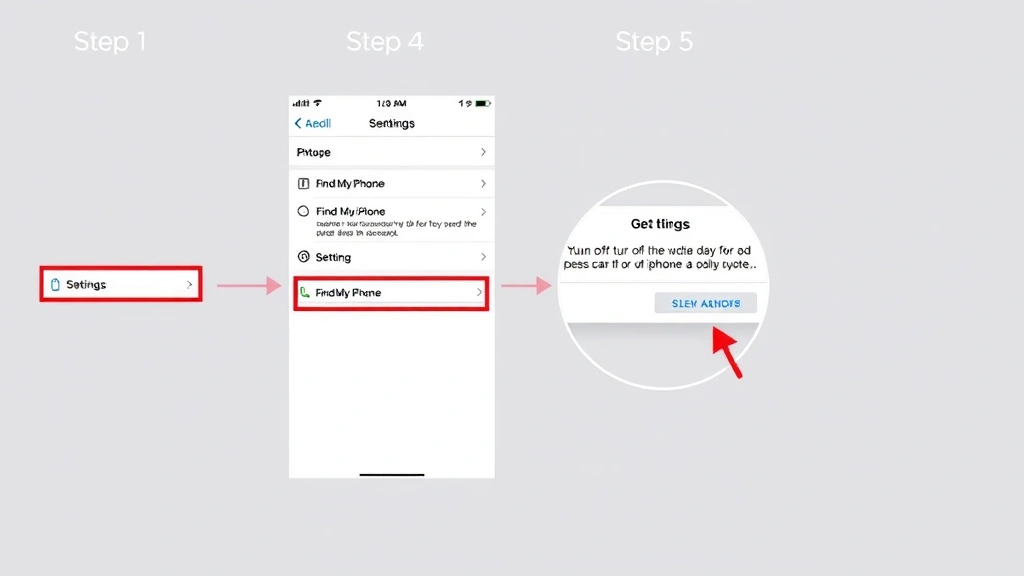
Step 1: Open Settings and Access Your Apple ID
The first step involves accessing your device’s main settings menu where all Apple account information is stored. This is the gateway to managing all your iCloud and security features.
Locate the Settings app on your home screen—it’s the gray icon with white gears. Tap it to open the main Settings menu. Once inside, look at the top of the screen where you’ll see your name and profile photo (or a generic silhouette if no photo is set). Tap this section to access your Apple ID account settings. Your device may take a moment to load if you have a slower internet connection.
Time estimate for this step: 30-45 seconds
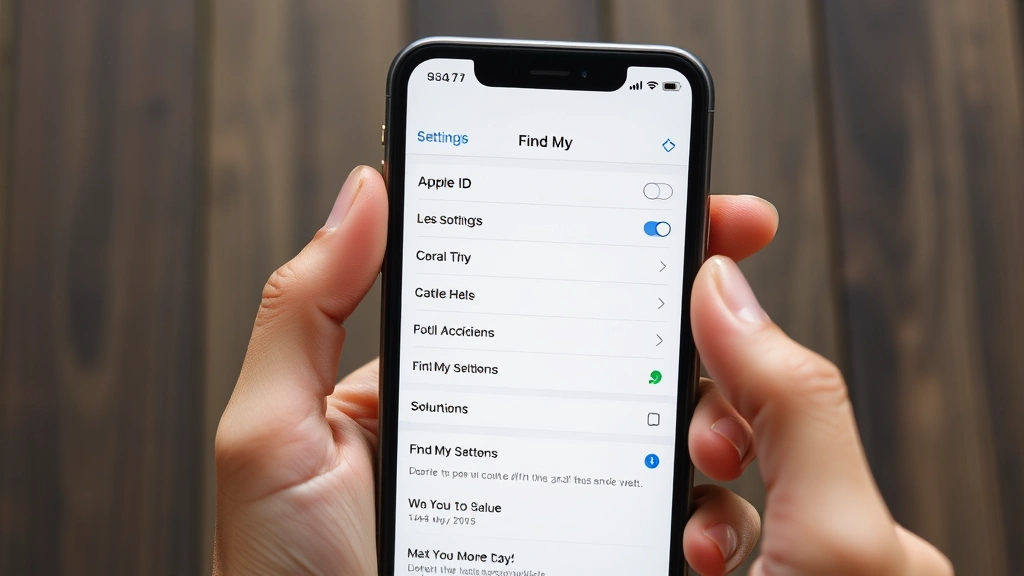
Step 2: Navigate to Find My Settings
After accessing your Apple ID profile, you need to locate the Find My section where device tracking features are managed. This menu contains all location-based security options.
In your Apple ID settings, scroll down slightly and tap on “Find My” (you may see it listed as “Find My iPhone” in older iOS versions). This opens the Find My submenu where all location services and device tracking features are configured. You’ll see options for Find My iPhone, Find My Friends, and other location-based services. Each option can be toggled independently, so you can disable specific features while keeping others active if desired.
Time estimate for this step: 20-30 seconds
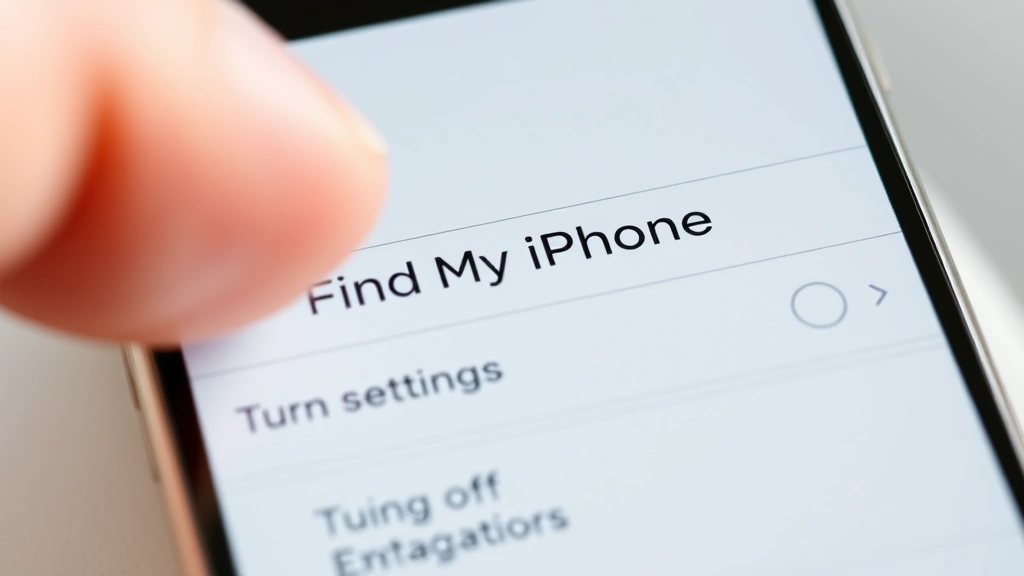
Step 3: Disable Find My iPhone Feature
Now you’ll directly address how to turn off Find My iPhone by toggling the primary switch. This is the critical action that disables device location tracking.
Look for the option labeled “Find My iPhone” in the Find My menu. To the right of this option, you’ll see a toggle switch that’s currently enabled (showing green with the switch to the right). Tap this toggle to turn it off—it will become gray and move to the left. Your device will immediately begin the process of disconnecting from Apple’s location tracking network. Some users report seeing a brief loading indicator as the system processes this change.
If you have multiple Apple devices registered to your account (iPad, Mac, Apple Watch), they may appear listed separately. You can disable Find My iPhone on just one device or all of them. Carefully select only the devices you want to affect.
Time estimate for this step: 15-20 seconds
Step 4: Confirm with Your Apple ID Password
Apple requires password confirmation as a security measure to prevent unauthorized disabling of location tracking. This protects your account even if someone gains temporary access to your device.
A popup window will immediately appear asking you to enter your Apple ID password. Type your password carefully—this is case-sensitive and must be exact. If you don’t remember your password, tap “Forgot password?” to reset it through Apple’s account recovery process. Once you’ve entered the correct password, tap the blue “Turn Off” or “Disable” button to confirm. Your device will process this confirmation, which usually takes 5-10 seconds.
Important note: If you have two-factor authentication enabled (recommended for security), you may need to verify your identity through another trusted device or phone number. This adds an extra layer of protection.
Time estimate for this step: 45-60 seconds
Step 5: Verify the Feature is Disabled
Confirming that the feature is completely disabled ensures the process worked correctly and your device is no longer being tracked. This verification step prevents confusion later.
Return to the Find My iPhone toggle—it should now appear gray and positioned to the left, indicating the feature is off. Exit the Settings app and wait approximately 1-2 minutes for the change to fully propagate through Apple’s servers. If you want additional confirmation, you can check from another Apple device or computer. Log into iCloud.com on a web browser, navigate to Find My, and verify that this device no longer appears in your list of trackable devices.
Some users experience a brief delay before the device fully disappears from their Find My network. This is normal and typically resolves within 2-3 minutes.
Time estimate for this step: 1-2 minutes
Pro Tips and Expert Advice
Expert recommendation: Before you disable location tracking, consider whether you might need it in the future. If you’re selling or giving away your device, disabling Find My iPhone is essential—but if you’re just concerned about privacy, explore granular location settings instead. You can keep the feature enabled but restrict which apps access your location data.
Our experience suggests backing up your device before making significant security changes. If you plan to turn off Find My iPhone before selling your device, also perform a factory reset afterward to completely remove all personal data. This protects both your privacy and ensures the new owner can set up their own Find My features.
Alternative approach: If you only want to temporarily disable location sharing, consider using “Share My Location” settings instead. This allows you to keep Find My iPhone active for your own use while preventing family members or friends from tracking your device. You can access this in Settings > [Your Name] > Find My > Share My Location.
When preparing your device for repair, Apple Genius Bar staff will ask if Find My iPhone is disabled. Having it turned off speeds up the service process significantly. However, if you’re sending it to an Apple mail-in repair service, keep the feature enabled until they confirm receipt—this helps ensure your device isn’t lost in transit.
Common Mistakes to Avoid
Mistake 1: Confusing Find My iPhone with Location Services. These are different features. Turning off Find My iPhone doesn’t disable Location Services, which many apps need to function properly. If you accidentally turn off all location services, apps like Maps, Weather, and Camera won’t work correctly. Only disable Find My iPhone if you specifically want to remove device tracking capabilities.
Mistake 2: Forgetting your Apple ID password before disabling. The system requires your password confirmation, and you can’t bypass this security measure. If you’re unsure of your password, reset it immediately through Apple’s account recovery before attempting to turn off Find My iPhone. This prevents frustration and delays.
Mistake 3: Disabling on a device you don’t own. Never attempt to turn off Find My iPhone on someone else’s device without explicit permission. This is illegal in most jurisdictions and violates Apple’s terms of service. If you’re helping someone disable it, ensure they provide their own Apple ID password.
Mistake 4: Not backing up before disabling. While disabling the feature itself doesn’t cause data loss, it’s often done in preparation for major changes like factory resets. Always backup your iPhone to iCloud or your computer first using Apple’s official backup guide.
Mistake 5: Expecting immediate network disconnection. After you turn off Find My iPhone, allow 2-3 minutes for the change to fully process. Checking immediately might show the device still in your Find My network due to caching delays.
Frequently Asked Questions
Can I turn off Find My iPhone without knowing the Apple ID password?
No, Apple requires your Apple ID password as a security measure. If you’ve forgotten it, you’ll need to reset your password through Apple’s account recovery process before you can disable the feature. Visit iforgot.apple.com to begin the password reset process, which typically takes 15-30 minutes.
Will turning off Find My iPhone affect my other Apple devices?
No, each device can be managed independently. When you disable how to turn off Find My iPhone on one device, other registered devices remain unaffected. You can have the feature active on your iPad while disabled on your iPhone, for example. This provides flexibility in managing location tracking across your ecosystem.
What happens to my device’s location after I disable Find My iPhone?
Your device stops transmitting location data to Apple’s servers and disappears from your Find My network. However, other location services and apps can still access your device’s location if you haven’t disabled Location Services entirely. Your device’s actual location data remains private and isn’t accessible to Apple or other users.
Do I need to disable Find My iPhone before selling my iPhone?
Yes, absolutely. Apple requires that Find My iPhone be disabled before transferring ownership of a device. If the feature is still active, the new owner won’t be able to set up their own Apple ID on the device. Most buyers will refuse to purchase an iPhone with Find My iPhone still enabled, as it creates a security risk for them.
Can I re-enable Find My iPhone after turning it off?
Yes, you can re-enable it anytime by following the same steps in reverse. Go to Settings > [Your Name] > Find My > Find My iPhone and toggle it back on. You’ll need to enter your Apple ID password again for confirmation. The process is identical to disabling it.
Is it safe to turn off Find My iPhone permanently?
It depends on your needs. Turning off the feature reduces Apple’s ability to help you locate a lost or stolen device, but it increases privacy since you’re not transmitting location data. Experts suggest keeping it enabled unless you have specific privacy concerns. If you’re concerned about privacy, consider using Find My Friends’ granular sharing settings instead, which gives you more control over who can track your device.
Final Thoughts on Disabling Location Tracking
Learning how to turn off Find My iPhone is straightforward once you understand the process. Whether you’re preparing your device for sale, addressing privacy concerns, or troubleshooting technical issues, this feature can be disabled in under five minutes. Remember that disabling Find My iPhone is different from disabling Location Services—you can manage these independently based on your needs.
If you need help with other Apple device settings, we recommend exploring related tutorials like how to connect Apple Pencil to iPad or how to right click on a Mac. For those managing multiple subscriptions, you might also find our guide on how to cancel YouTube TV useful. Additionally, if you work across Apple and non-Apple platforms, our tutorial on how to recall an email in Outlook covers important communication management skills.
Take action today to manage your device’s privacy settings according to your preferences. With these clear instructions, you now have complete control over your iPhone’s location tracking capabilities.


